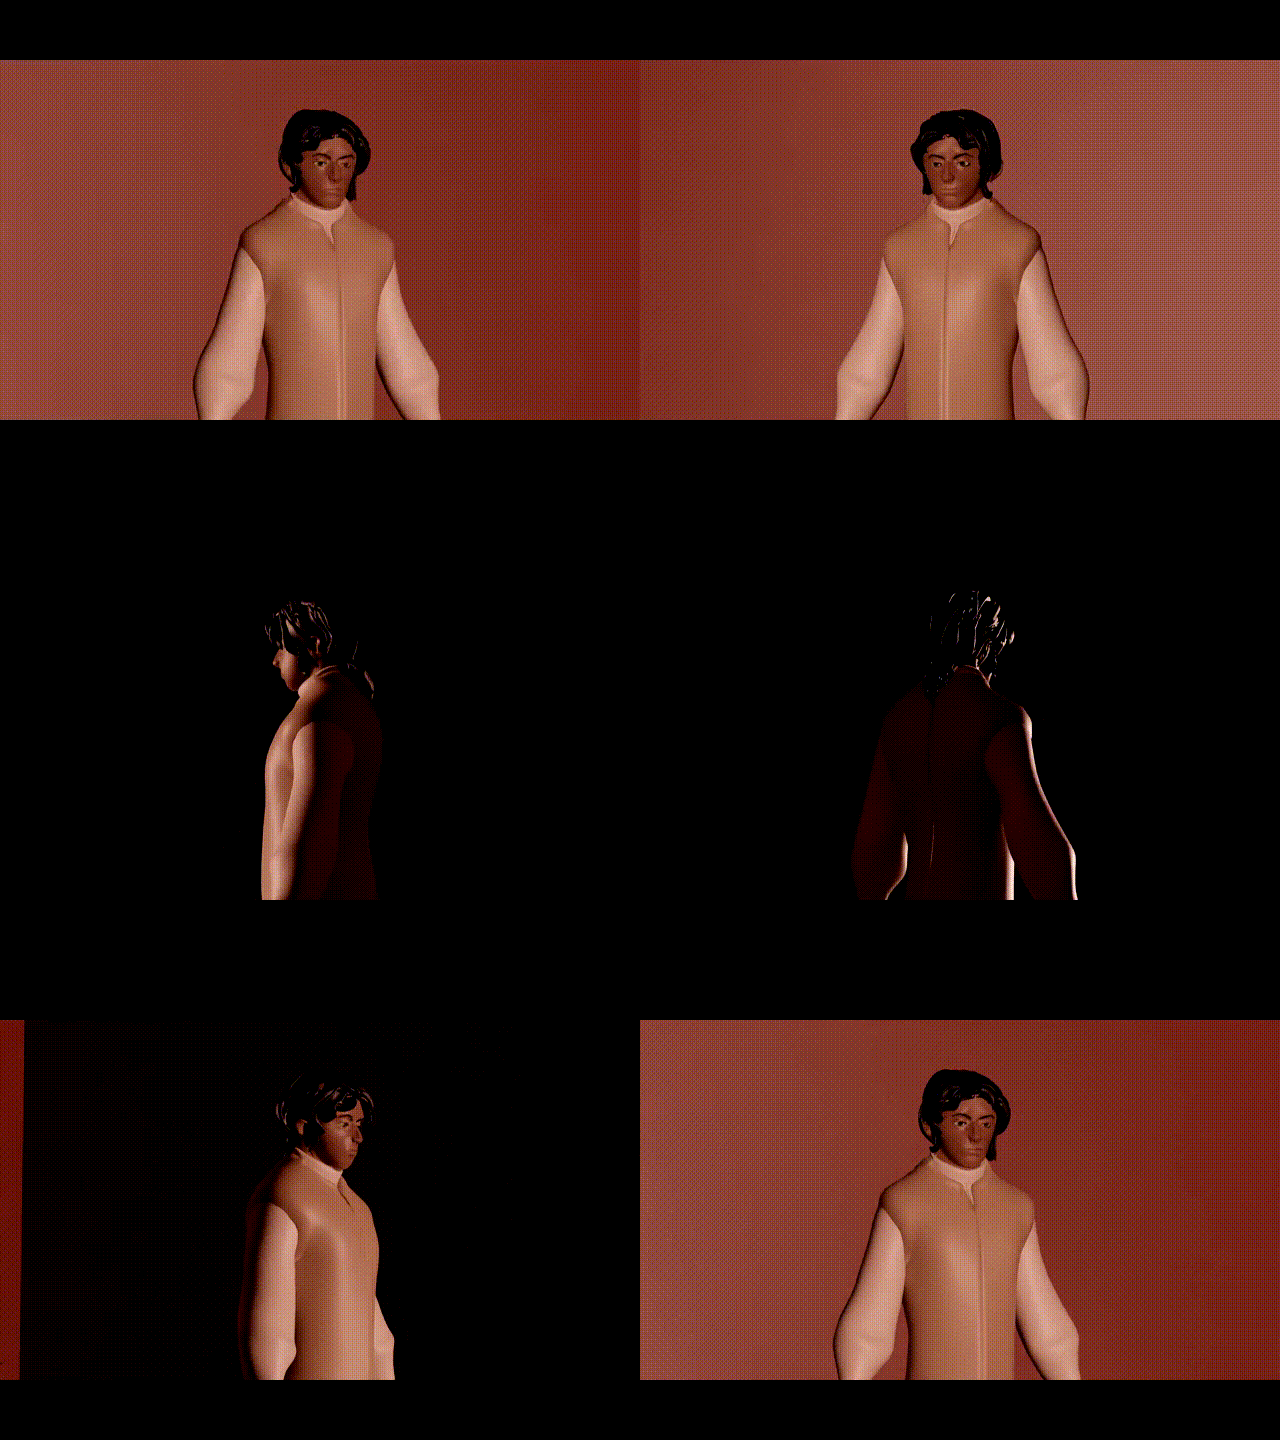
02. Making the turnaround

For the turnaround, I meticulously followed the step-by-step instructions outlined in the tutorials mentioned in my previous post. The process required careful attention to proportions, perspective, and consistency across all angles of the character.

The first step was to sketch the character in a ¾ view, as this angle provides a strong foundation for understanding depth and dimension before moving on to more complex perspectives. Starting with this view allowed me to visualize how different parts of the character—such as the head, torso, and limbs—would interact in three-dimensional space.


I began by blocking out the basic shapes; the torso, in particular, required special attention because it needed to appear naturally bent in perspective once the turn-around was complete – I kept in mind the lesson learned from the tutorials – it bends differently in the side-view depending on if it’s seen from the front or the back. I made sure to define the center line of the torso clearly, as this would serve as a crucial reference point for maintaining consistency across all angles.

Once the ¾ view was established, I proceeded to draw construction guidelines that would help maintain uniformity in the character’s proportions across every angle.


These guidelines were essential because even a slight deviation in one angle could make the character appear distorted when viewed in sequence. By adhering to these references, I ensured that the character maintained a cohesive look from every viewpoint.


One of the most difficult aspects of this process was positioning the arms, legs, and feet correctly in perspective. Since limbs can appear foreshortened or elongated depending on the angle, I had to carefully consider their placement to avoid unnatural distortions.


I struggled with placing the feet—should they appear to be floating to get the full length of the character? Or naturally placed on the ground line? One would allow me to draw the feet without worrying about foreshortening them, the other would give me a better idea of the weight placed on the legs. For the rough turnaround, I decided to go with the feet floating, but for the detailed 2 sided reference drawing of the character in his costume, I went with firm planted on the ground. That was shortly going to become very frustrating for me, however.


While the face was not the primary focus of this exercise, it was still important to establish its basic structure. I marked the outer edges of the face in each angle to maintain consistency in the head’s shape and made sure to carefully map out where the nose would fall in the different views. Again, the turnaround was less detailed than the final reference drawing.

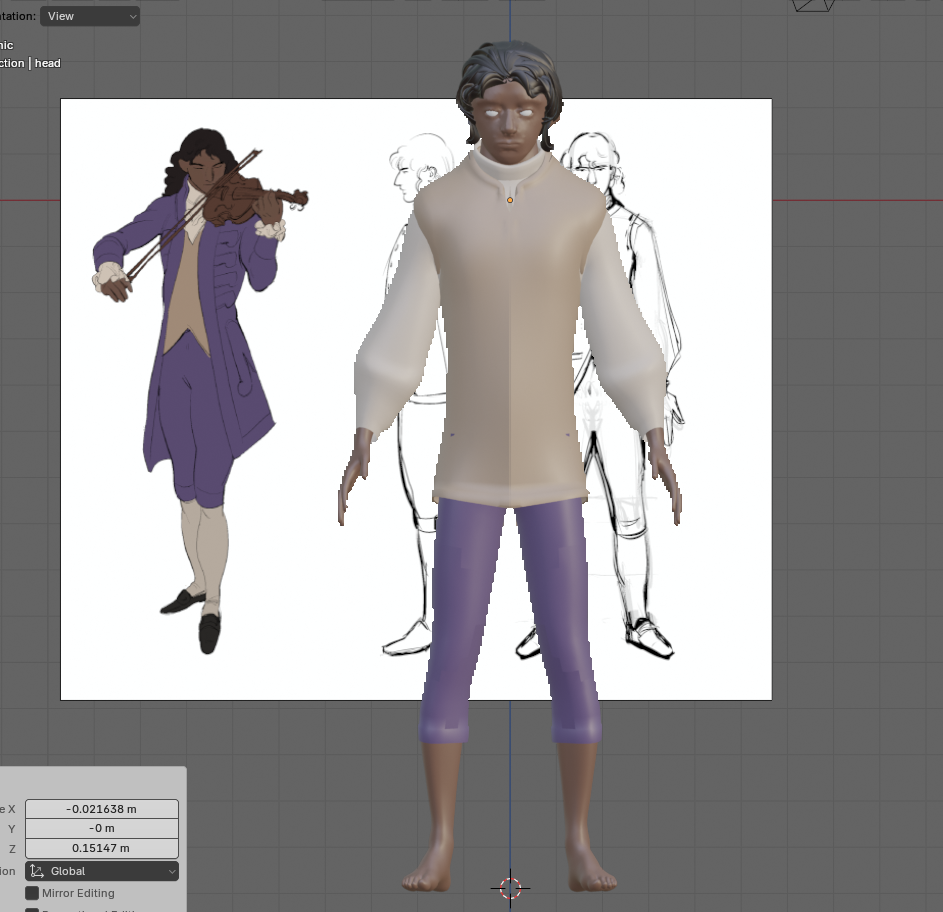
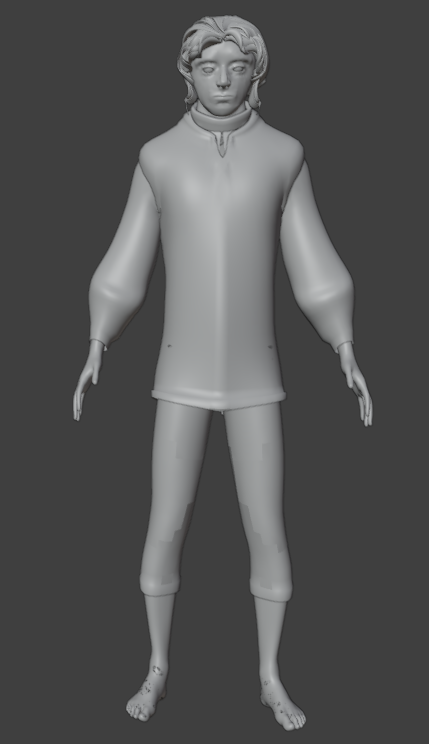
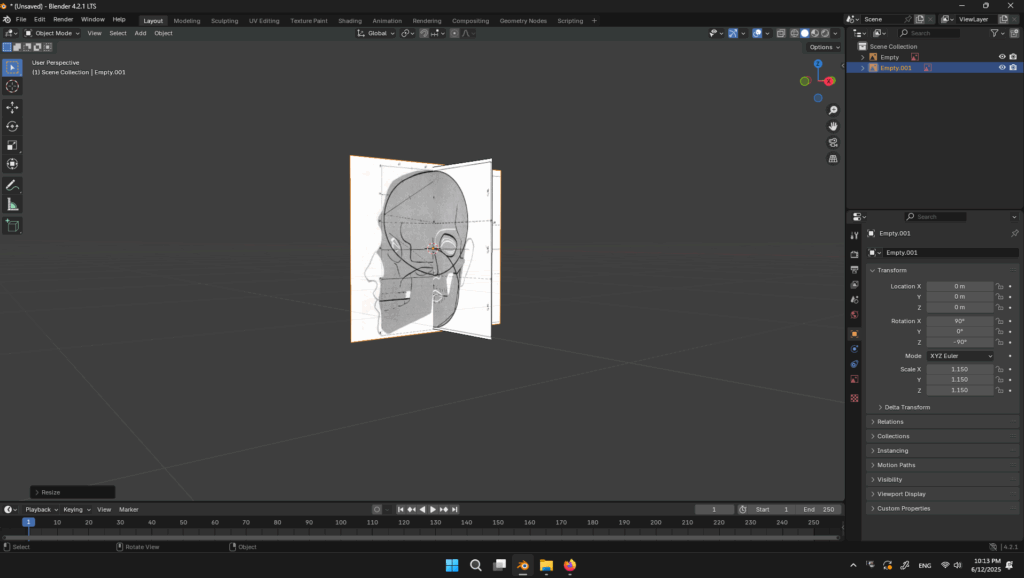
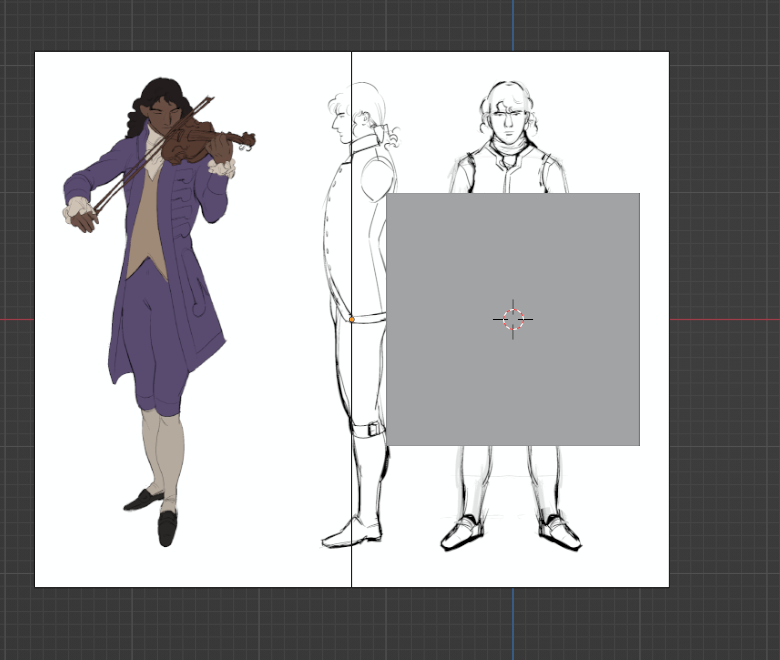
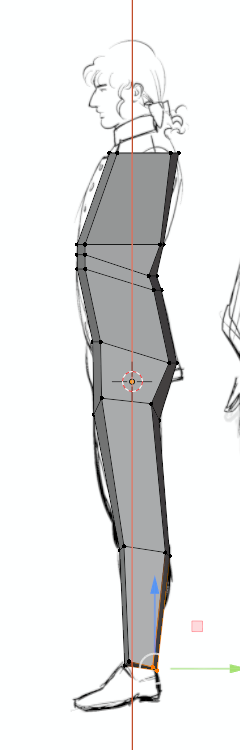
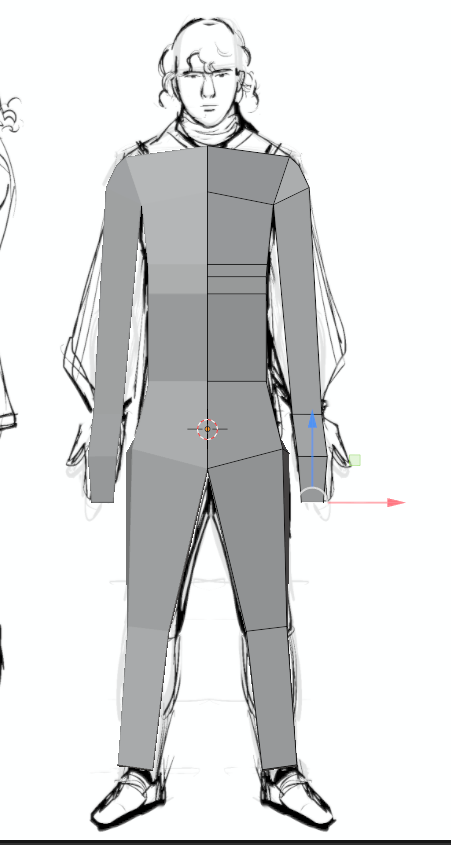
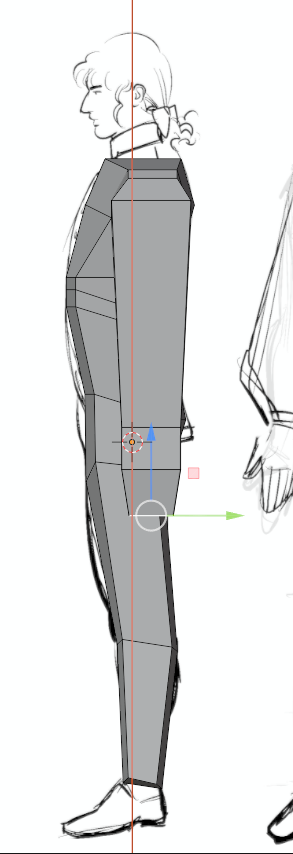
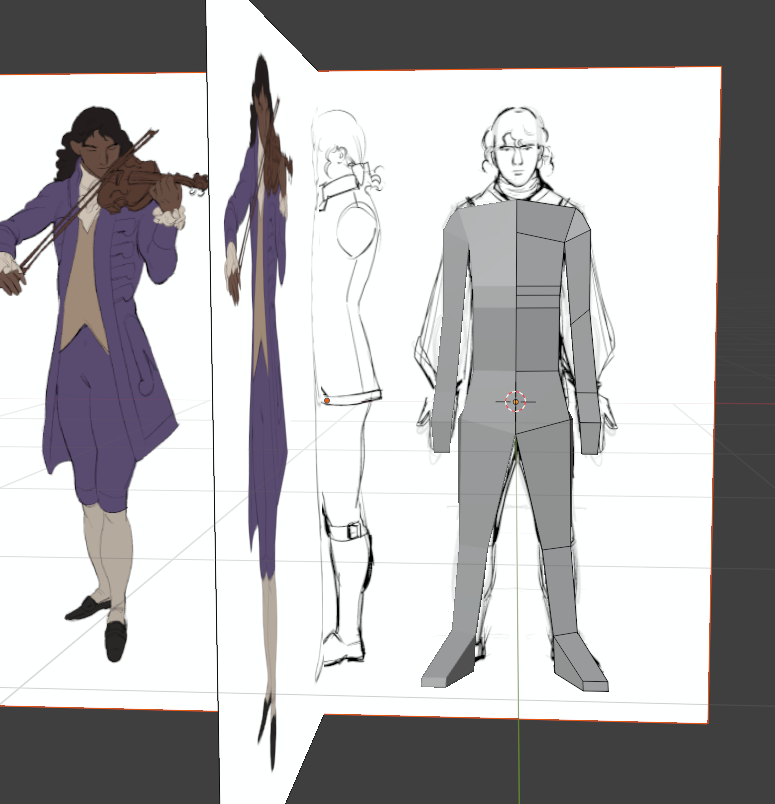
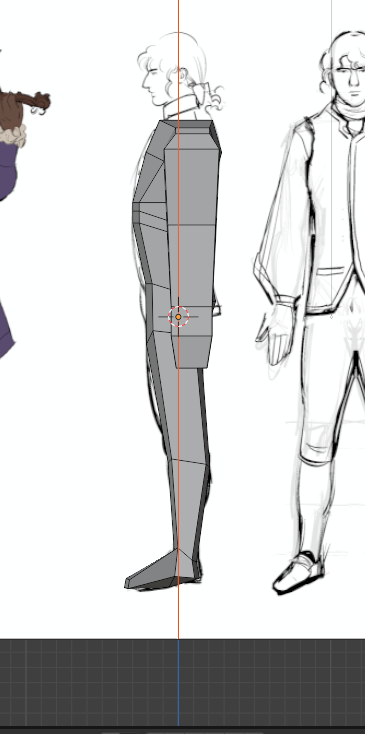
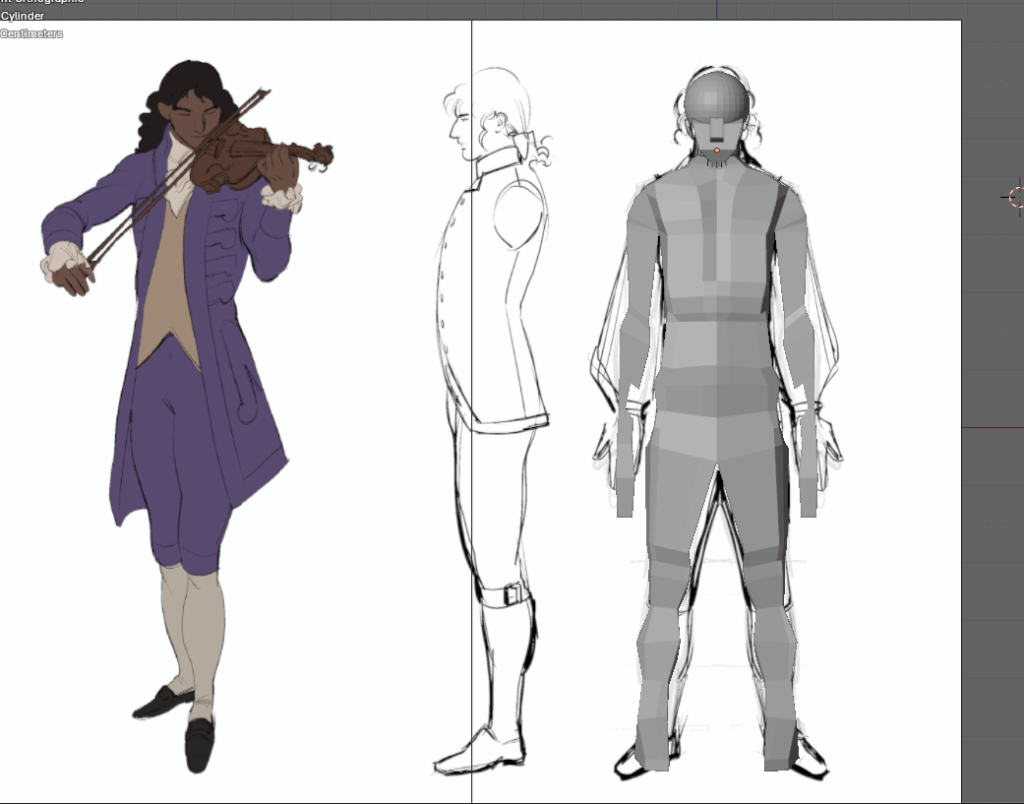
With the turn-around drawings complete, the next phase was transferring them into Blender to begin the 3D modeling process. I imported the front and side view as reference images in Blender

In retrospect, I would’ve done a couple things differently. Chief of which would’ve been to actually draw the arm from the side-view, maybe just put to the side. I hadn’t considered that needing the width of the limb would also be important. Another point would be to have the lines colored; whether the entire character filled in or just the line-art, the most important thing would be making sure that when I’m in wire-frame mode I could easily distinguish what is reference and what is the model itself.

A thing I am grateful I did was put the character in Body-conforming clothing, which worked out due to the period costume. Another further consideration would be to draw out other markers of the body: the deltoids, chest muscles, ribcage lines, hipbones, thigh inseem and maybe even the knees. While I could guesstimate their relative position from memory, it would’ve relieved my mental load while already struggling with the vertices during the modeling process.
10. Final Result

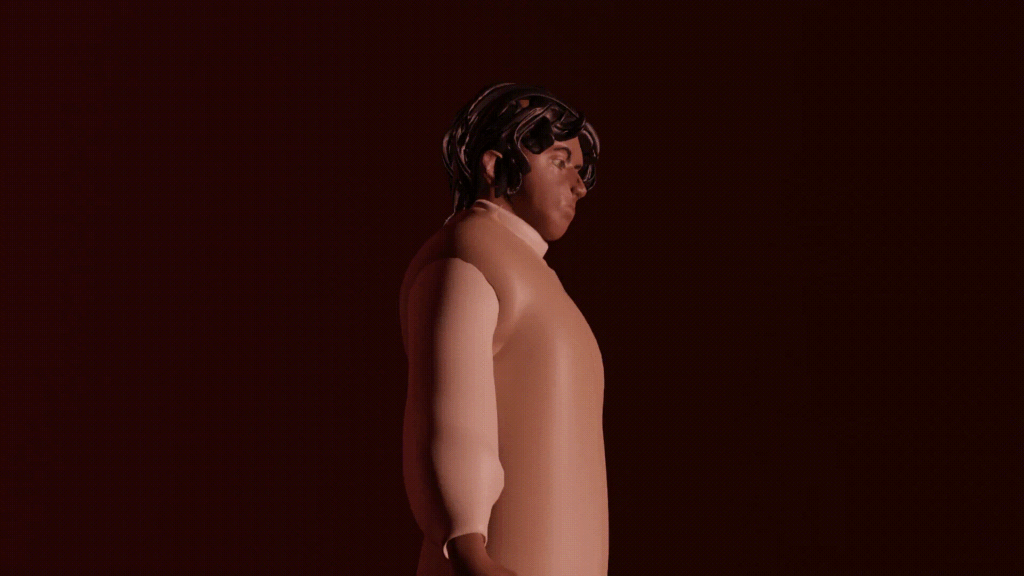
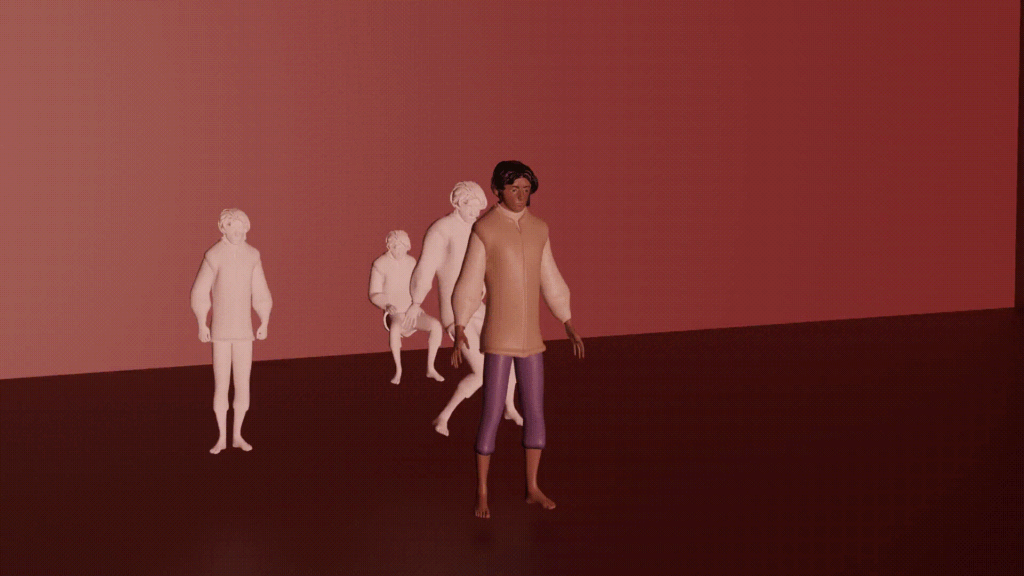
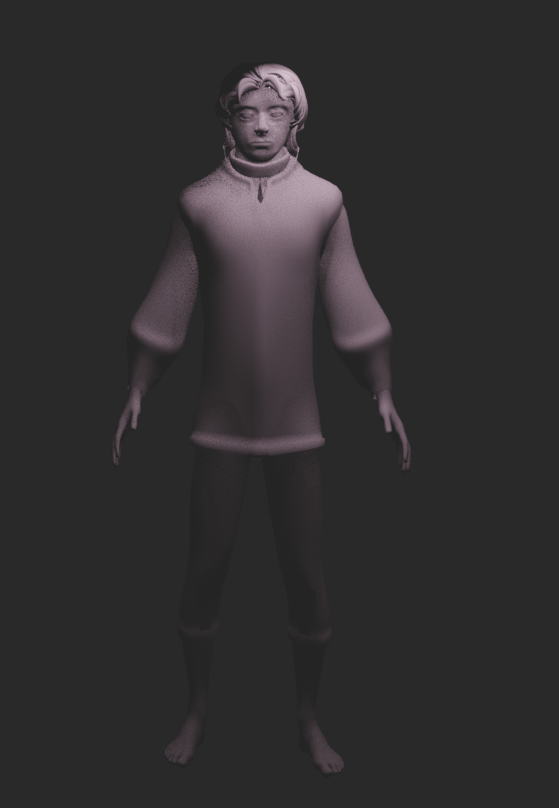
In the end, I set up a cube that would act as a stage for my character, set up some lights, a camera movement around him, and then, as one can see in the background—I have some animated versions of the character behind him with different mocap animations I downloaded from Mixamo.

The lighting was kept simple using a single spot light pointed at the orbiting, revealing different angles of the character. The Mixamo animations consist of breakdancing, saluting and the character doubling over and hiding his face. For now, this simple presentation serves as a satisfying conclusion to this character’s journey from a rough model to a realized, animated figure.

09. Weight Painting

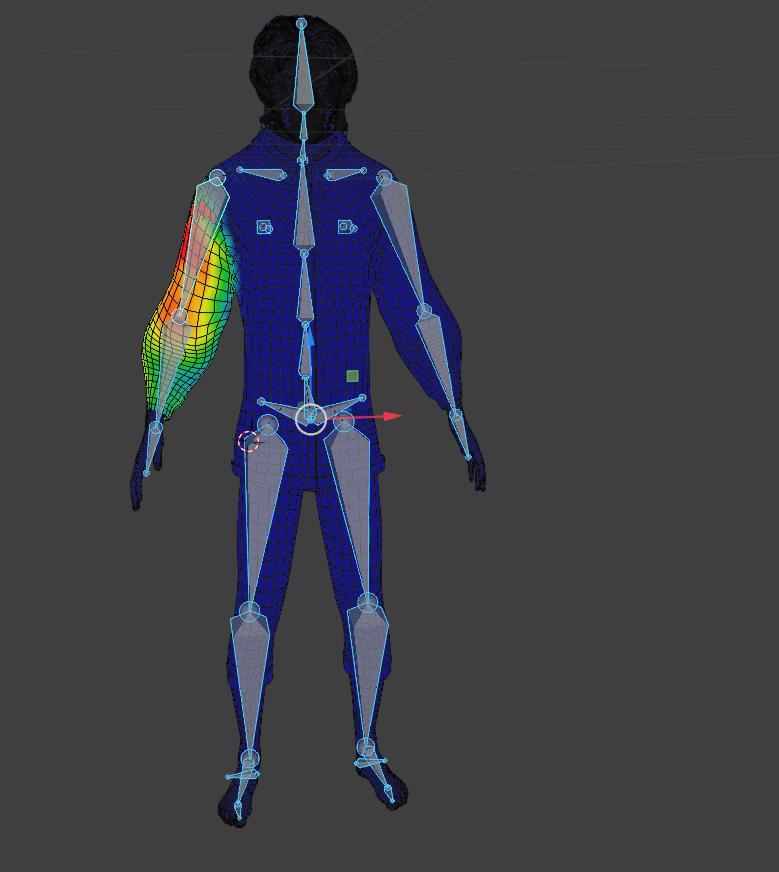
Weight painting proved to be one of the more challenging aspects of the rigging process, despite starting with a solid foundation from Rigify’s automatic weights. The initial distribution worked reasonably well for larger body parts like the torso and thighs, but finer areas required manual adjustment that often led to unintended consequences. One persistent issue was the inability to isolate specific vertices during weight painting – when trying to correct the forearm’s influence on the wrist, for example, the brush would inevitably affect nearby geometry in the hand or elbow that didn’t need modification. This created a frustrating cycle of fixing one area only to inadvertently break another that had been working properly.

The clothing presented particular difficulties due to its proximity to the body mesh. Attempting to refine the shoulder deformation on the jacket would frequently transfer unwanted weighting to the underlying arm geometry, and vice versa. I found myself constantly toggling between vertex groups and using the weight gradient tool to try to contain the influence, but achieving clean transitions required far more precision than I initially anticipated.

After several rounds of adjustments, I developed a more methodical approach: working in small, incremental passes and constantly testing the rig with basic poses between each adjustment. While not perfect, this eventually yielded a serviceable deformation system that handles most necessary movements without obvious distortions. The end result is a rig that works well enough for posing and basic animations, though I can see areas where the weighting could be improved.

08. Rigging the Character

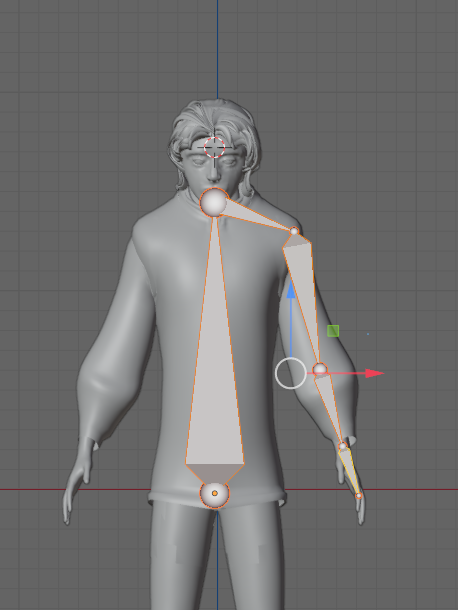
With the modeling and texturing stages complete, I moved on to rigging the character to prepare it for posing and potential animation. Blender’s Rigify add-on proved to be an invaluable tool for this task, offering a customizable and efficient way to generate a functional skeleton without building one entirely from scratch. I started by selecting Rigify’s basic human metarig template, which provides a pre-configured set of bones designed for bipedal characters. After scaling and positioning the metarig to match my character’s proportions, I adjusted individual bones to better fit the unique aspects of the model, such as the slightly exaggerated head shape and limb lengths.

Once the metarig was properly fitted, I generated the final rig using Rigify’s automated system. With the skeleton in place, I parented the mesh to the armature using automatic weights, letting Blender handle the initial weight distribution. For the most part, this worked surprisingly well.

However, as expected, automatic weighting wasn’t flawless. Some areas, like the elbows and knees, exhibited slight pinching or unwanted influence from adjacent bones. The cloth folds around the shoulders also needed refinement, as they occasionally stretched unnaturally when the arms were raised.
Overall, Rigify streamlined the rigging process significantly, allowing me to focus on fine-tuning rather than building a skeleton from the ground up. While weight painting adjustments are necessary, they are far less tedious than they would have been without the add-on’s solid foundation.

07. Textures

Texturing the Character: Keeping It Simple and Effective

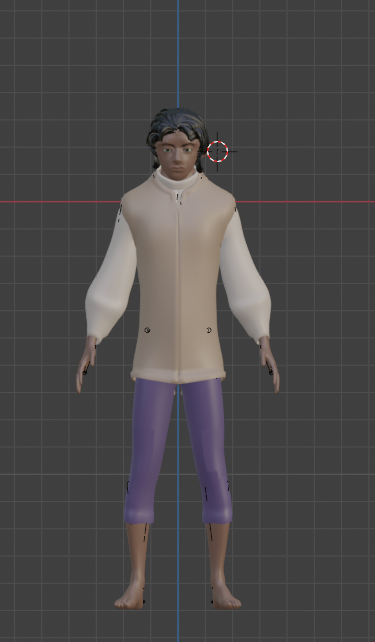
With the modeling stage complete, I moved on to texturing the character, focusing on maintaining a clean and efficient approach. The goal was to enhance the model’s readability while avoiding unnecessary complexity, especially since this was a stylized project rather than a hyper-realistic one. I began by unwrapping the UVs, carefully placing seams in less visible areas to minimize texture distortion. The head, body, and clothing were each given their own texture space, ensuring enough resolution for key details without wasting resources on parts that wouldn’t require intricate work. By not overcomplicating the textures, I ensured the character would remain visually cohesive and easy to read, especially if used in animation or game engines. The final result is a model that feels polished and intentional, with just enough detail to bring it to life without overwhelming the stylized foundation.

06. Modeling the Clothes

After completing the character’s head and hair, I turned my attention to modeling the clothing, which presented its own set of challenges. The reference artwork featured distinct garment shapes that needed to be translated into clean 3D geometry while maintaining proper drape and proportion. My initial attempts at creating the body mesh from scratch proved problematic, as the underlying topology lacked the necessary edge flow to support natural-looking clothing deformation. After several frustrating iterations, I made the pragmatic decision to use a pre-made base mesh from Blender’s asset library as my starting point. This provided a solid anatomical foundation with optimized topology, saving considerable time that would have otherwise been spent fixing fundamental flaws in my original mesh.

With the improved base mesh in place, I began creating the clothing by selectively extruding faces from the body geometry. This approach ensured the garments would follow the body’s contours naturally while maintaining consistent edge flow. For the jacket, I extruded from the torso and shoulders, carefully shaping the collar to match the reference. The pants were developed similarly, starting from the waistline and extending downward with proper consideration for how fabric would drape over the legs. By working this way, I preserved the clean topology of the base mesh while building out the clothing layers, which proved especially valuable when adding folds and wrinkles that needed to deform convincingly.

The extrusion method did require careful planning to avoid unnecessary geometry in areas that wouldn’t be visible, such as under the jacket or inside the collar. I frequently checked the mesh in both solid and wireframe views to maintain efficient polygon distribution. The process reinforced how crucial proper underlying topology is for any character model – whether for facial animation or clothing simulation – and how working from a quality base can elevate the entire project.

Looking back, this experience mirrored my earlier realization with head modeling: starting with proper fundamentals makes all subsequent work more effective. Just as the tutorial provided a structured approach to facial topology, using a professional base mesh gave me the solid foundation needed for quality clothing modeling. The completed outfit now fits the character’s proportions accurately and maintains clean geometry that will support future texturing and posing. This workflow – recognizing when to leverage existing resources rather than struggling through inferior custom solutions – has become an important part of my modeling process, saving time while producing better results.

05. Refining the Face

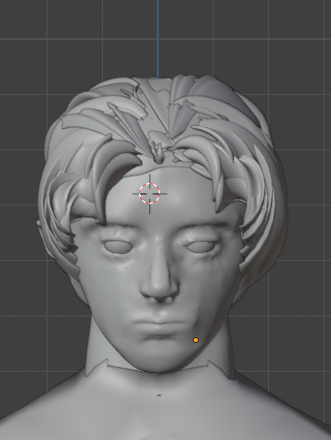
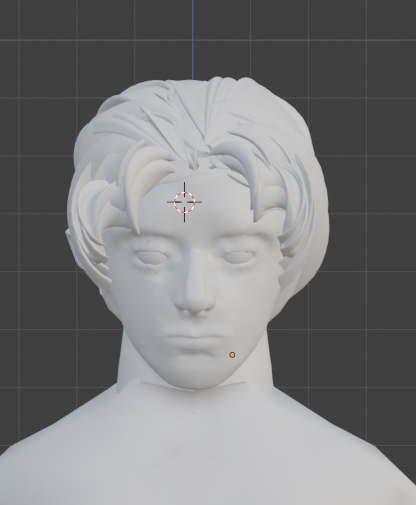
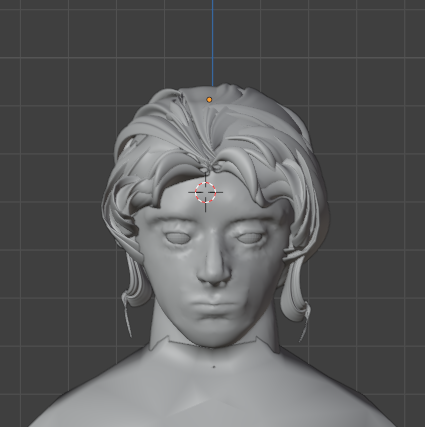
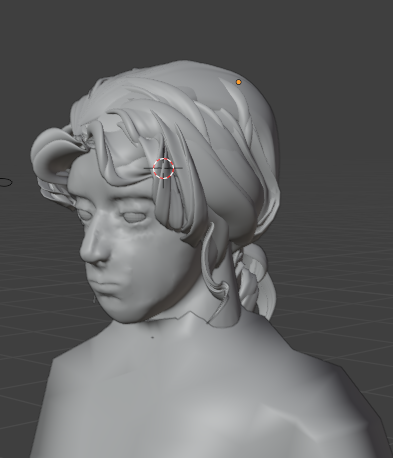
In my previous post, I shared the challenges I faced while learning to model a 3D head and how following a structured tutorial helped me establish fundamental techniques. Building on that foundation, I recently applied those same principles to create a complete stylized character head based on reference artwork. The systematic approach I developed – starting with a low-poly base, focusing on proper edge flow, and gradually refining details – proved equally valuable when working from concept art. Just as modeling the simplified Bammes head served as an effective training exercise, using reference art for this character provided clear visual goals while allowing room for technical problem-solving.

The hair modeling process with curves represented a new challenge that built upon my earlier experiences. While my initial head modeling focused solely on anatomical structure, incorporating hairstyling required adapting my workflow to include different techniques.

The curve-based method I discovered maintained the same philosophy of working cleanly and non-destructively, just as the tutorial’s step-by-step approach had taught me for facial topology. This continuity in methodology – establishing strong foundations before detailing – carried through both projects, demonstrating how core modeling principles apply across different aspects of character creation.

As I prepare to move into texturing and rendering, I find myself returning to the same lesson that emerged from my early struggles: patience and structured workflows yield better results than rushed attempts. Whether tackling fundamental head geometry or more specialized elements like hair, maintaining disciplined modeling habits developed through those initial challenges continues to pay dividends in my current work. The progression from basic head modeling to complete character creation shows how foundational skills serve as a springboard for more complex projects, with each step building logically upon the last.

04. Shaping the Head

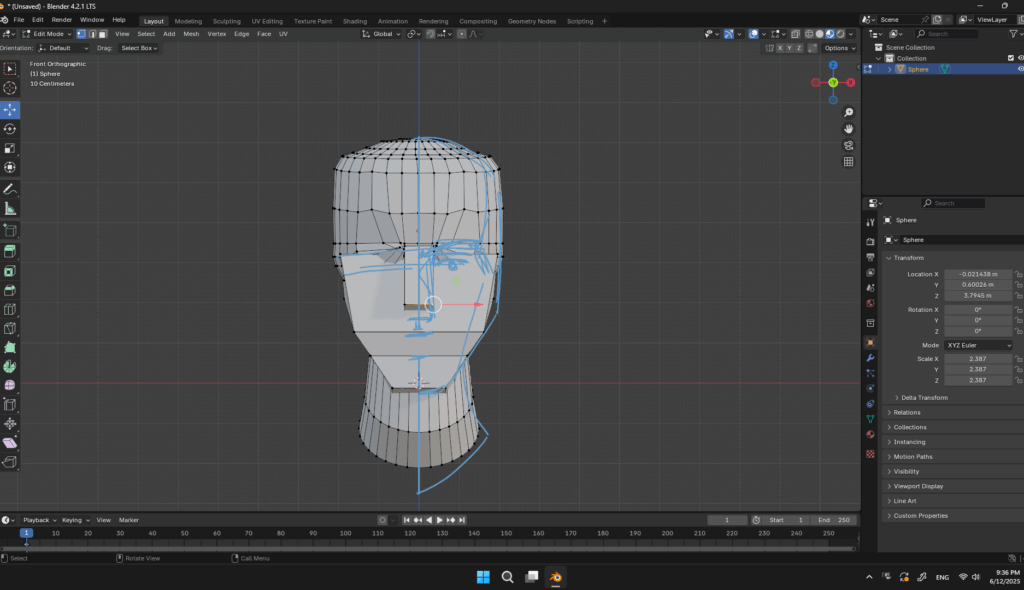
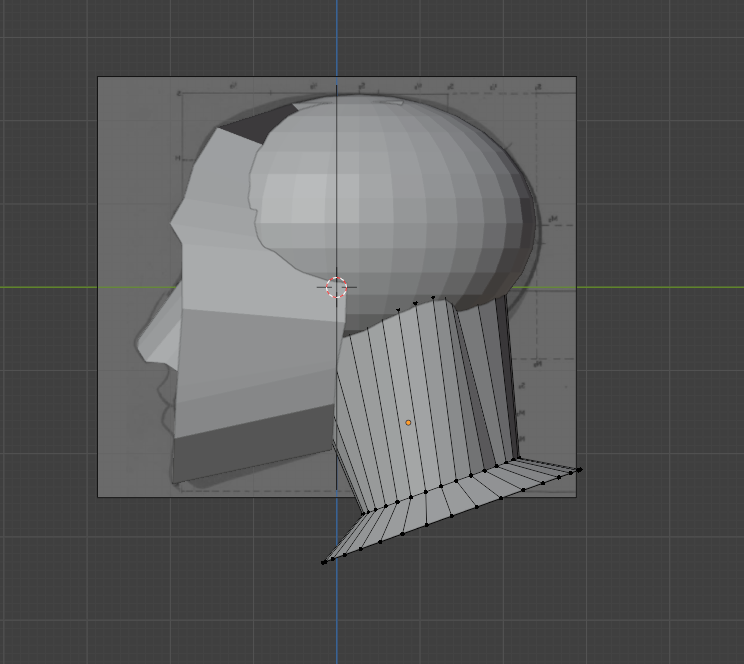
Modeling a 3D human head proved to be a far greater challenge than I initially anticipated. Despite my background in drawing and understanding of anatomy, translating that knowledge into a three-dimensional mesh presented unexpected difficulties. My first attempts were unstructured—I began with a basic shape and tried to refine it through trial and error. The result was an uneven, disproportionate model that lacked the coherence of a proper head structure. Frustrated by my lack of progress, I realized I needed a more systematic approach.

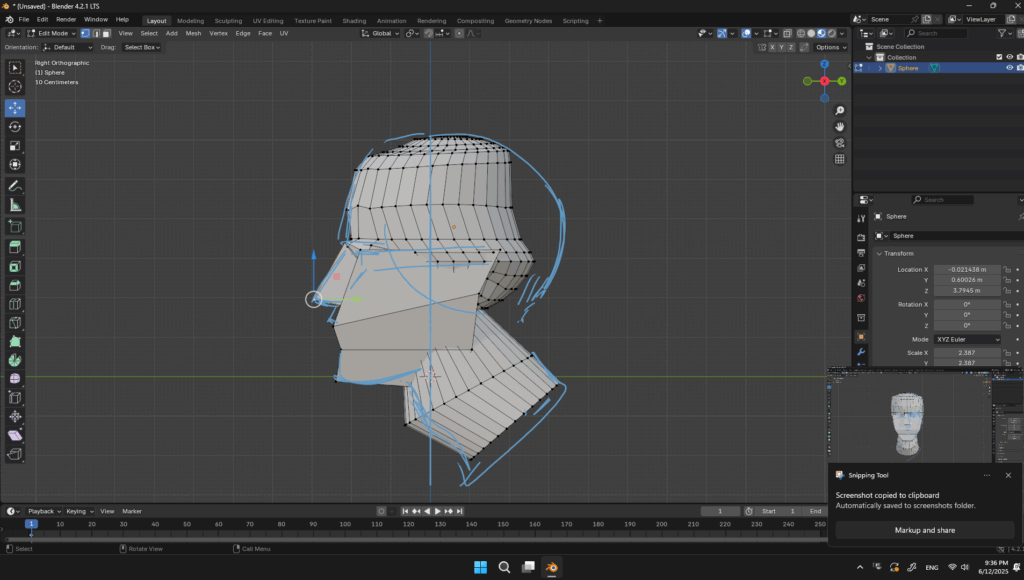
The turning point came when I decided to follow a structured tutorial. The tutorial emphasized starting with a low-poly base mesh and gradually refining it, rather than diving into details too early. It provided a clear methodology: blocking out major forms first, establishing proper edge flow for facial features, and only then adding subdivisions where necessary. This step-by-step process eliminated the guesswork and allowed me to build the model with intention rather than improvisation. The difference was immediate—my topology became cleaner, and the proportions more accurate.

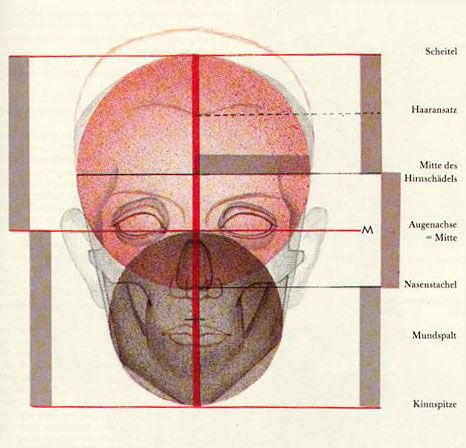
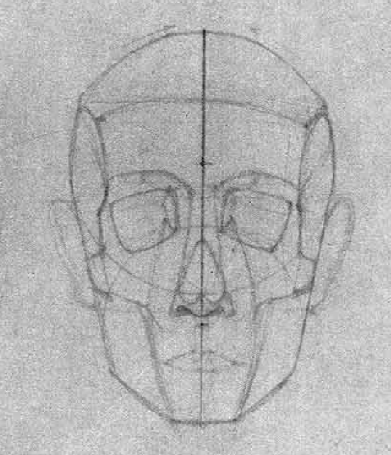
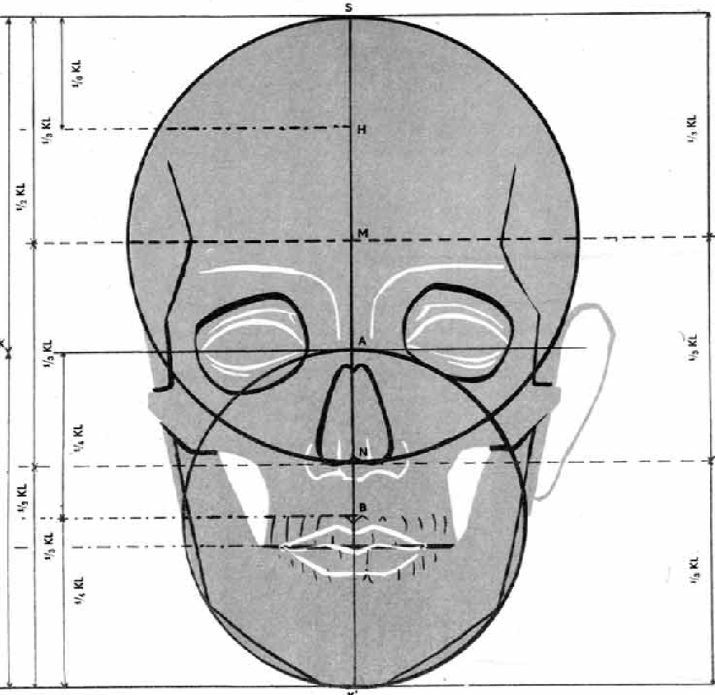
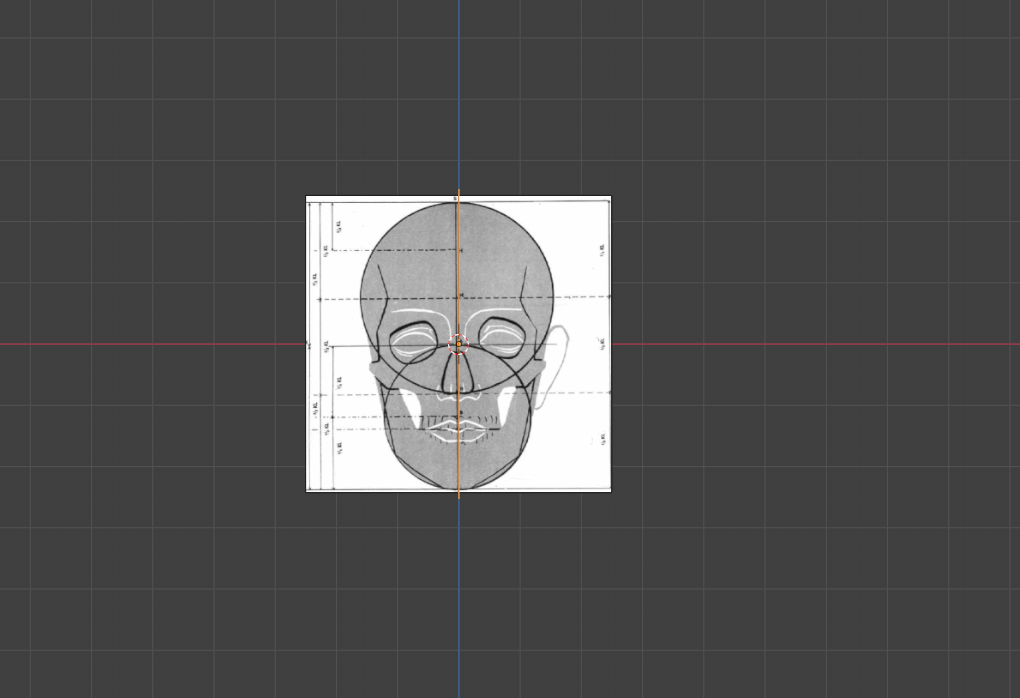
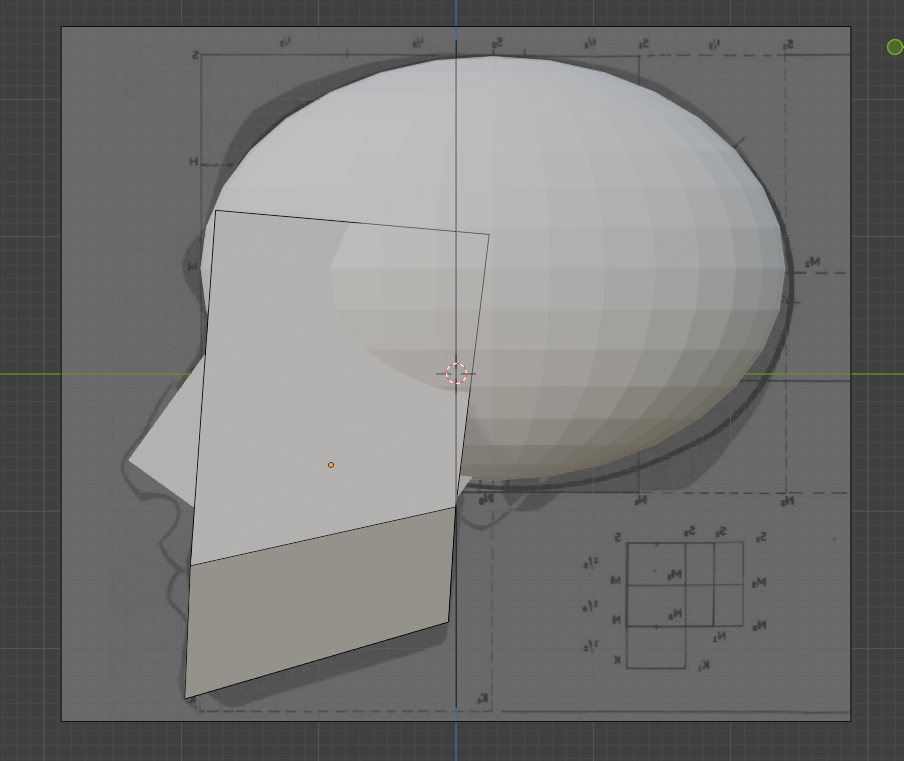
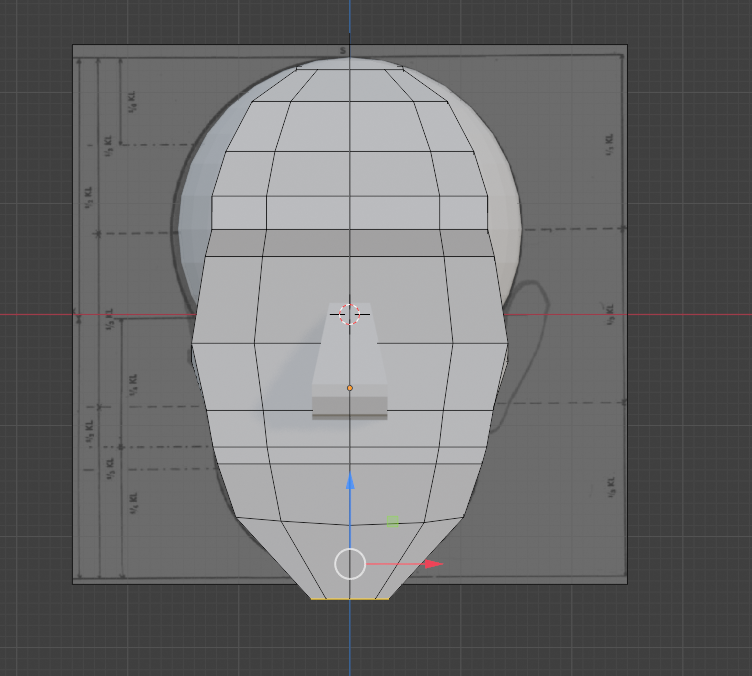
Before attempting a fully realistic head, I chose to practice on a simplified model based on Gottfried Bammes’ anatomical drawings.

Bammes’ approach breaks down the head into clear geometric forms, making it an ideal exercise for understanding structure without the complexity of realistic detail. Working on this stylized version helped me focus on fundamentals: establishing primary shapes, maintaining symmetry, and ensuring proper edge flow around critical areas like the eyes and mouth. This practice run gave me the confidence to apply these principles to a more detailed model.

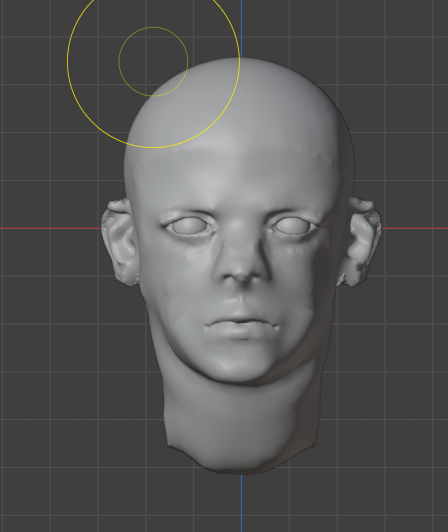
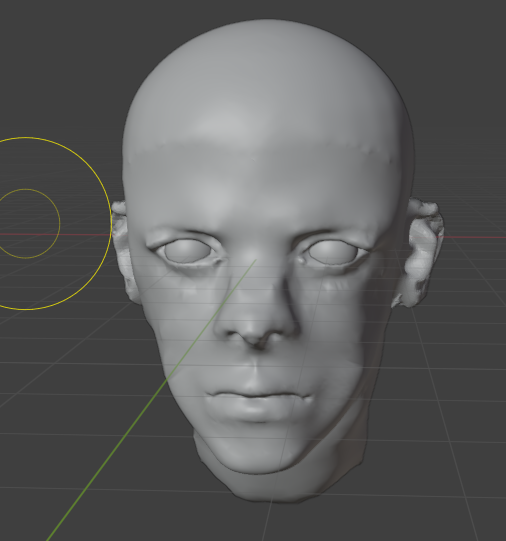
With the lessons from the tutorial and my Bammes exercise, I began a new attempt at a realistic head. This time, I followed a disciplined workflow: starting with a base mesh, refining proportions before details, and carefully planning edge loops for deformation. The result was a significant improvement—a head model that actually resembled human anatomy, with clean topology suitable for further sculpting or animation. The key takeaway was the importance of foundational structure; without it, even the most meticulous detailing would not correct fundamental flaws.

Reflecting on the process, the most valuable lessons were patience and methodical planning. Skipping foundational steps leads to inefficiency, while a structured approach saves time and produces better results. Moving forward, I intend to refine this model further, exploring sculpting and texturing, but the core understanding of proper modeling technique will remain essential. For anyone struggling with 3D head modeling, the solution lies in studying proven methods, practicing on simplified forms, and progressively building complexity. Mastery comes not from rushed attempts, but from deliberate, informed practice.

03. Shaping the body

Starting off with a reference for the 3D model was great to assuage my general unease about modeling a character, but starting with a simple cube was daunting. That’s why I sought out a helpful YouTube tutorial to hold my hand and walk me step by step through the process of using the shortcut tools, extruding, rotating and pushing this way and that the vertices, edges and faces. It walked me through the basics of blocking out a human figure, starting with simple primitives and gradually refining them into something more lifelike.

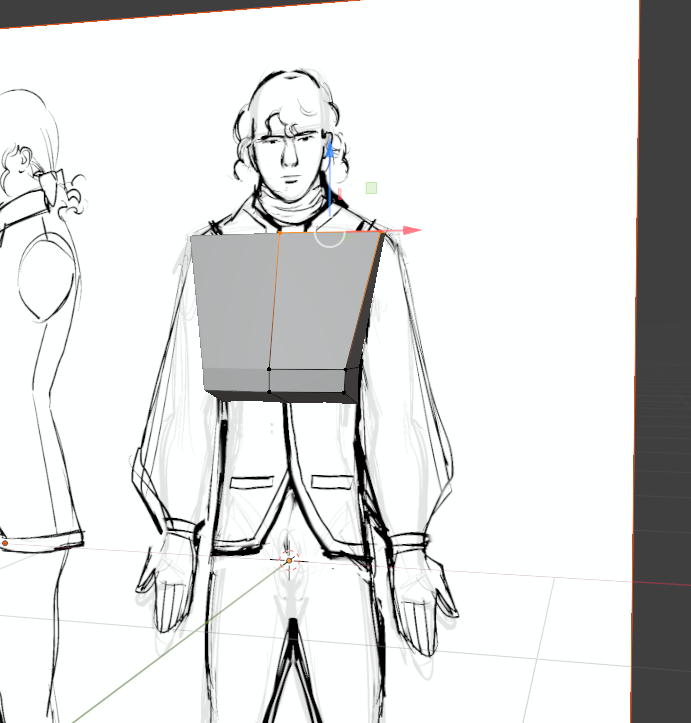
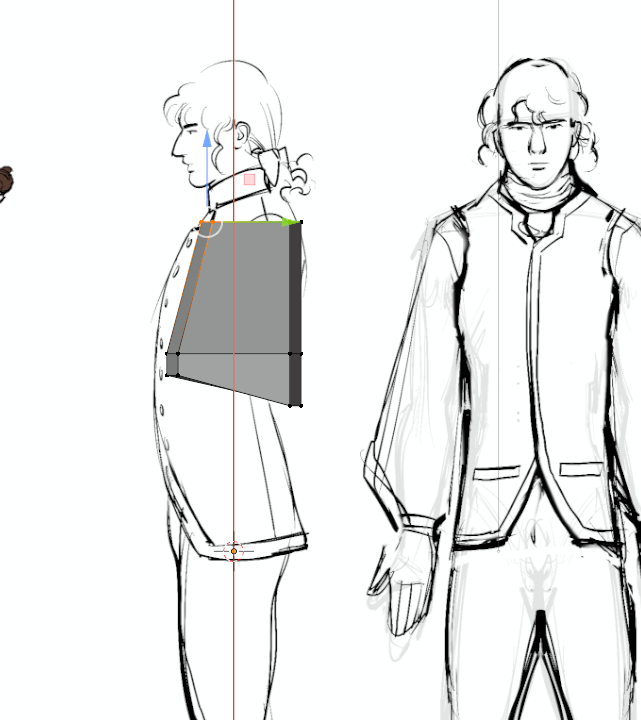
I began by mirroring the cube, hollowing out a basic cube, which would serve as the foundation for the torso. Following the tutorial’s advice, I applied the mirror modifier to ensure symmetry, a crucial step when modeling organic forms. With the clipping option enabled, I could freely move vertices without worrying about accidentally breaking the model’s center line.
At this stage, the process felt intuitive. I pulled and pushed vertices, extruded faces to form the rough silhouette of the chest and waist, and even started defining the curvature of the spine. It was satisfying to see the basic shape emerge so quickly. I found myself growing optimistic—maybe this wouldn’t be as difficult as I had feared.

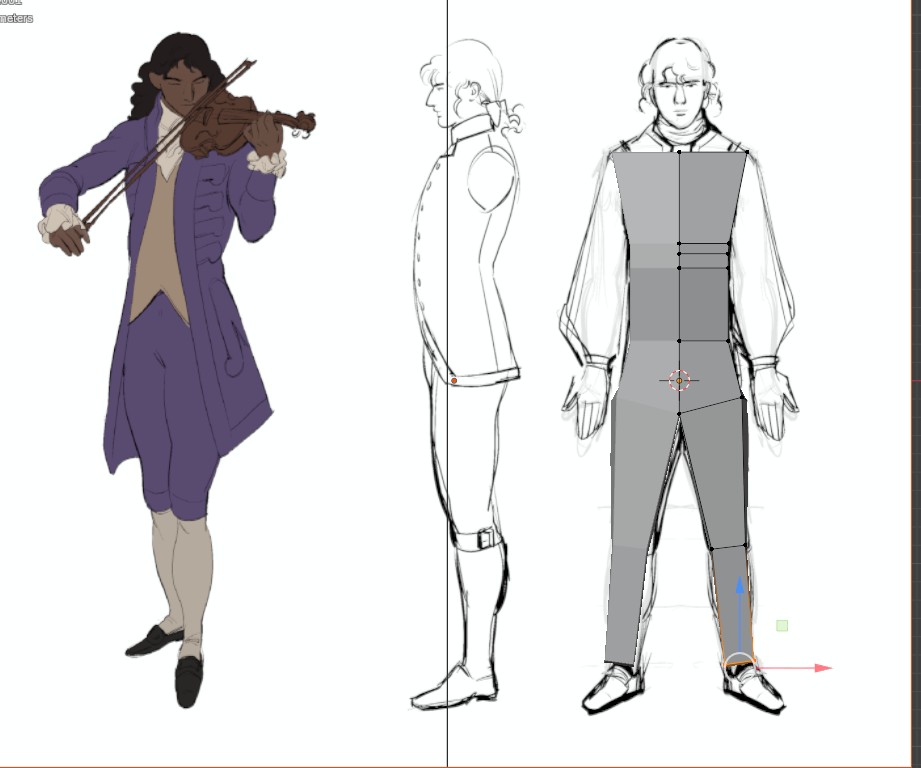
That optimism, however, was short-lived. The real challenge began when I moved on to blocking out the extremities—the arms and legs. I had decided early on that this initial pass would be a rough draft, meaning I wouldn’t dive into intricate details like fingers or toes just yet. My goal was to establish the overall proportions and posture before refining smaller features.

But as soon as I started shaping the arms, I hit my first major snag. In the front view, things looked acceptable—the arms protruded naturally from the sleeves, and their positioning seemed correct relative to the torso. However, when I rotated the model to check the side profile, I realized I had made a critical oversight: I hadn’t considered the actual thickness of the arms. I had to resort to guesstimating. Another oversight? Not considering the rotation of the arms. In times of need both in drawing and now in 3D modeling, I turned to Gottfried Bammes’ anatomical studies and cross-referenced them. His detailed breakdowns of muscle structure and proportion gave me a rough mental blueprint of how the arm should look in space.

I began adjusting the vertices, ensuring that the arms had proper volume. The upper arm needed to be thicker near the shoulder, tapering slightly toward the elbow, while the forearm required a subtle curve to suggest muscle definition. It wasn’t perfect—after all, this was still a rough pass—but it was a significant improvement over the flat, rubbery limbs I had initially created.

While working on the arms, I also took the opportunity to refine the torso in greater detail. The initial block-out had given me a vague sense of the body’s shape, but now it was time to introduce more nuanced forms.


I focused on the rib-cage first, carefully curving the vertices inward to suggest the natural dip beneath the pectorals. This helped break up the otherwise boxy silhouette. Next, I turned my attention to the stomach; instead of leaving it as a flat plane, I sculpted a gentle outward curve near the abdomen, followed by a subtle inward taper toward the waist.


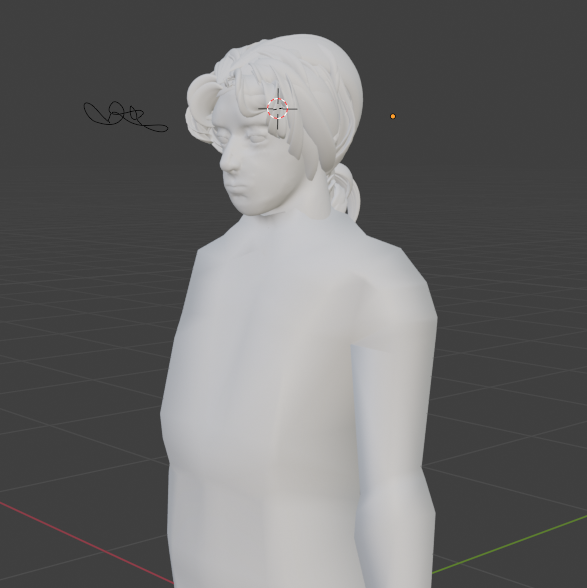
The hip bones proved to be another interesting challenge. In real anatomy, the pelvis creates distinct protrusions at the sides, and I wanted to capture that in my model. I carefully pushed and pulled vertices, ensuring the hips weren’t too exaggerated but still noticeable enough to suggest underlying bone structure. I might’ve gone a bit too far with my careful push and pull, however, which created a couple of problems for me down the line.

The wise words of my painting teacher from high school came back to me: “Don’t do it badly now and expect to fix it later, but do it right now, so it wouldn’t need fixing.” Indeed, I did very much so do it badly and then expected to fix it later. Maybe future me would provide the solution for those pokey love-handles.

My next step on the road to modeling, though? The head.

01. Turnaround Insights

This semester, I want to focus on modeling a 3D character from 2D concept art. I specifically mention “from 2D concept art” because translating a flat design into a three-dimensional model presents unique challenges—proportions, perspective, and maintaining the stylistic choices of the design which might not translate well in a three-dimensional space. 

After abundant research (a dive into YouTube search for video tutorials), I found the following tutorials and insights useful: 

Creating a Character Turnaround from a Concept Piece – This one goes the simple route of creating a character turn-around by first drawing half of the front piece and then duplicating it so the front would be symmetrical, then copying it in order to do the back-side of the character, after which the side-view is made. While the art was solid it did not give much impression of actual rotation in a 3D space, which, for experienced modellers (of which I am not) might not be an issue. The character design was also incredibly detailed, which of course serves its own challenges.

Another tutorial, more advanced one, for a simpler character concept (How I Make Character TURNAROUNDS and Sheets!) emphasizes the importance of keeping the process simple, as well as well-structured, by thinking about the anatomy of the design and using guiding lines to remain consistent in all the angles – front, back, profile and (!) ¾ view. 

The most useful video I found and which I will use to reference primarily my process was this one: Character Turnarounds: like a Pro! Photoshop Timeline

For the purpose of creating a full turnaround, the animator stresses the need to make 8 individual poses of every single angle the character would be turning in (or 5 in case the design is symmetrical, in which case the different angle poses could be duplicated). This animator, interestingly, started with the ¾ pose and began from there. This, to me, seems to be the most logical step. He states he did that, because it is the main pose in most animated scene where the characters have to both interact with each other and show the majority of their face to the audience. To me, however, it makes even more sense, because the ¾ view is where you get the most context for the shape of the features and the angles and curves of the body. A front view is far too flat, and a side view, while providing information on which parts jut out and which are concave, loses information in regards to the over-all design. After the ¾ is done, the neck is chosen as the pivotal axis on which the character is to revolve (two guides along both lines of the neck and one deadcenter) with additional guides at the outer-most extremities – top of the head, feet, shoulders, waist, chin and mouth, which keeps the proportions in check. Interestingly, the pelvis tilt is different for the front and back ¾ views – which means that the two could not be reversed, as could be done for the front view and the side view. Because of the way the pelvis tilts, it is either tilting upward (in the backview) or upward (in the front view). 

The animator also stresses a key difference between designing for 3D and 2D. In 2D animation, artists often use “cheats”—like Mickey Mouse’s shifting ears, which change position depending on the angle to maintain readability. When translated, the model often looks weird and unnatural. THis can be circumvented by “cheating” the model (automorphing) depending on the angle it is being viewed at, as was done for these two models: https://x.com/CG_Orange_eng/status/1482422057933565953 and https://x.com/chompotron/status/1481553948721180677

But that would be a further blogpost all on its own. 

Now that I’ve gathered these insights, my next task is to select a 2D concept art of a character and create a turnaround sheet before moving into 3D modeling.