
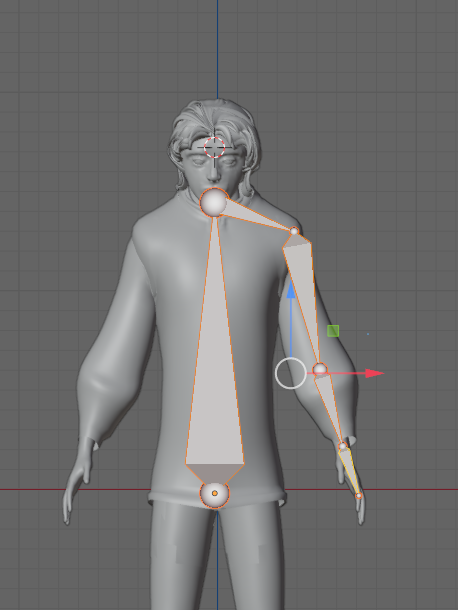


With the modeling and texturing stages complete, I moved on to rigging the character to prepare it for posing and potential animation. Blender’s Rigify add-on proved to be an invaluable tool for this task, offering a customizable and efficient way to generate a functional skeleton without building one entirely from scratch. I started by selecting Rigify’s basic human metarig template, which provides a pre-configured set of bones designed for bipedal characters. After scaling and positioning the metarig to match my character’s proportions, I adjusted individual bones to better fit the unique aspects of the model, such as the slightly exaggerated head shape and limb lengths.
Once the metarig was properly fitted, I generated the final rig using Rigify’s automated system. With the skeleton in place, I parented the mesh to the armature using automatic weights, letting Blender handle the initial weight distribution. For the most part, this worked surprisingly well.
However, as expected, automatic weighting wasn’t flawless. Some areas, like the elbows and knees, exhibited slight pinching or unwanted influence from adjacent bones. The cloth folds around the shoulders also needed refinement, as they occasionally stretched unnaturally when the arms were raised.
Overall, Rigify streamlined the rigging process significantly, allowing me to focus on fine-tuning rather than building a skeleton from the ground up. While weight painting adjustments are necessary, they are far less tedious than they would have been without the add-on’s solid foundation.
