In diesem Artikel möchte ich einige technische und konzeptionelle Überlegungen anstellen, die für eine erfolgreiche Umsetzung des Mappings von zentraler Bedeutung sind. Dabei werde ich nicht spezifisch auf eine Kirche als Projektionsort eingehen, sondern vielmehr allgemeinere Aspekte beleuchten, die unabhängig vom konkreten Raum anwendbar sind.
Während einer Fahrradtour an der Mur entlang, kam mir außerdem der Gedanke, die Show so zu gestalten, dass sie skalierbar und reproduzierbar ist. Das würde nicht nur die Umsetzung erleichtern, sondern auch neue Möglichkeiten für zukünftige Anwendungen eröffnen – sei es in anderen Räumen oder für verschiedene Zielgruppen. Doch dazu später mehr.
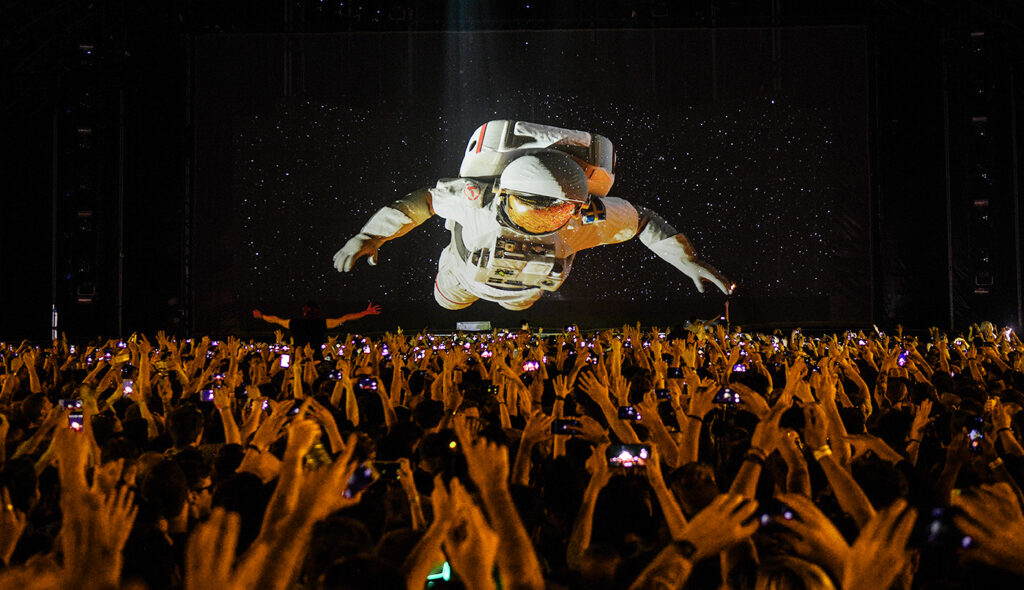
Hologauze
Ein spannender Ansatz, um die Flexibilität zu erhöhen und die Abhängigkeit von spezifischen Projektionsflächen zu reduzieren, ist die Verwendung von Hologauze. Diese Technik wurde mir von meinem Motion-Design-Tutor Markus Z. während eines Vortrags vorgestellt und hat sofort mein Interesse geweckt. Hologauze bietet die Möglichkeit, Projektionen frei im Raum schwebend erscheinen zu lassen und eröffnet so völlig neue ästhetische Möglichkeiten. Es scheint sinnvoll, diesen Ansatz genauer zu untersuchen und zusätzliche Alternative Projektionsflächen in meine Recherche einzubeziehen.
Indem ich die verschiedenen technischen Optionen analysiere und ein robustes Konzept entwickle, möchte ich sicherstellen, dass meine Arbeit nicht nur als einmaliges Experiment, sondern als wiederholbares und skalierbares Format funktionieren kann.
What is Hologauze?
Hologauze® is the original and best solution for creating large-scale holographic illusions with digital projection. Hologauze® is the only patented and fully silvered projection gauze available with unparalleled levels of transparency, brightness, contrast, and viewing angle range. Being fully silvered means Hologauze® also supports 3D Stereoscopic polarised video, making it unique on the market.
(Quelle: https://www.holotronica.com/hologauze/)
Photogrammetrie
Eine weitere spannende Technik, die in meinem Projekt Anwendung finden könnte, ist die Photogrammetrie. Mit dieser Methode lassen sich sakrale Statuen und architektonische Elemente einscannen und in detailreiche 3D-Modelle umwandeln. Dies eröffnet nicht nur kreative Möglichkeiten für die visuelle Gestaltung des Mappings, sondern erlaubt es auch, den Charakter und die Struktur der Originalobjekte digital zu bewahren.
Ein wertvoller Tipp meines Workshop-Leiters Markus Z. war die Nutzung der Software “3D Flow”, die besonders benutzerfreundlich sein soll. Die Free-Version dieser Software ermöglicht es, mithilfe von bis zu 50 Fotos ein brauchbares 3D-Objekt zu erstellen – ein äußerst nützlicher Ansatz, der meine Arbeit kosteneffizient und technisch zugänglich macht.
Reconstruct everything in 3D
3DF Zephyr lets photogrammetry catch on in multiple scenarios fostering different targets and needs by taking advantage of an all-in-one software suite.
Our in-house technology is as versatile and user-friendly as possible and it can easily be adapted to the users’ skills.
Choose your camera setup
3DF Zephyr allows performing 3D reconstructions automatically by using pictures and video data taken with any sensor and captured using any acquisition techniques.
You can use different cameras, lenses and focal lengths during the same surveying and scanning session.
Deal with any scanning challenge
Get the most out of aerial and ground photogrammetry by processing videos, spherical pictures, multispectral and thermal + RGB imagery on a single software platform.
3DF Zephyr is not just photogrammetry: import, register and analyze your laser scan data (native file formats supported).
(Quelle: https://www.3dflow.net/)
Workflow
Ein weiterer zentraler Aspekt sind Workflow-Verbesserungen im Bereich der Simulationen und Partikelsysteme in Cinema 4D. Gerade bei komplexen Projekten passiert es schnell, dass der Rechner durch zu anspruchsvolle Simulationen an seine Grenzen gerät – eine Erfahrung, die ich kürzlich wieder schmerzlich machen musste. Um solche Probleme zu vermeiden, ist es entscheidend, die richtige Herangehensweise zu wählen.
Wie ein Mantra müsste man sich folgende Tipps immer und immer wieder aufsagen:
Simulations in Cinema 4D
🪄 Scene Scale Mastery in Cinema 4D
First off, let’s talk about scene scale. It’s the foundation of a great simulation. Setting it to match the average scale of your objects is crucial. Too big or too small, and you might find your objects either floating like balloons or sinking like stones. Get this right, and you’re setting the stage for some top-notch dynamics.
Actionable Tip: To ensure your scene scale is on point, use the Measure and Construction tool to compare the dimensions of your objects with the default scale in Cinema 4D. This will help you adjust the scale accurately for more realistic simulations.
💥 Collision Shapes: The Unsung Heroes
Collision Shapes—these bad boys are all about optimization. Think of them as the stunt doubles for your high-poly meshes, taking the hits and keeping your simulations smooth. By tweaking the Collision Shape settings, you’re essentially telling Cinema 4D, “Hey, let’s keep things simple and speedy.”
Actionable Tip: When working with complex objects, try using the “Moving Mesh” collision shape option. This provides a more accurate representation of your object for collision calculations, ensuring smoother interactions without sacrificing too much performance.
📺 Jitter No More
Ah, the dreaded jitter. I With some clever adjustments to friction, velocity thresholds, and damping, you can show jitter the door. You can use the timer feature to gracefully retire dynamically moving objects, ensuring they come to rest without any unwanted shivers.
Actionable Tip: Increase the friction value in the Rigid Body tag settings to around 80-90% for objects that tend to jitter. This helps them come to a rest more quickly and reduces unwanted movement.
✨ Emitters & Particle Dynamics in Cinema 4D
Emitters let you unleash a stream of objects, creating dynamic simulations that are nothing short of mesmerizing. And when it comes to particles, it’s all about mastering the forces at play. Gravity, damping, turbulence – these are the tools that let you sculpt motion in exciting ways.
Actionable Tip: For more controlled particle emissions, adjust the “Birthrate Editor” and “Birthrate Renderer” values in the Emitter settings. Lower values result in fewer particles, allowing for more precise control over the simulation.
🎨 Color Customization & Caching
Last but not least, let’s add some color to our simulations. With Cinema 4D’s color User Data and Ramp node, you can paint your objects in any hue you fancy. And don’t forget about caching. It’s like hitting the save button on your simulations, ensuring consistency and saving you precious time during rendering.
Actionable Tip: Before rendering your final animation, always calculate and save the cache for your simulation. This ensures that your simulation plays back exactly the same every time, preventing any discrepancies in your final render.
TUTORIAL: Unleashing the Power of Cinema 4D’s New Simulations: A Quick Dive
(Quelle: https://www.schoolofmotion.com/blog/cinema-4d-simulations)