First drum recording session in our new studio – Flavor Amp

I am currently studying Sound Design in my master’s program.
As part of my final project, I am producing a concept album about addiction and dependency together with my band Flavor Amp. One part of the project is creating 3D audio versions of our songs from the concept album.
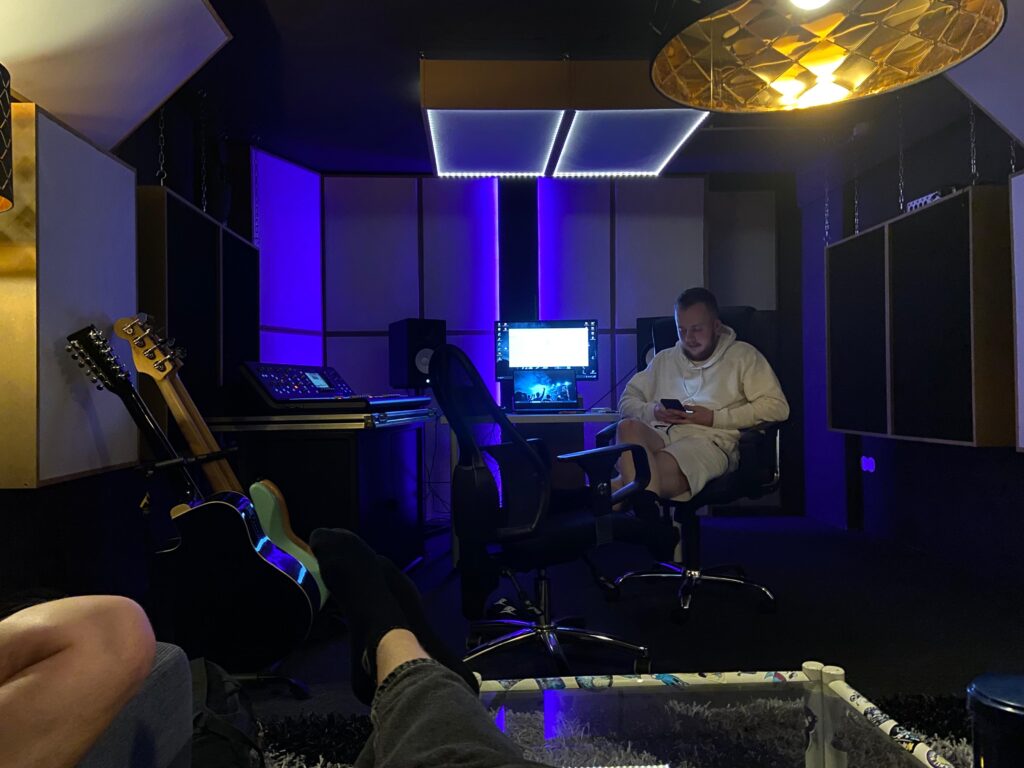
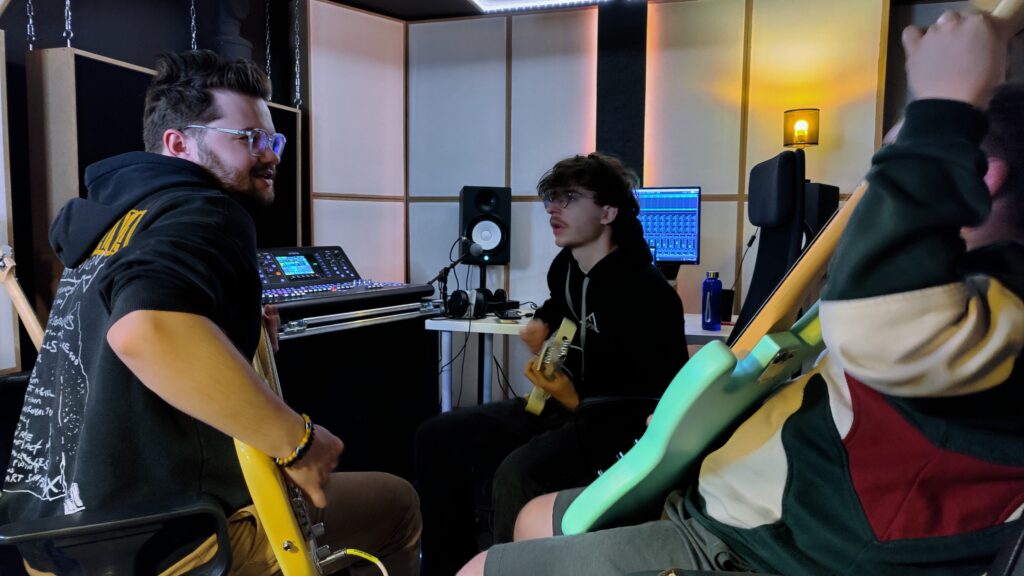
This session marked a very special milestone: it was the very first recording session in our newly built studio.
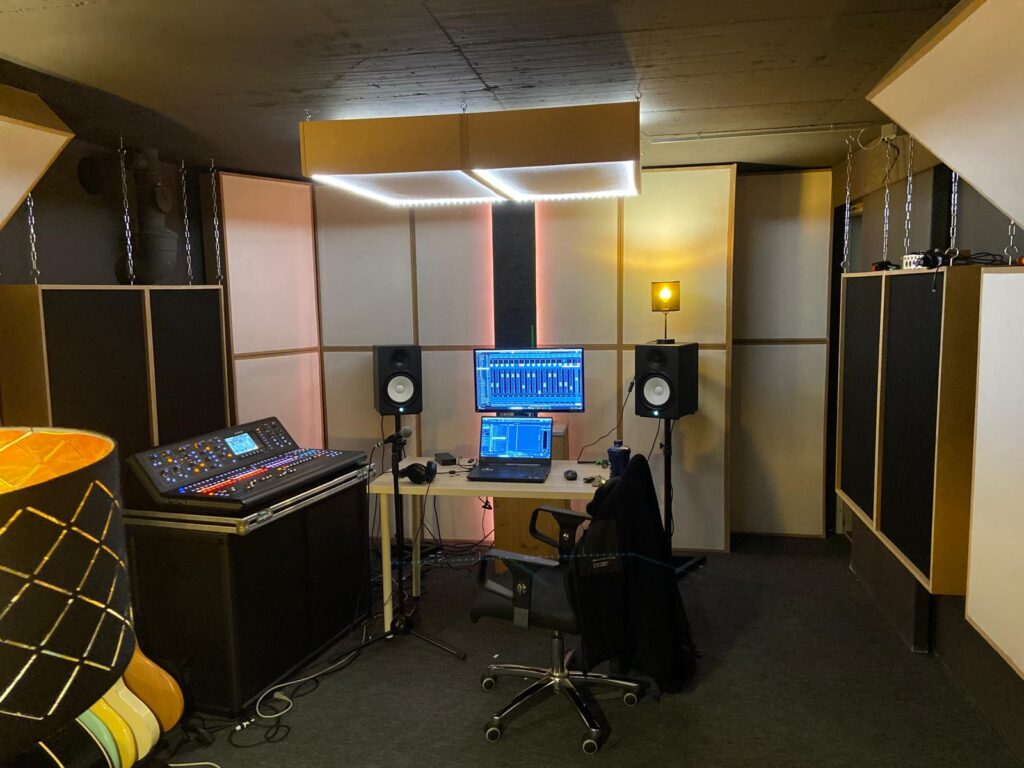
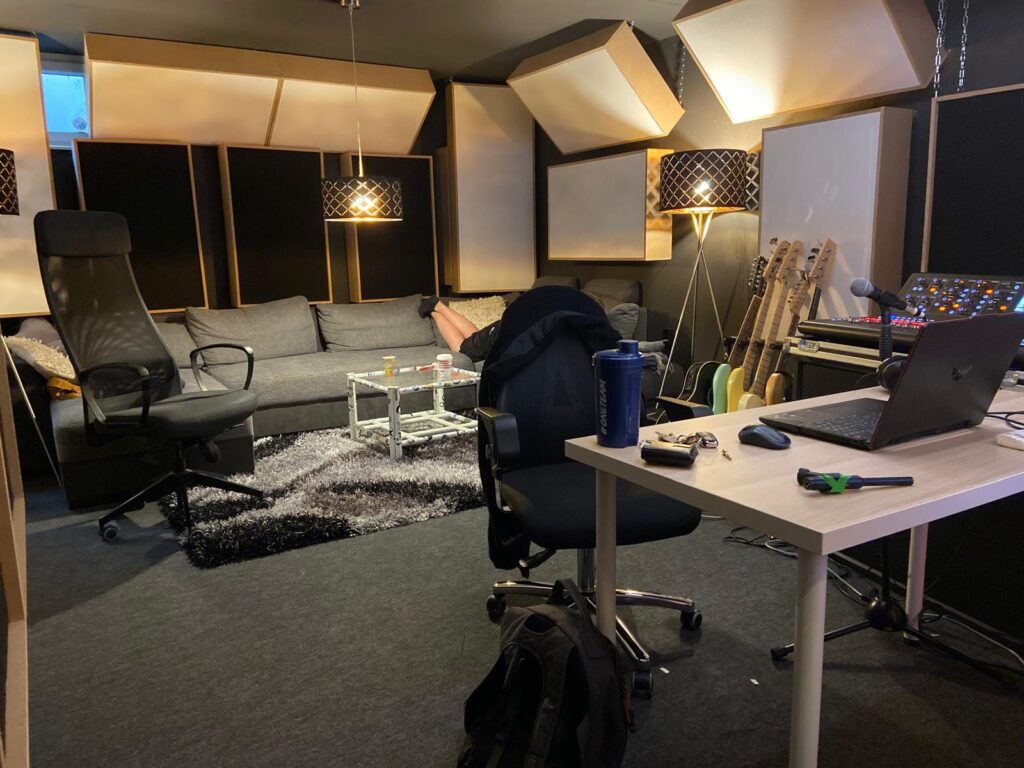
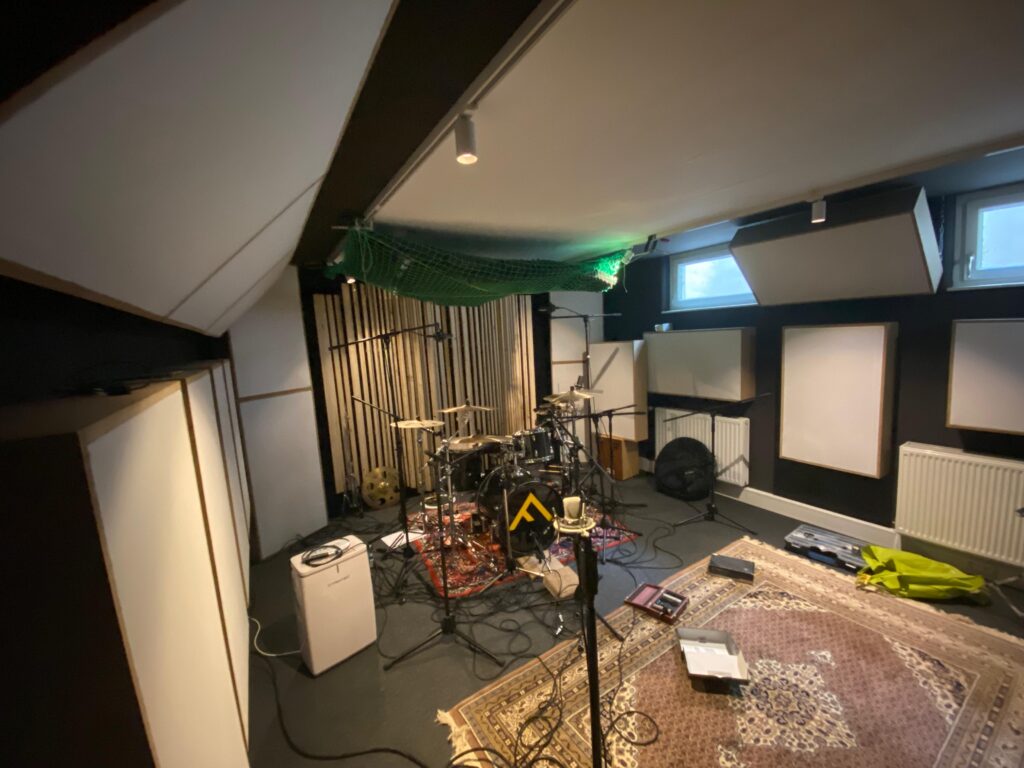
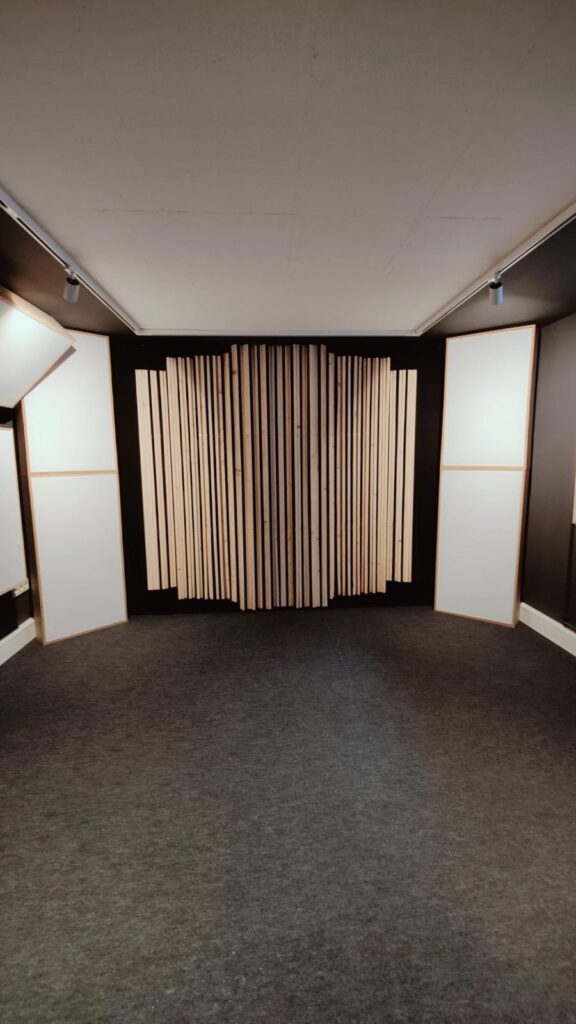
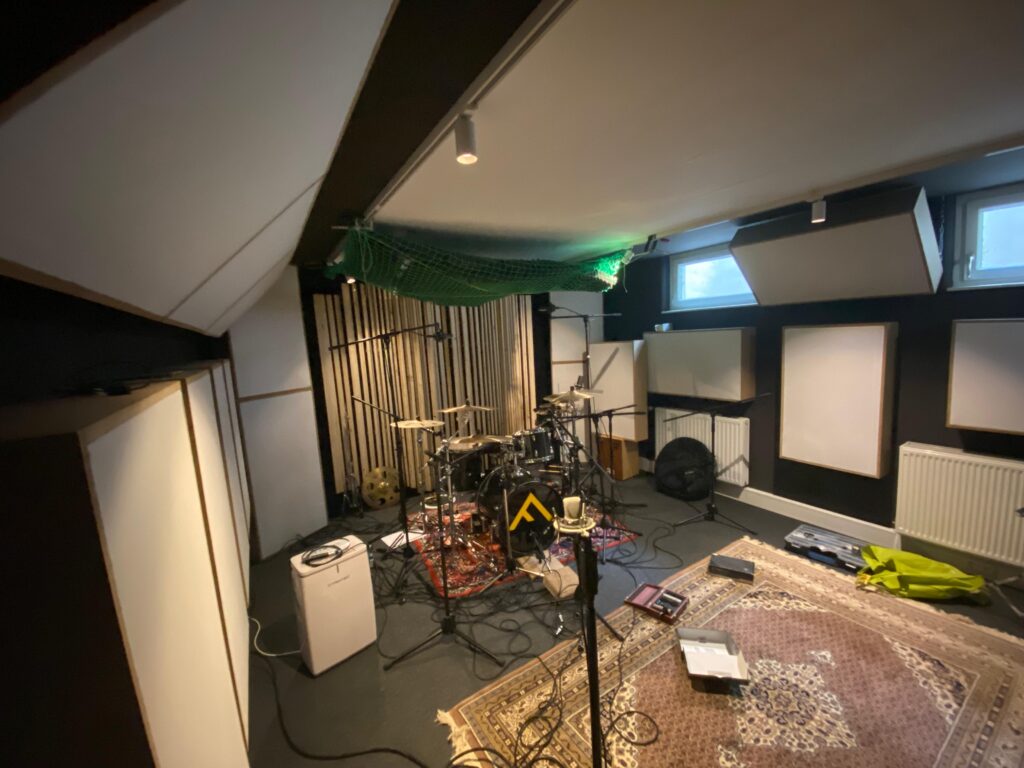
Although the construction is not 100% finished yet (more on that below), we decided to already start working creatively in the space.

Studio Situation

Since we haven’t found a final solution for treating the ceiling above the drum set yet, we quickly improvised: we packed leftover pieces of acoustic foam into a cargo net (of a car-trailer) and strapped it to the ceiling. It’s definitely a temporary fix, but it helped to reduce some reflections from the ceiling.

The control room is also still a work in progress — the diffusors above the black absorbers haven’t been installed yet. We plan to add them in summer.

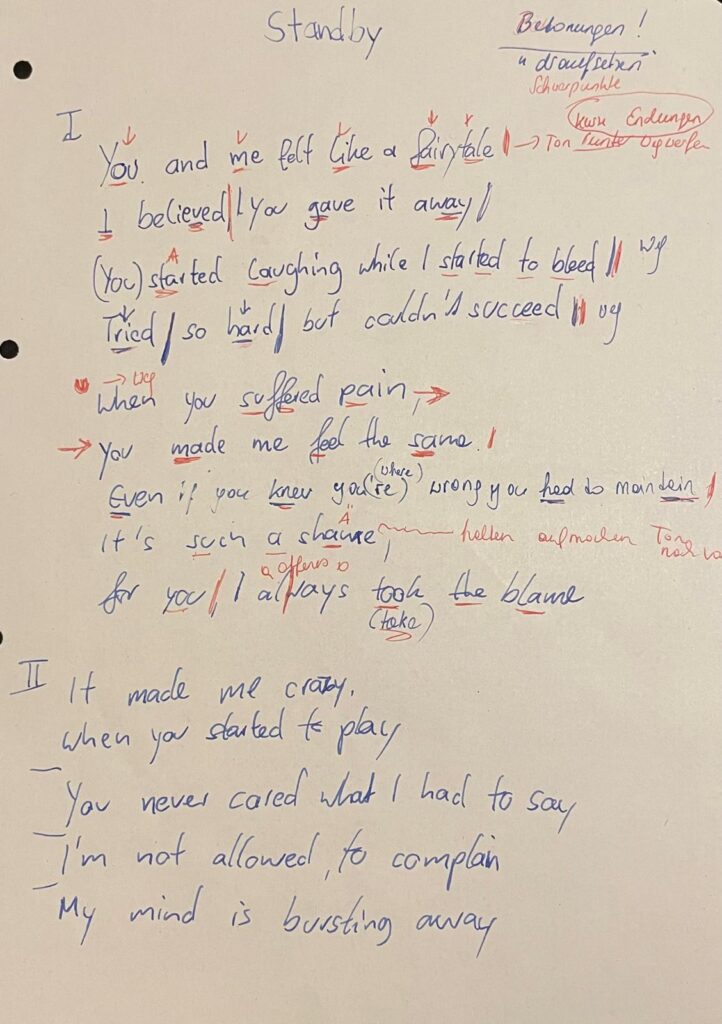
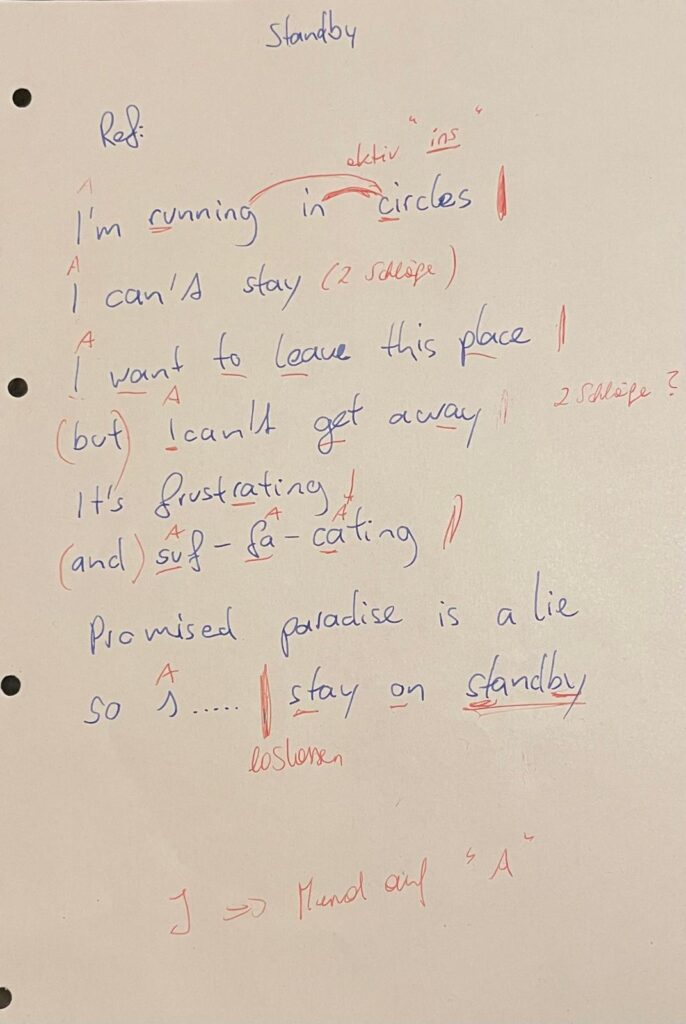
Song: Stand by – Flavor Amp

‘Stand By’ is a raw and emotional track that dives deep into the suffocating reality of being trapped in a toxic relationship—a dynamic that mirrors the psychological and emotional patterns often found in addiction. The song paints a vivid picture of circular thinking and emotional dependency: the feeling of giving everything and receiving harm in return, the confusion of being hurt by someone who once promised love, and the inner battle of wanting to leave but being psychologically unable to do so.

The metaphor of being ‘on stand by’ captures a state of paralysis—still connected, still present, but unable to act or move forward. In the context of our concept album on addiction and dependency, this song stands as a powerful metaphor for emotional entrapment. Just like with substance or behavioural addictions, the individual becomes stuck in a loop: knowing something is damaging but feeling incapable of breaking away.
Recording Setup

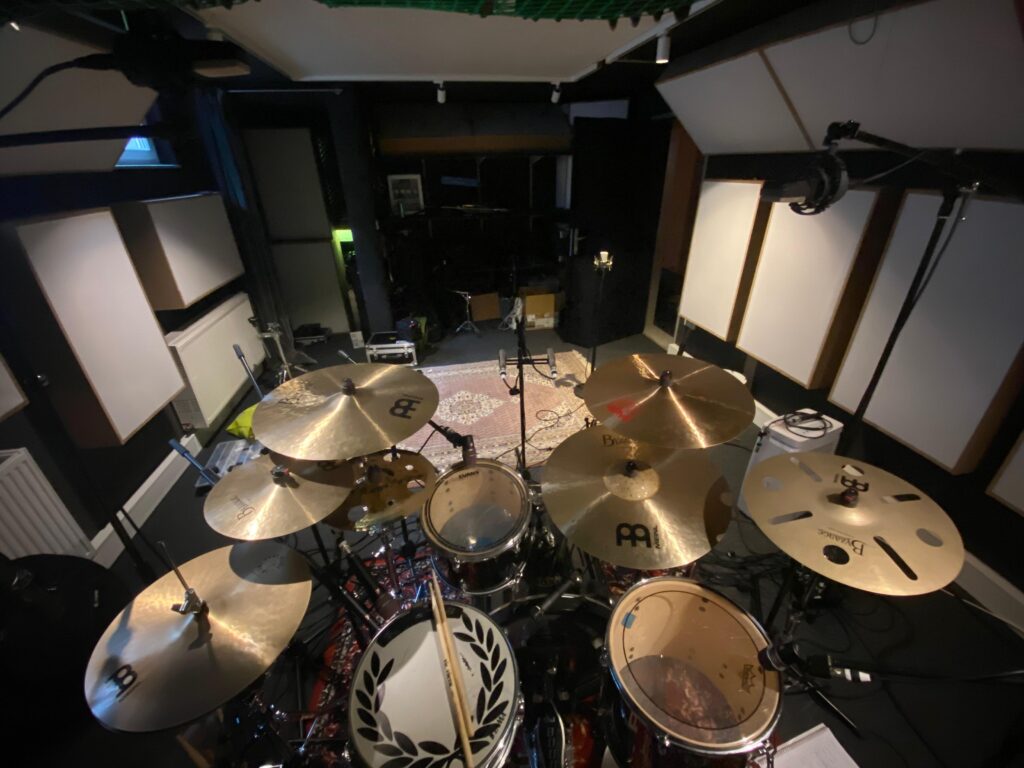
We recorded all 17 channels with my Midas M32-LIVE.

This was our patch plan:

CH1: Kick in (Audix D6)

CH2: Kick out (sE Electronics V-Kick)

CH3: Snare top (sE Electronics SE8)

CH4: Snare top (sE Electronics V7X)

CH5: Snare bottom (sE Electronics V-beat)

CH6: Hi-Hat (Shure Sm7b)

CH7: Tom 1 (sE Electronics V-beat)

CH8: Tom2 (sE Electronics V-beat)

CH9: OH HH (AKG C414)

CH10: OH Ride (AKG C414)

CH11: Ride (Neumann KM184)

CH12: Splashes (Neumann KM184)

CH13: Equal-Distance-Mic (Shure Sm57)

CH14: Mono Room (Neumann TLM102)

CH15: Droom L (Neumann KM184) (AB)

CH16: Droom R (Neumann KM184) (AB)

CH17: Hall (outside of the room) (sE Electronics SE8)
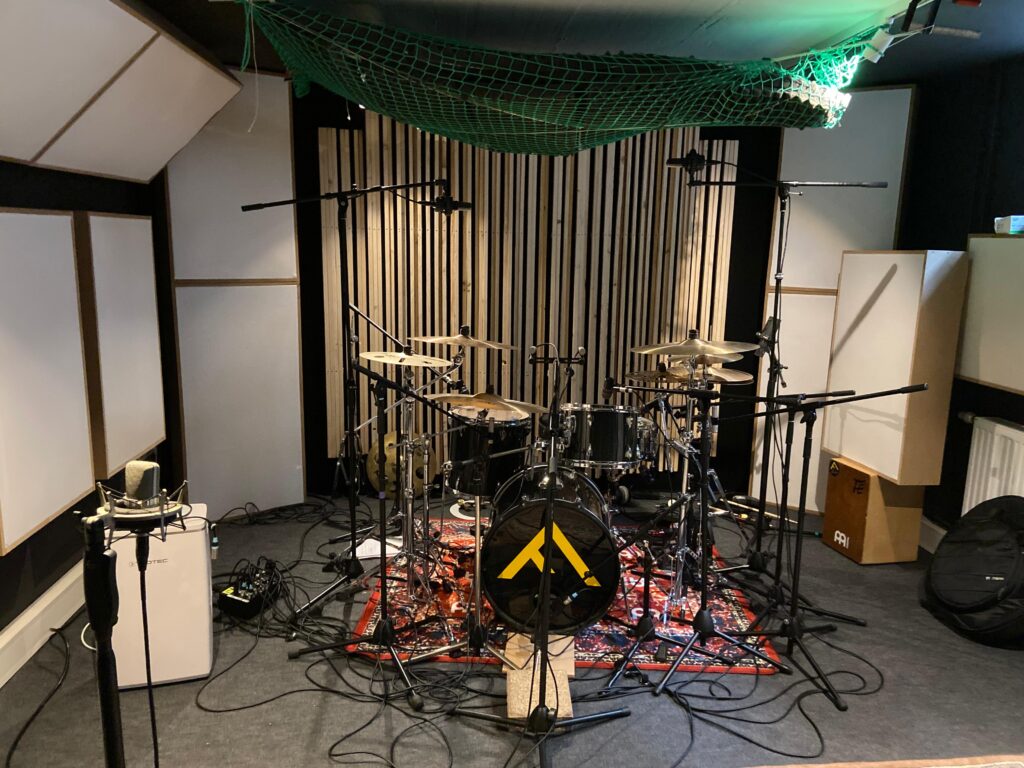
Before the session, I had a talk with Matthias Frank, who gave me some valuable input regarding microphone placement and recording techniques. At the end of the day, he advised me to close-mic as many individual components of the drum kit as possible, in order to have maximum flexibility during the mixing process — especially important for a complex 3D audio production.

We also worked with the overdubbing method to gain more control during the mixing and spatialization process. For example, during certain song parts, our drummer intentionally left out some cymbal hits while recording the main drum performance. We then recorded those cymbal accents separately, allowing us to freely position them in the 3D audio field later on.

Following this advice, we set up a wide range of microphones across the kit:

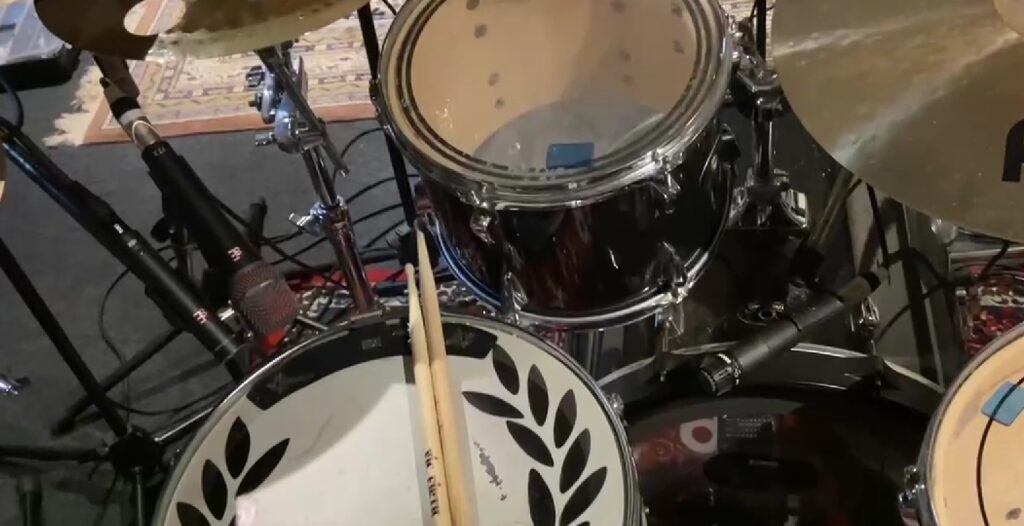
  • Kick Drum: Mic’d with two microphones — an Audix D6 inside and a SE Electronics V-Kick on the outside. Although I normally prefer a large-diaphragm condenser for the outside mic, using two dynamics turned out to be a great combination (I had no condenser mic left).
  • Snare Drum: We used three microphones: a typical dynamic mic (V7x) and a small-diaphragm condenser mic (SE8). The condenser captured more brightness and detail, but also more bleed, so I’ll decide during mixing which one fits best. On snare bottom we used the sE Electronics V-beat.
  • Hi-Hat: Mic’d using a Shure SM7.
  • Toms: We used the sE Electronic v-beat on both toms.
  • Overheads: For the overheads, we used AKG C414s — a classic choice known for their clarity and detail.
  • Cymbals: The ride and the splashes were individually close-mic’d.
  • Room Micing: Inspired by German engineer Moses Schneider’s techniques, I experimented with the “Droom” (Dream Room) method. This involves two small-diaphragm condenser microphones (cardioid pattern in our case) placed in an A/B stereo setup, but directed away from the drums to capture a very natural and wide room sound. Although hypercardioid microphones are recommended for this method, the cardioids we used worked surprisingly well.
    Additionally, we set up a mono room microphone the sound of the whole drum kit in our small room.
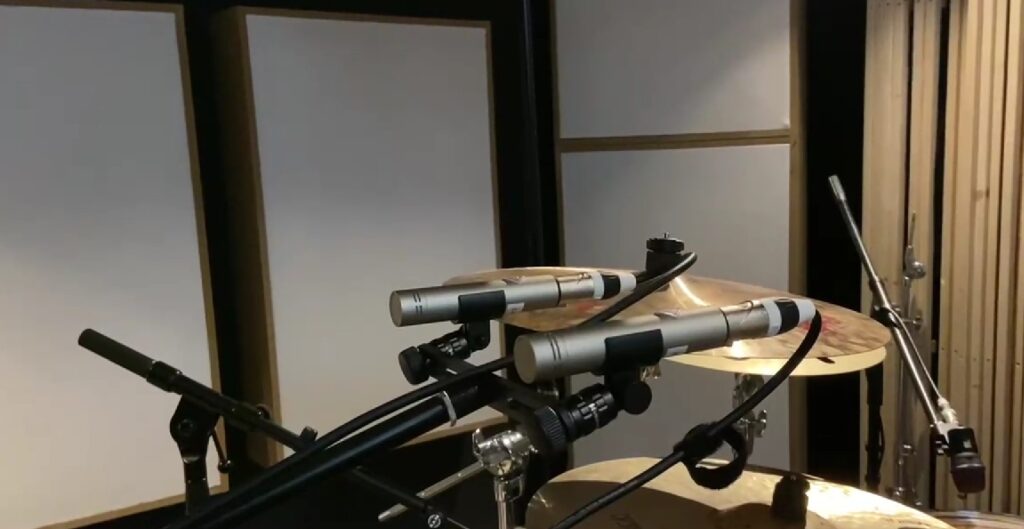
  • Equal-Distance-Mic: We also used the so-called Equal-Distance-Mic. It’s a microphone placed centrally in the kit, heavily compressed to add punch and energy to the overall sound.
  • Creating the feeling of: Additionally, we placed five small-diaphragm condenser microphones in the stairwell outside the live room to capture a natural, distant reverb that adds spatial depth and emotional weight to the production. This setup was used specifically for a key transition in the song (2 bars) — moving from the breakdown into the final chorus — to sonically express the feeling of being trapped and relentlessly pursued by one’s surroundings.
Capturing the sound of the hall

At that point in the arrangement, the stereo panorama briefly expands, evoking a fleeting sense of escape, only to contract moments later into a confined, focused sound image — symbolizing the inability to truly break free.
To reinforce this theme, I’m also considering adding a rotating movement to the sound elements in this section, echoing the chorus line: “I’m running in circles — I can’t stay.” This motion could enhance the sense of disorientation and emotional entrapment, both musically and conceptually.


Conclusion

The session was an important first step for both the project and the studio. Despite the room still being a work-in-progress, the recordings already sound very promising, and I’m excited to take the next steps in the production.

More updates on the studio construction and upcoming recording sessions will follow soon!
I was extremely tired while filming this, as we had been recording drums late into the night. So please excuse the slightly scattered way of speaking — it was a long but exciting session.

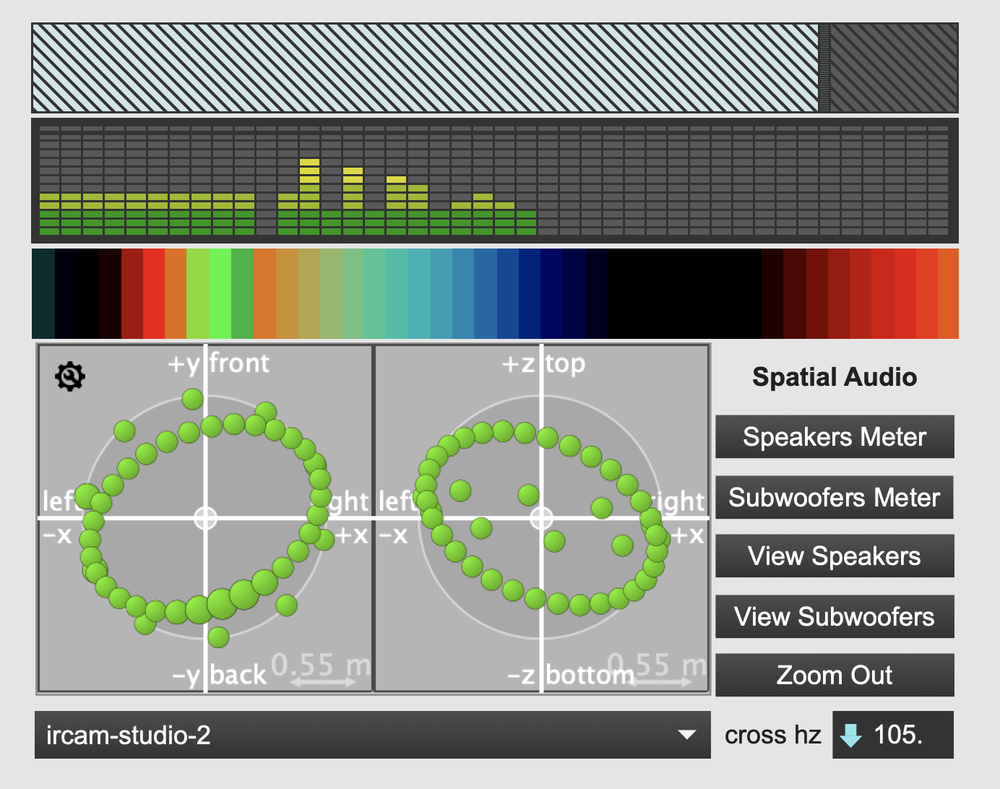
Plane of Emergence – Music between Machines (IRCAM)

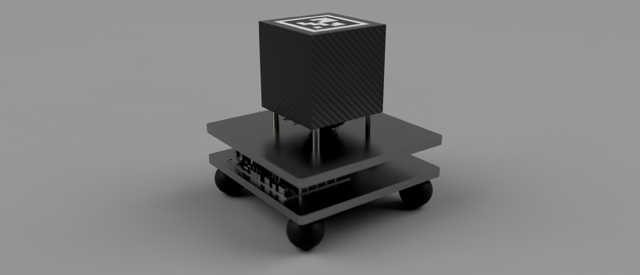
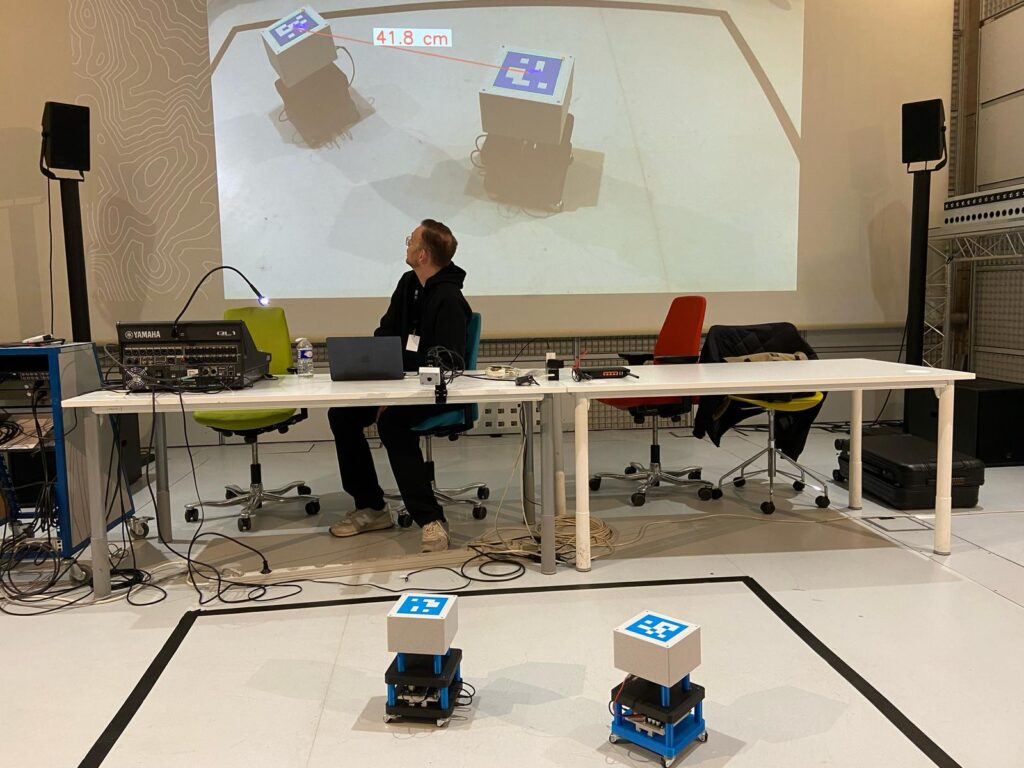
When I arrived at the presentation of Plane of Emergence at IRCAM, the setup looked surprisingly simple at first. On the floor, inside a black marked rectangle, were two small cube-like devices, standing quietly next to each other. A big screen behind them showed a live camera view of the scene. I noticed a line connecting the two cubes on the projection, showing exactly how far they were apart. This was made possible by a motion-tracking camera mounted above, constantly measuring their positions.

The artist explained that these devices were not normal speakers or instruments, but autonomous machines. They were able to listen, react, and transform musical patterns based on how close or far they were from each other. There was no conductor or composer telling them what to play — everything emerged from their interaction alone.

While listening, I could feel how the soundscape was always shifting. Sometimes you could recognize small repetitive patterns, like a rhythm or a melody fragment. But just when you thought something stable was forming, it suddenly dissolved into something new. The artist described this as a balance between “territorialization” — when the devices settle into stable patterns — and “deterritorialization” — when they break free and surprise you with unexpected variations. It felt like watching two creatures communicating and constantly changing their language.

The idea behind it is inspired by the philosopher Deleuze and his concept of the plane of immanence — a space where things don’t follow strict rules but constantly create themselves from within. I liked that you could really hear this concept, it wasn’t just theory.

Technically, the system is based on a previous project called Spatially Distributed Instruments, where the machines not only send sounds but also “listen” to each other without noticeable delay. The sound you hear is not pre-composed, it is created in real-time from their relationship in space.

Unfortunately, as the artist mentioned, only two of the planned interaction methods were working that day. But even with these limitations, it was fascinating to see (and hear) how rich and alive the system already was.

For me, it was less like watching a performance and more like observing a small ecosystem made of sound and technology.

IRCAM Link: https://forum.ircam.fr/article/detail/plane-of-emergence/

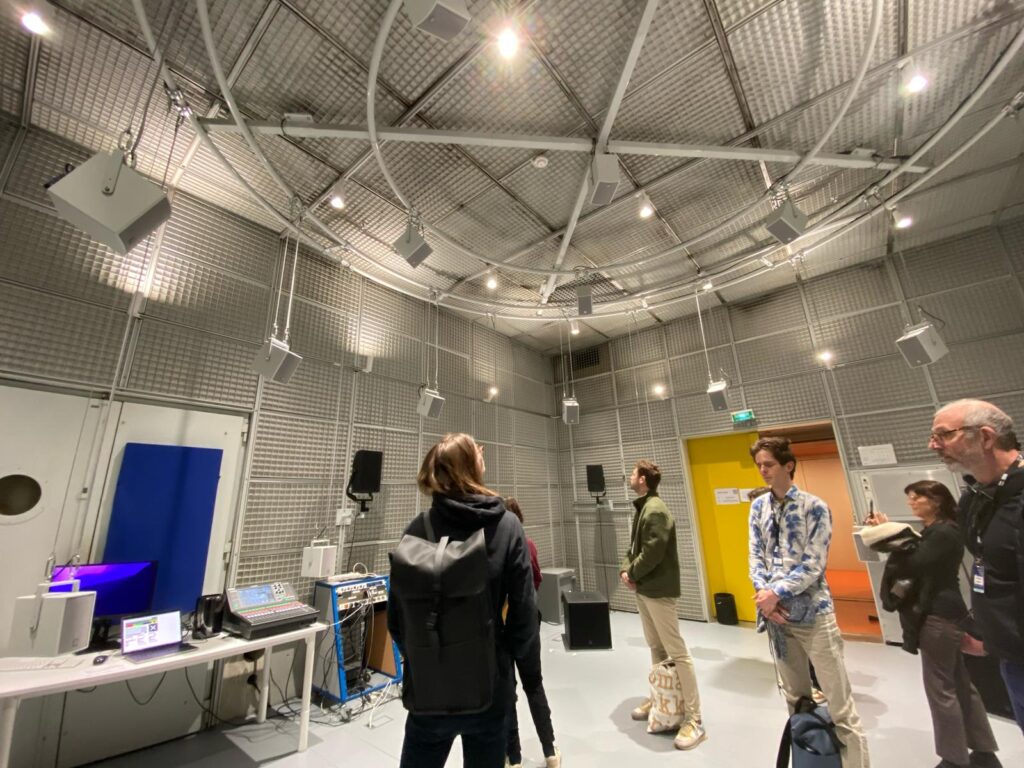
A Journey Through Sound – (IRCAM)

When I entered the installation called ‘Hearing From Within A Crossfade by Lewis Wolstanholme’ at IRCAM, I was immediately surrounded by a very special atmosphere. Sounds were floating through the space — soft, detailed, and constantly changing. It didn’t feel like listening to a normal piece of music. Instead, it felt like the sounds were alive, moving gently around me and transforming into something new all the time.

What made this experience so fascinating was how the sounds seemed to blend into each other without clear breaks. One texture slowly became another, sometimes so smoothly that I barely noticed the change. I later found out that this was made possible by a special technique called Joint Time-Frequency Scattering Transform. This method allows sounds to be transformed and combined in a very natural way, almost like they were breathing.

The installation was created by Christopher Mitcheltree together with IRCAM. He used this technique to make sounds not only change over time but also move through space. Depending on how a sound behaved — for example, how much it was vibrating or how high or low it was — it appeared at different places in the room. This made the whole space feel like part of the music.

For me, it felt like I wasn’t just listening, but actually walking inside a sound. It was a very inspiring and calming experience, and I stayed much longer than I had planned.

IRCAM – Link: https://forum.ircam.fr/article/hearing-from-within-a-crossfade/

From Idea to Concept – The Final Project

After deciding to focus on 3D audio, I began shaping the project into a concrete concept. The result? Echoes of Addiction – Breaking Boundaries Through 3D Audio, a 3D audio concept album that explores addiction and dependency through immersive sound design and innovative production techniques.

The idea behind the album is to take listeners on an emotional journey, sonically representing different phases of addiction – from denial and isolation to dependency and recovery. Through spatial sound placement, dynamic movement, and immersive textures, I aim to create an auditory experience that goes beyond traditional music production. The goal is to make the emotional states of addiction tangible through sound.

Sound Design as a Narrative Tool

To achieve this, I will experiment with various sound design techniques that enhance the themes of the album. Some examples may be:

  • Ambisonic and Field Recordings: Capturing real-world environments and spatial depth to create immersive atmospheres that reflect emotional states. For example, the feeling of isolation could be represented by a vast, empty soundscape with distant, echoing voices.
  • Granular Synthesis: Breaking down recorded sounds (e.g., vocals, guitars, ambient noises) into tiny grains, which can be stretched, scattered, and manipulated across the 3D space to create a fragmented, distorted reality—symbolizing confusion or addiction-induced dissociation.
  • Spectral Processing: Transforming recognizable sounds into ghostly, abstract versions of themselves to reflect loss of control and mental instability. For instance, vocals could be decomposed and restructured into eerie, flickering echoes, representing the overwhelming thoughts in an addict’s mind.
  • Modulation and Dissonance: Using amplitude and frequency modulation to create tension, while the interplay between dissonant and consonant harmonies mirrors the chaos and clarity within the addiction cycle.
  • 3D Audio Movement: Sounds will not remain static but move dynamically around the listener, reinforcing the psychological aspects of addiction. A whisper circling the head, for example, could represent obsessive thoughts or withdrawal-induced paranoia.

By combining these techniques, I want to push the boundaries of what a concept album can achieve. The sound design will not only shape the individual songs but also serve as a connective tissue, creating transitions and atmospheric interludes that guide the listener through the emotional arc of the album.

Bringing the Project to Life

From a technical standpoint, I will work with both Ambisonics and Dolby Atmos to create a fully immersive experience. The challenge will be to ensure that the album translates well across different formats – from 3D speaker setups to binaural headphone mixes and even standard stereo. This will allow as many people as possible to experience the album’s message and emotional depth.

The production process will follow a structured timeline:

  1. Research & Concept Development – Deep diving into 3D audio techniques and defining the sound design approach.
  2. Songwriting & Pre-Production – Refining compositions while experimenting with 3D audio integration.
  3. Recording & Sound Design – Capturing performances, field recordings, and designing immersive sonic textures.
  4. Mixing & Finalization – Creating the 3D audio mix, testing binaural and stereo compatibility, and refining the album’s overall sonic identity.

This project is more than just an academic exercise; it is an artistic statement that merges my passion for music, immersive sound, and storytelling. Now that the concept is finalized, the next step is bringing Echoes of Addiction to life.

A Sudden Change of Direction – A New Focus on 3D Audio

Sometimes, things change unexpectedly – and that’s exactly what happened with my master’s project. I had already explored different ideas, including building my own studio monitors or a binaural microphone. But then, my focus suddenly shifted.

For some time now, I’ve been deeply fascinated by 3D audio and how sound can be experienced not just in stereo but in a fully immersive space. The more I explored the topic, the more I realized that this was something I truly wanted to dive into. However, making the final decision wasn’t easy.

About two weeks before my project expose was due, I had an inspiring conversation with Mr Sontacchi. His words gave me the confidence I needed and reinforced my belief that my growing interest in 3D audio was not just a temporary fascination but a real opportunity for my master’s project. This conversation gave me the final push to fully commit to this idea.

Then, I had an epiphany: Why not connect this passion with something I already love? My band, Flavor Amp, is currently working on a concept album about addiction and dependency. Since we want the music to be deeply emotional and immersive, integrating 3D audio into the production seemed like the perfect way to amplify the storytelling aspect of our songs.

Instead of focusing on hardware development, I decided to explore how 3D audio combined with Sound Design can enhance emotional storytelling in music. I want to experiment with different techniques, from Ambisonics to Dolby Atmos, and find out how spatial sound design can strengthen the narrative of our album.

This decision was a turning point for me. It wasn’t just about choosing a project; it was about following a passion that connects my studies, my creative interests, and my band’s music. The next step? Developing a concrete plan and shaping the project into something truly meaningful.

Narrowing Down My Project Ideas

At first I have to say that it was really hard for me to find a topic because I had not enough time to think about it and it’s a hard decision. But there are two main topics which I’m really interested in:

  • Developing and building my own microphone – “Kunstkopf Mikrofon” – like the Neumann KU100
  • Developing and building my own studio monitors

At the moment, I’m focusing more on the studio monitors, that’s the reason why I chose this topic for my second blog post. But I have to say that I’m not 100% sure which topic I will choose.

The “studio-monitor-project” combines my passion for sound quality with a desire to better understand the technical and artistic nuances of audio production. While I am new to the technical aspects of speaker design, I am excited to explore this field and gain knowledge in this area.

Core Purpose

The core purpose of my project is to create a pair of high-quality, custom studio monitors that I can use in my personal work. This project allows me to explore the intersection of acoustics, design, and audio technology.

Goals

  • Technical Learning: Build a foundational understanding of speaker design, including acoustic principles, driver selection, cabinet construction, measurements, …
  • Practical Application: Design and assemble functional monitors using ready-made drivers, amplifiers, and other components
  • Innovative Elements: Integrate an innovative aspect into the design. I’m still considering ideas such as using sustainable materials, exploring transaural speaker technology, or creating a modular design for easy upgrades and customization
  • Aesthetic and Functional Design: Create a design that balances professional audio quality with aesthetic appeal
  • Documentation and Sharing: Document my process and share it with people, which are interested in this topic

Relevance

This project holds personal significance for me as it helps me to widen my horizon and to dive into a (for me) unknown topic, which I’m really interested in. On a broader scale, it explores how accessible and customizable high-quality audio solutions can be created by individuals. Adding an innovative aspect also makes this project suitable for this FH-project, such as sustainability and evolving audio technologies.

Reference Works

I have drawn inspiration primarily from:

  • A project report from the Institute of Electronic Music and Acoustics (IEM), which provided valuable insights into transaural audio
  • Discussions and shared experiences in DIY speaker forums, where enthusiasts offer practical advice and troubleshooting tips

Planned Work Techniques

To structure my approach, I’ve broken the project into distinct phases:

  1. Research Phase: Deepen my understanding of acoustic principles and explore potential innovative aspects like sustainability or modularity
  2. Concept Phase: Create a mind map of possible designs, features, and materials
  3. Design Phase: Finalize the cabinet shape and dimensions, select drivers, and identify suitable amplifier modules
  4. Prototyping Phase: Build a prototype, test the sound, and refine the design
  5. Final Construction and Testing: Build the final version, measuring, measuring, measuring…

Open Questions

Several challenges remain, such as:

  • Deciding which project I’m going to choose

In terms of the “studio-monitor-project”:

  • Deciding which innovative aspect to prioritize and how to implement it effectively
  • Ensuring compatibility between all components
  • Balancing budget constraints with the desire for high-quality components

Over the next few weeks, I plan to:

  1. Decide for a project
  2. Research…