Film negative emulation is a digital process that replicates the look and behavior of traditional film negative stocks, such as Kodak 250D or 500T. These film negatives capture a wide dynamic range with accurate color information, but in a low-contrast, log-like format—similar to how digital cameras record footage using log profiles.
To achieve the final look, the negative would traditionally be printed onto a positive film stock like Kodak 2383. This print stock adds contrast, saturation, and subtle color shifts that define the characteristics.
In digital workflows, film negative emulation mimics this entire process by first emulating the response of the film negative and then applying a film print emulation to recreate the final graded appearance, bringing the image to life with the depth and texture of analog film.
Scene-referred means you’re working for a specific colorspace like Rec.709 Gamma 2.4. Display Referred means that you are working with what you are seeing on screen. For example by doing the ODT with a contrast curve instead of a technical transform.
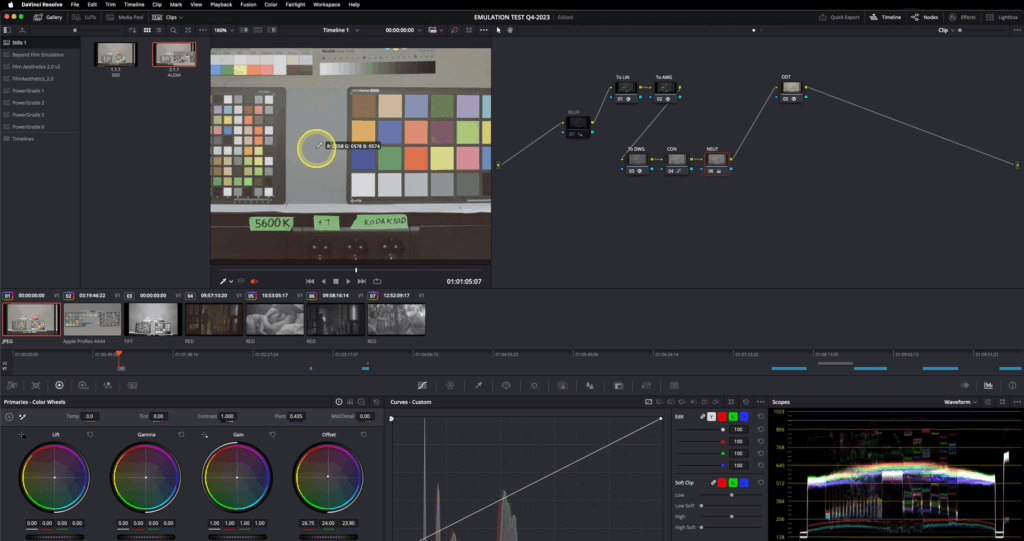
1. Film Stock Selection and Image Preparation
The workflow begins with selecting the target film stock. An appropriate exposure bracket is chosen, and the image is slightly blurred in the first node to simulate optical softness and reduce digital noise. This step stabilizes color matching and improves the emulation’s realism.
2. Color Space Mapping with a 3×3 Matrix
A 3×3 matrix is then applied to map the film scan’s chromatic values into the working color space. This transformation ensures consistent color behavior and a neutral foundation for further grading. (The matrix construction is detailed in the following chapter.)
3. Output Display Transform (ODT)
An ODT is added at the end of the node tree to convert the image from the working space to the intended output space, ensuring accurate display rendering.
4. Patch Matching and Baseline Normalization
Color patches from the film stock are matched to digital camera equivalents. Initially, only contrast is adjusted using a global offset to establish a neutral baseline for color work.
5. Refining Hue, Saturation, and Density
Using tools such as Color Warper or Tetra v2 DCTL, the target patches are further refined to match hue, saturation, and density. Split toning is added based on grayscale patches for tonal separation and filmic character after that with whatever technique you see fit.
By working in a normalized, wide-gamut color space with moderate contrast, this method enables faster, more consistent emulation results. It reduces the need for extensive contrast adjustments later in the process and offers a more reliable starting point for creative grading.
Preparing the Filmstock
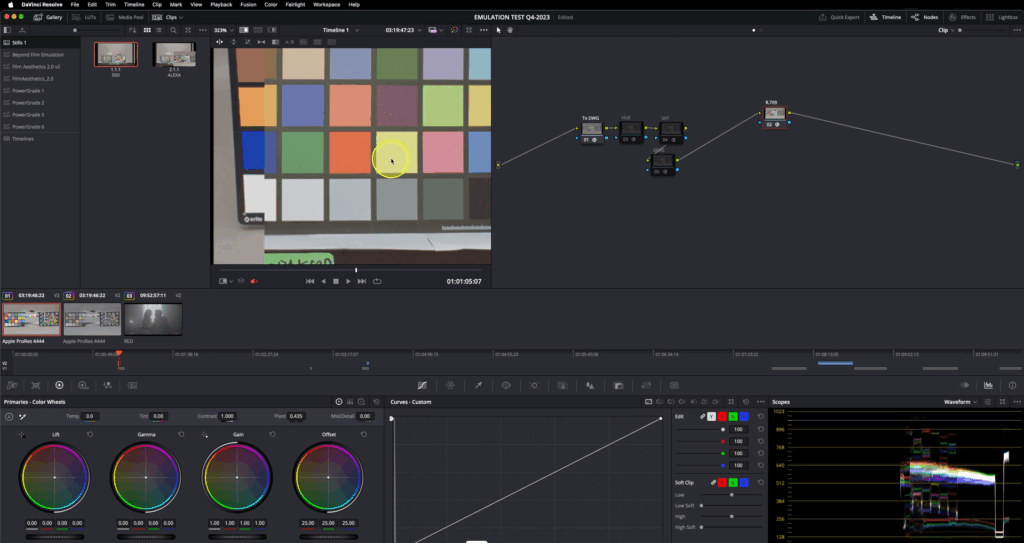
Matching the target footage fo the prepared filmstock
Aurélien Pierre, “The Scene‑Referred Workflow,” Ansel, December 1, 2022–April 26, 2025, accessed June 20, 2025, https://ansel.photos/en/workflows/scene-referred/.
Demystify Color, “Film Profile Journey #18: A New Way for Creating Scene-Referred Negative Emulations,” Demystify Color, June 2023, https://www.demystify-color.com/post/film-profile-journey-18-a-new-way-for-creating-scene-referred-negative-emulations.