My individual project deals with the creation of a 3D audio concept album in the genre of rock – on the topics of addiction and dependency. Logically, we are also confronted with the problem of high production costs. In order to be able to realize the project to the extent planned, it was therefore important to create a recording and mixing environment ourselves – to reduce costs and at the same time improve the quality of the project.
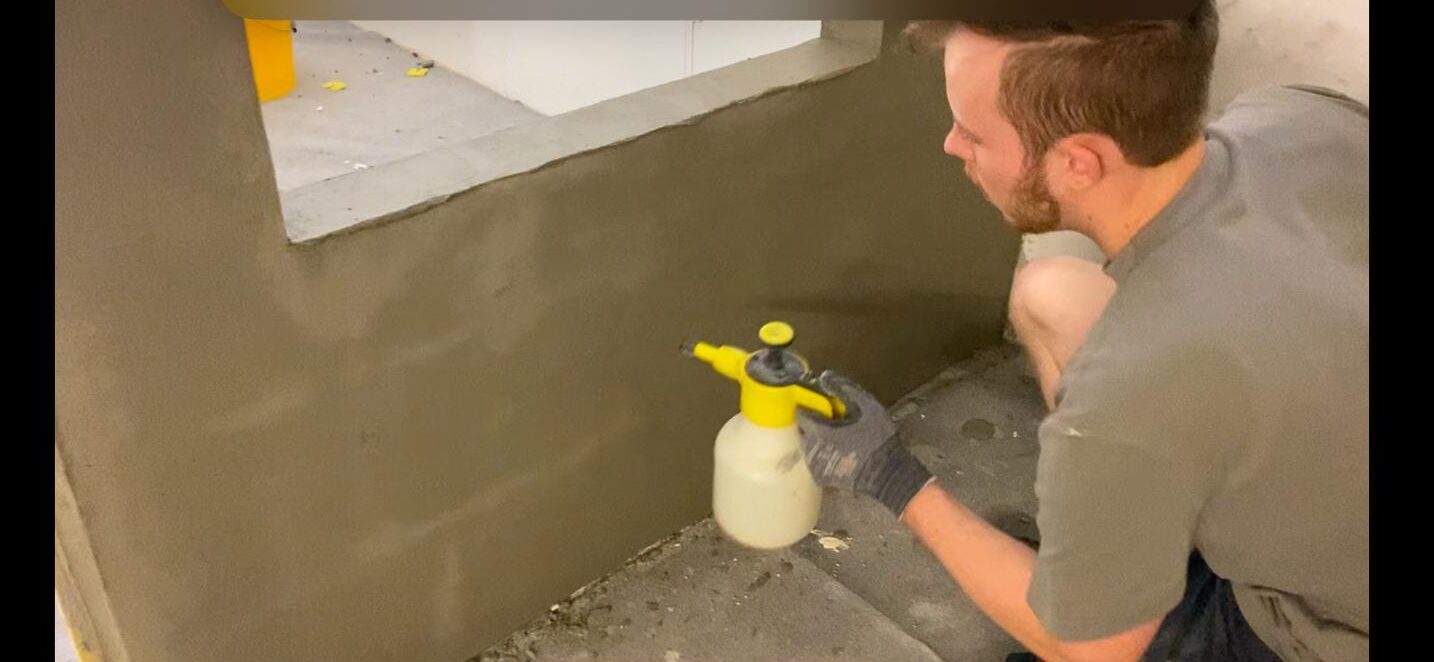
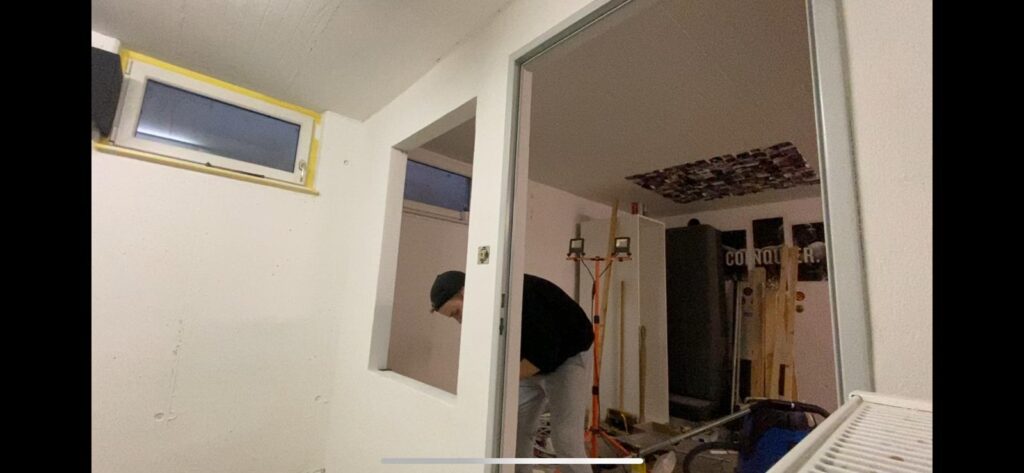
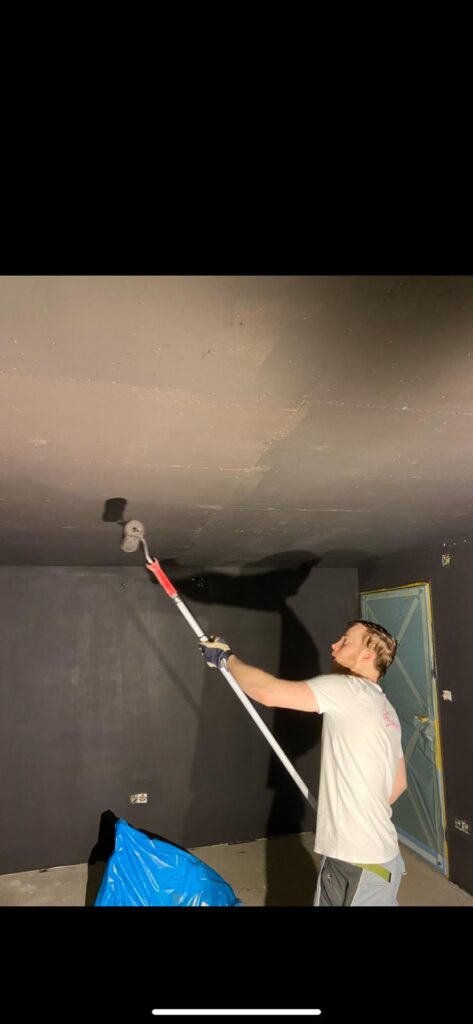
Since the beginning of 2024, we have been able to take over the former warehouse premises of our drummer’s parents (they run a floristry business). Here we have just under 80 m² at our disposal, which we have converted into a small office, a rehearsal/recording room and a mixing room on our own initiative. We took care of the building work (putting up walls, pouring screed, electricity, etc.) in the course of 2024. We and our trainee were already able to use the office together with our intern during the planning of our festival Bock auf Rock in summer 2024 – however, the control and rehearsal room could only be used to a limited extent due to the lack of room acoustics optimization.
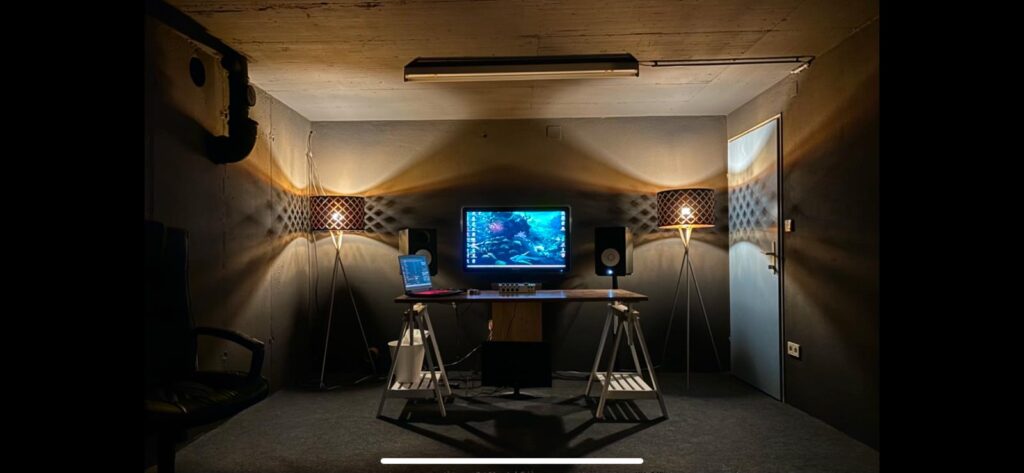
In February 2025, the time had finally come: a suitable recording and mixing environment had to be created for the start of the project.
Our drummer is studying civil engineering, so we had the necessary knowledge to implement this project ourselves. The aim was to build a recording and control room with the best possible acoustics (in terms of room dimensions and budget). We wanted to create a very good stereo monitoring situation in the control room. It was important for us to have the opportunity to pre-produce as much as possible, as time in the 3D audio-compatible studios at the IEM is limited.
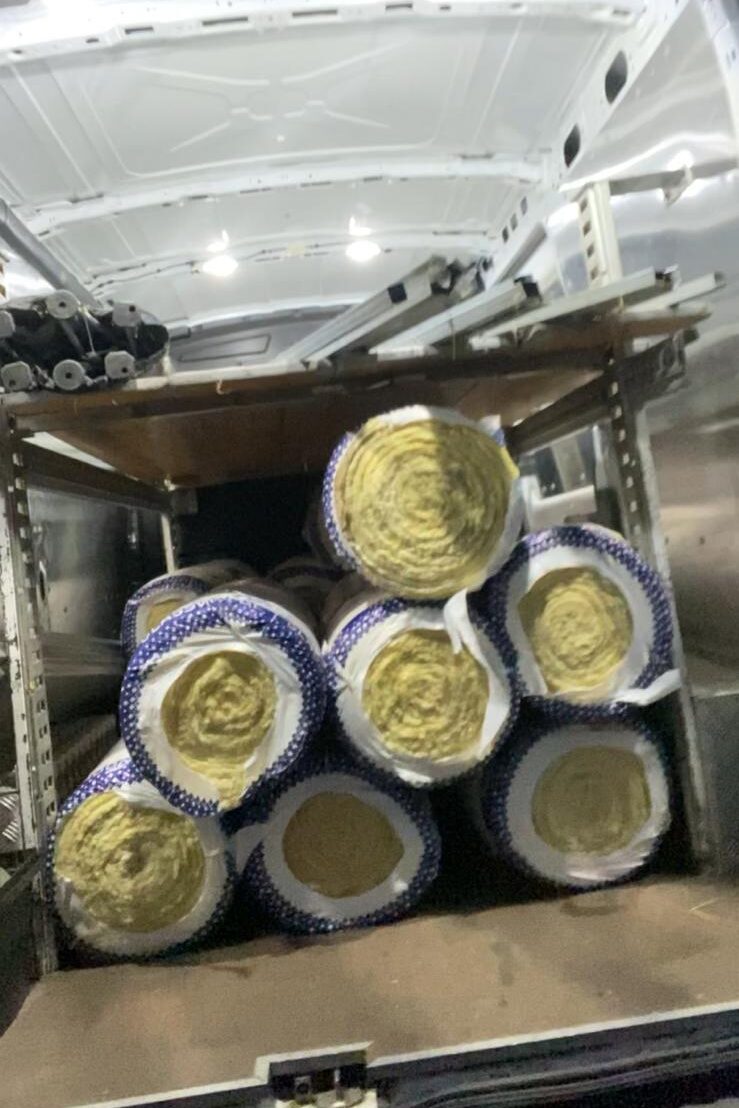
We finally started our construction project in mid-February. We had already organized insulation wool and other building materials via Willhaben over the last few months. In total, we used around 15 m³ of insulation wool (mostly Ursa DF39 Dual).
We spent a long time researching what was the cheapest option for the frames of the absorbers and what will fit for our purpose (Will it crack when you screw it together? How will the cut look like? … ). We tested a lot of different wood types.
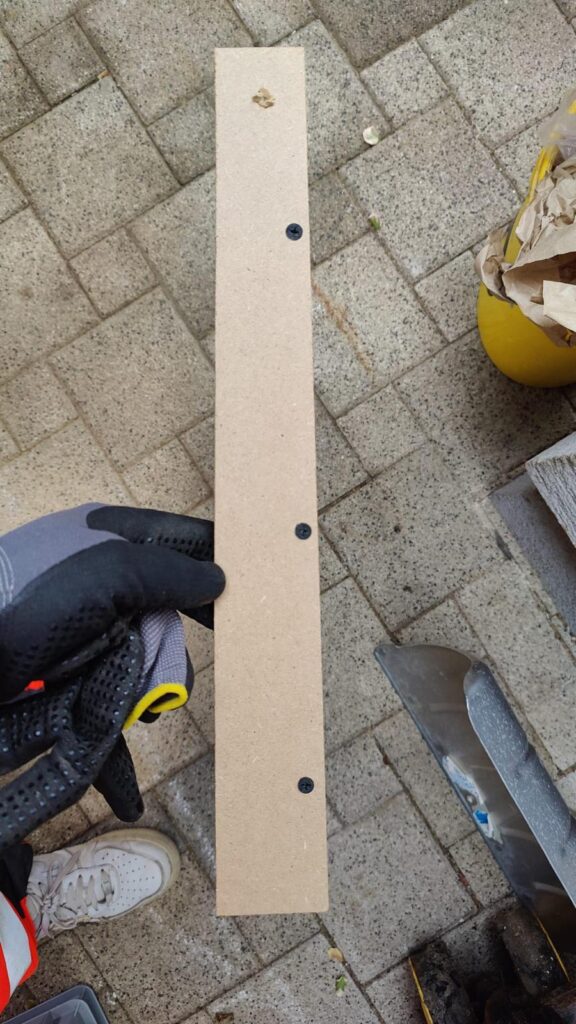
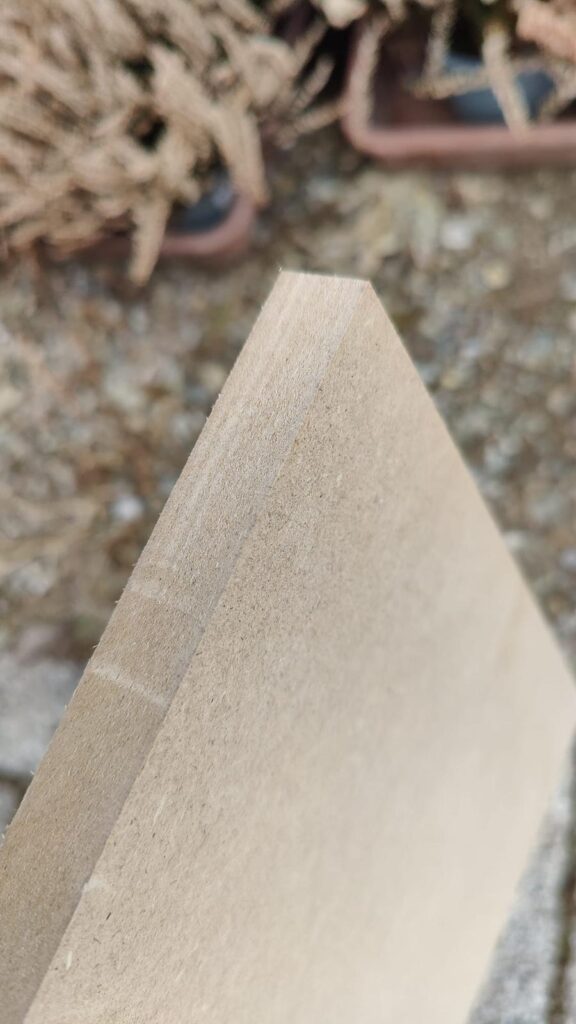
In the end, we opted for MDF plates – these are much cheaper than solid wood and still offer the necessary stability. We had the plates (3 m x 2.10 m x 1.6 mm = in total we bought about 45m²) which we bought through a local carpeter.
Before we started the installation, we planned as precisely as possible where and how many absorbers should be placed and how many we would need in total. We mainly worked with the Trikustik room mode calculator and the Porous Absorber Calculator.
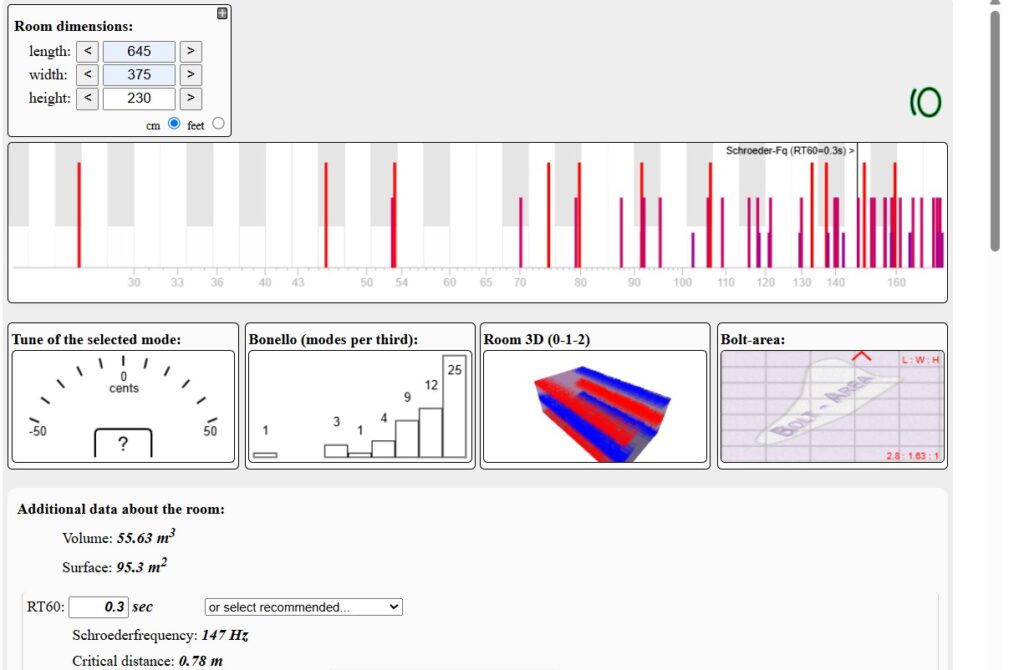
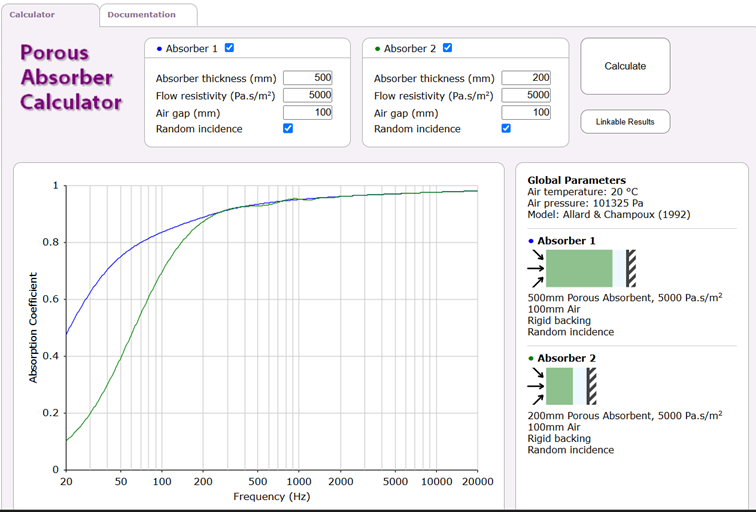
We built the absorbers according to the course-plan of a Berlin acoustician called Jesco (Acoustic Insider). He offers an online course for the professional expansion of home studios:
Jesco is the founder of Acoustics Insider, where he teaches practical acoustic treatment techniques for audio professionals—without the voodoo. With over 12 years of experience mixing records and treating studios in Berlin, he knows exactly how to turn almost any room into a reliable creative space. His approach has helped him reduce his average mix time to just 4 hours and earn a platinum record for mixing Ofenbach’s “Be Mine.”
His program was the perfect basis for us, because it’s all about achieving the best possible result with the available resources – that’s the reality of small bands, young audio engineers and students. It really helped us in terms of the placement of speakers, building bass traps & absorbers and where to place them. And as you can see from the results – it worked great!
Now it got serious: the construction of the !70 absorbers! could begin. In total, we built two different “absorber categories”, which we divided into further models:
- large room absorbers (110 cm x 110 cm x 30 cm) – not visible (e.g. behind other absorbers or diffusers). We need them to catch the low frequencies (we have 50cm material & 10cm air behind it on the front wall – in the corners we have about 70cm).
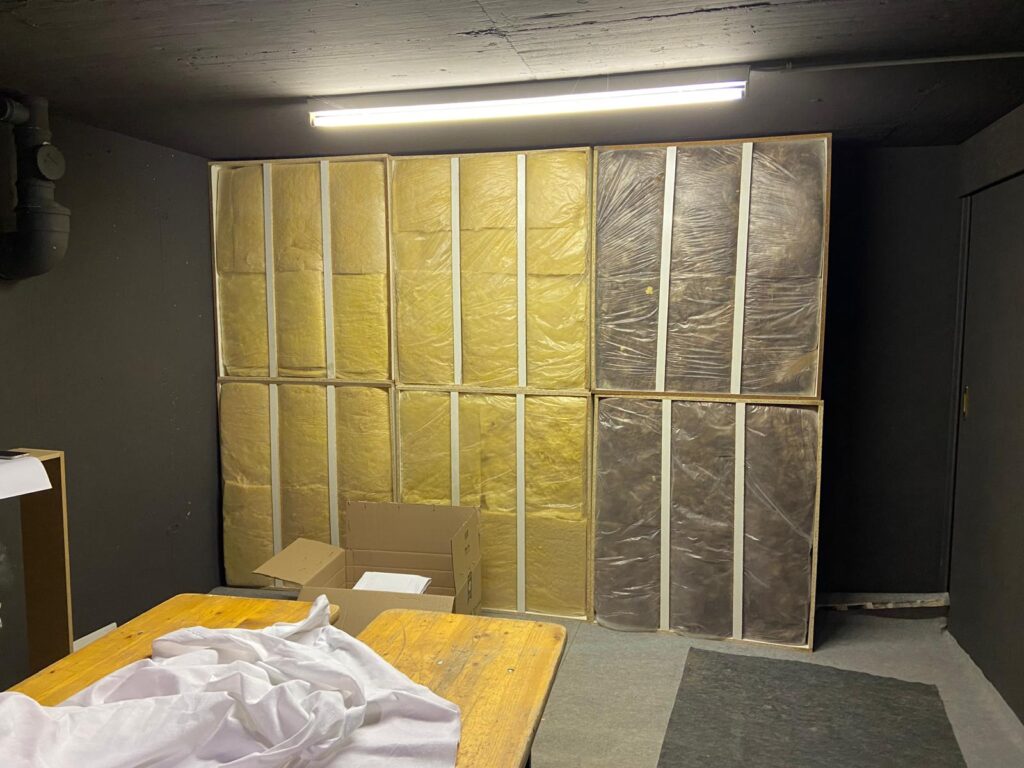
- normal absorbers (standard size: 100 cm x 62.5 cm x 20 cm). There were special dimensions in special places to control the absorption more specifically (150 cm x 62.5 cm x 20 cm; 100 cm x 62.5 cm x 30 cm; 125 cm x 62.5 cm x 20 cm). Diffusion slats are also screwed onto 7 of the normal absorbers (covered with black fabric) – we will do it this summer when we have time to do that.
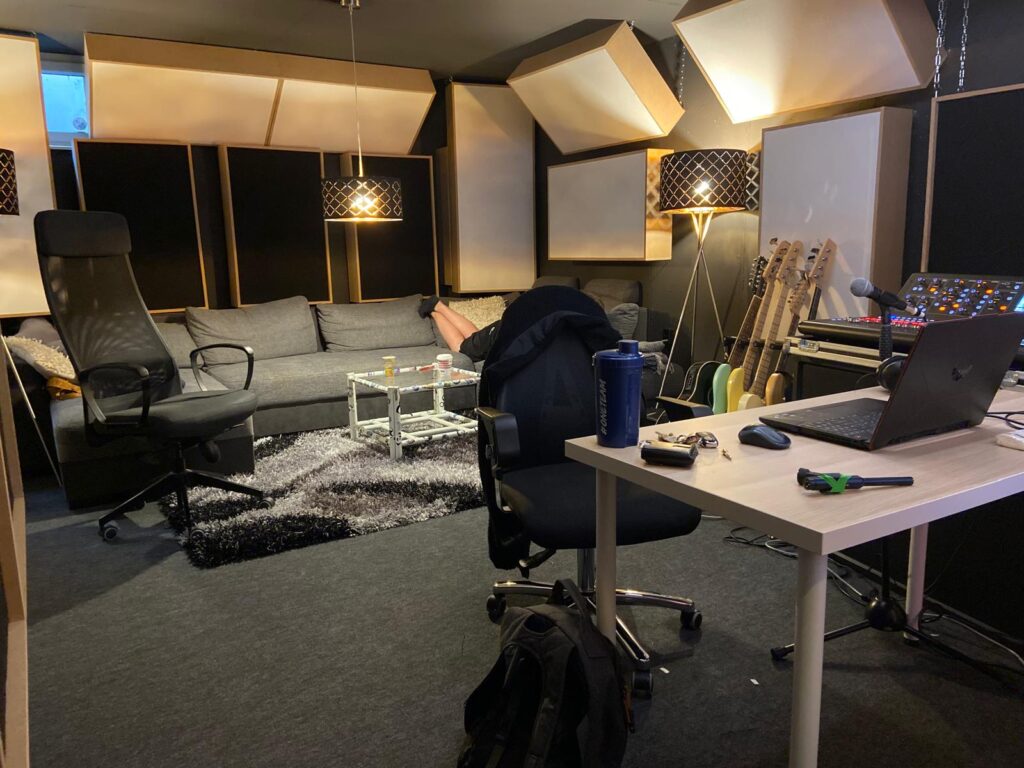
Everything was planned, the wooden panels ordered – we were ready to go. Of course, not everything went according to plan, and things got off to a difficult start:
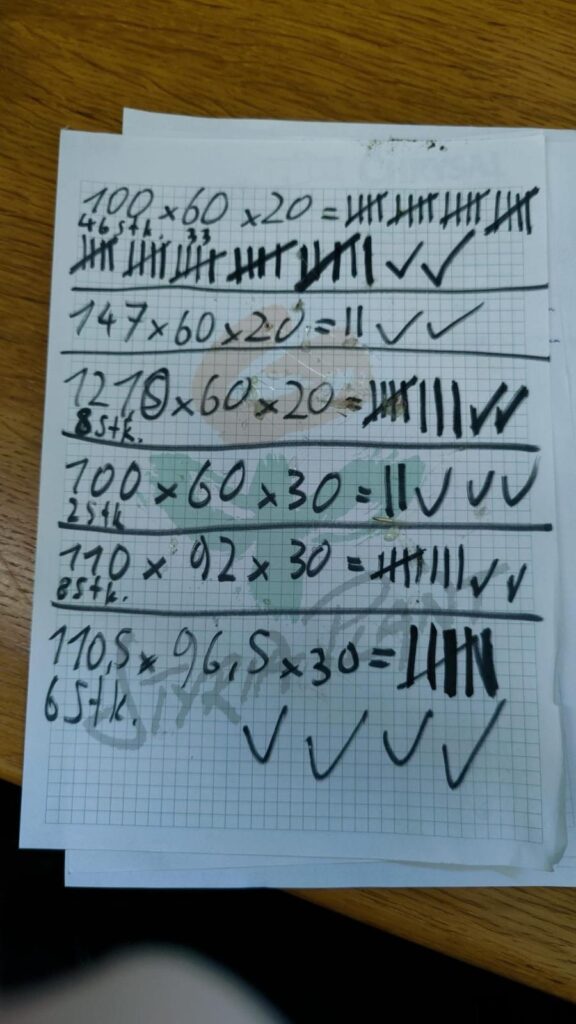
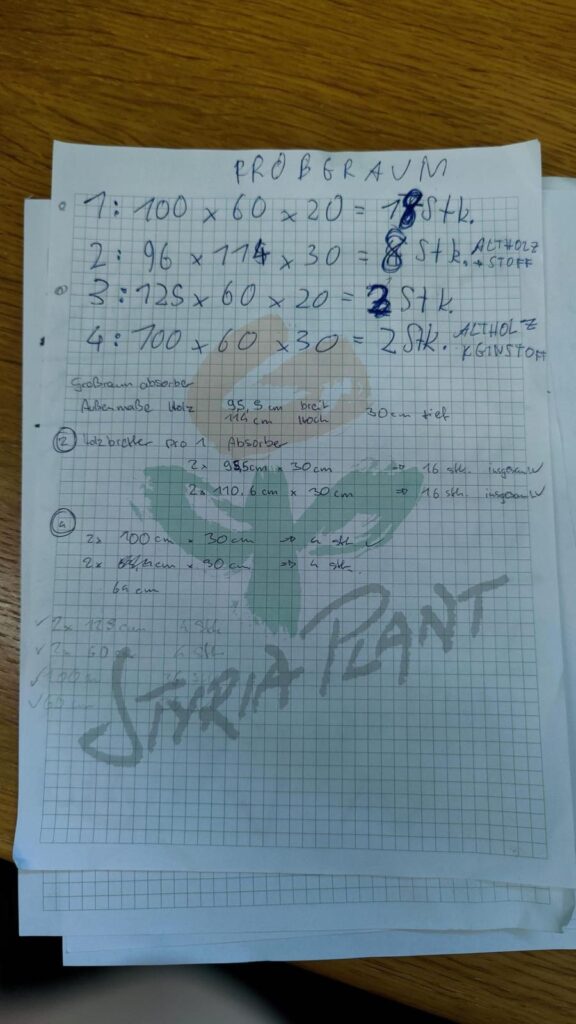
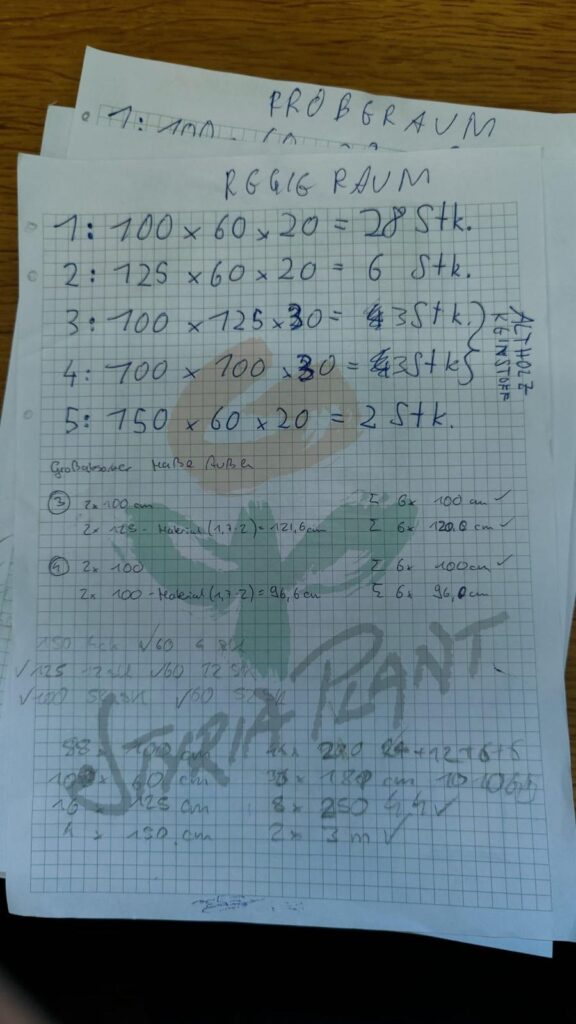
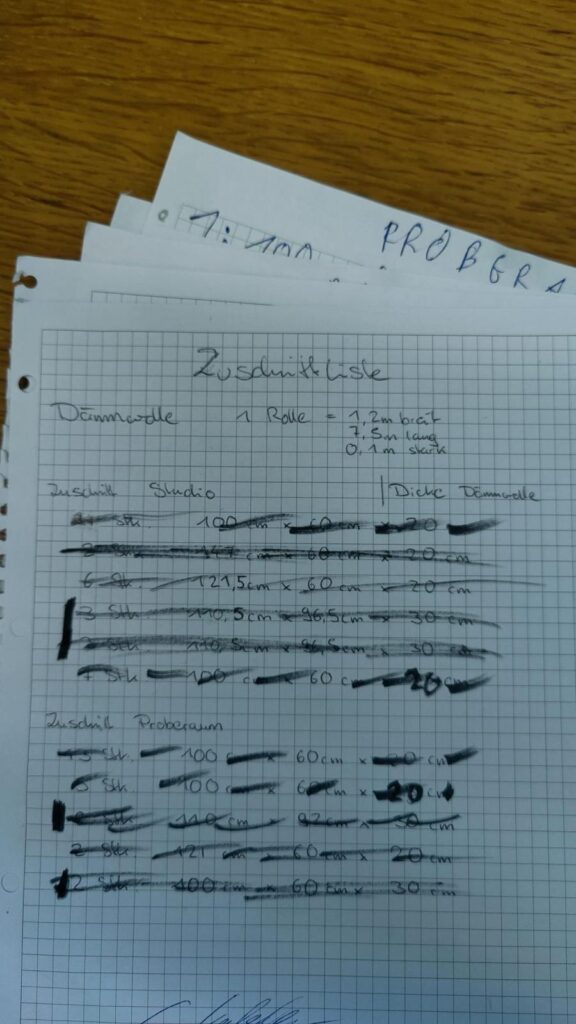
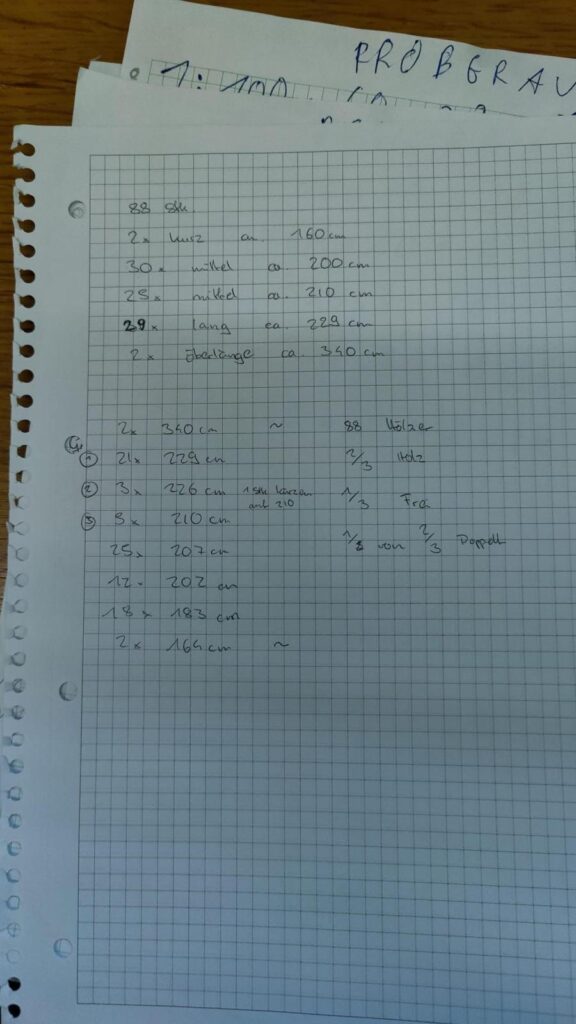
The MDF boards were incredibly heavy and flexible – transporting the huge boards (approx. 6 m²) was a real HORROR (I really hurt me knee while transporting them…).
Once we had picked up the boards, we started cutting them to size. Unfortunately, the weather was anything but helpful: it was snowing and we spent most of the three days cutting the panels outside in 3 degree temperatures.
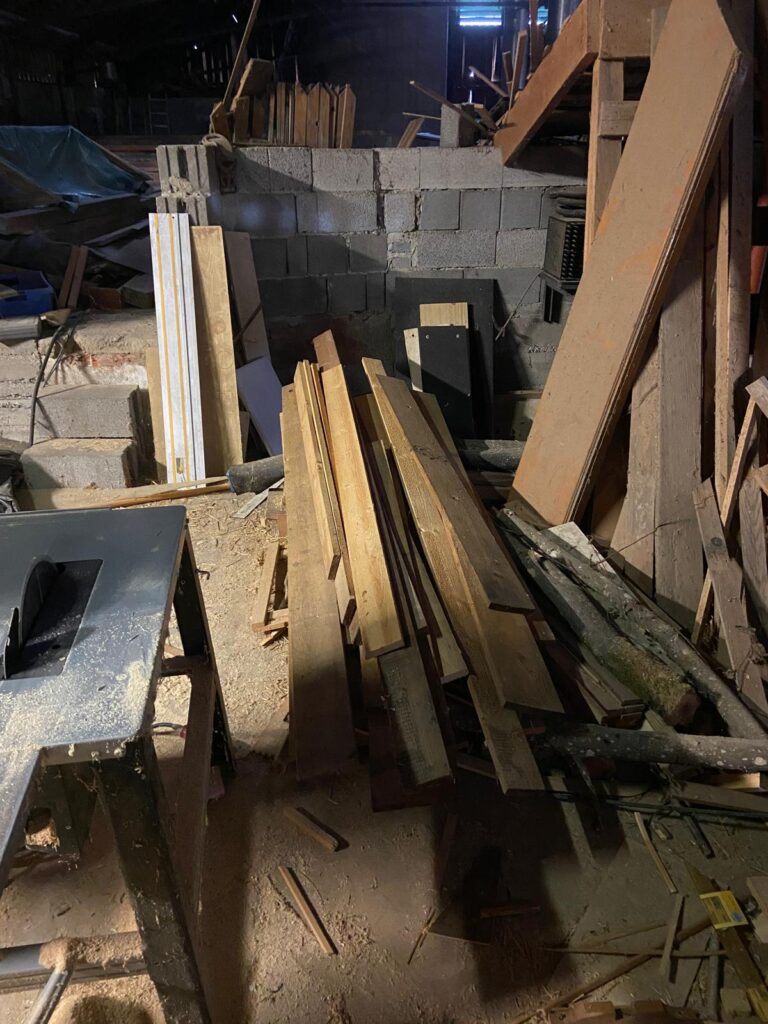
In addition to the MDF boards, we also used waste wood (hopefully without woodworm…) that we were allowed to collect from a good friend’s farm. We used this waste wood to build the inner frames of the absorbers and the large absorbers (1 m x 1 m x 30 cm – 14 pieces), which were not visible later anyway.
At the same time, I was already working on the rear wall of the recording room. A large 1D diffuser was to be installed here.
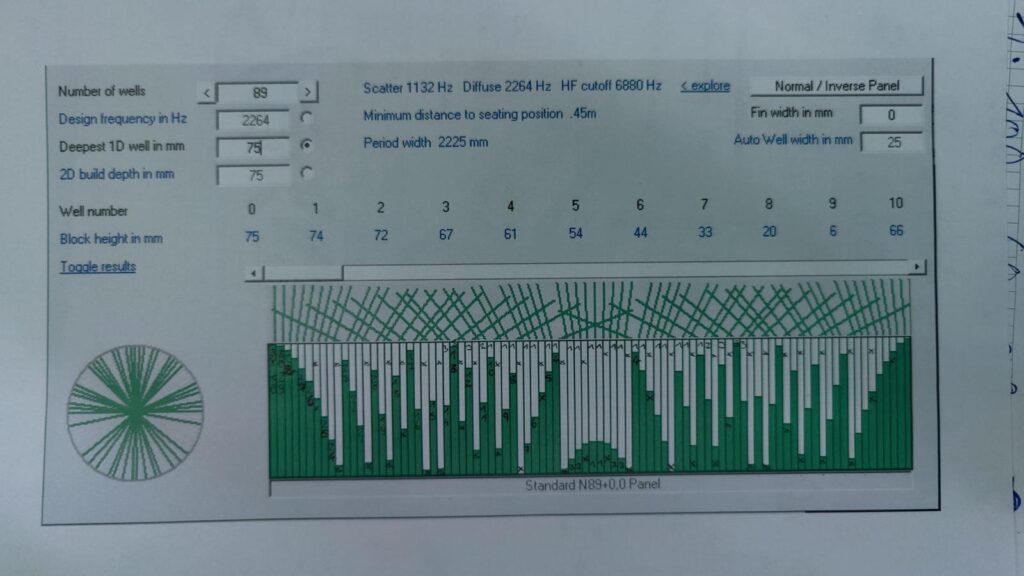
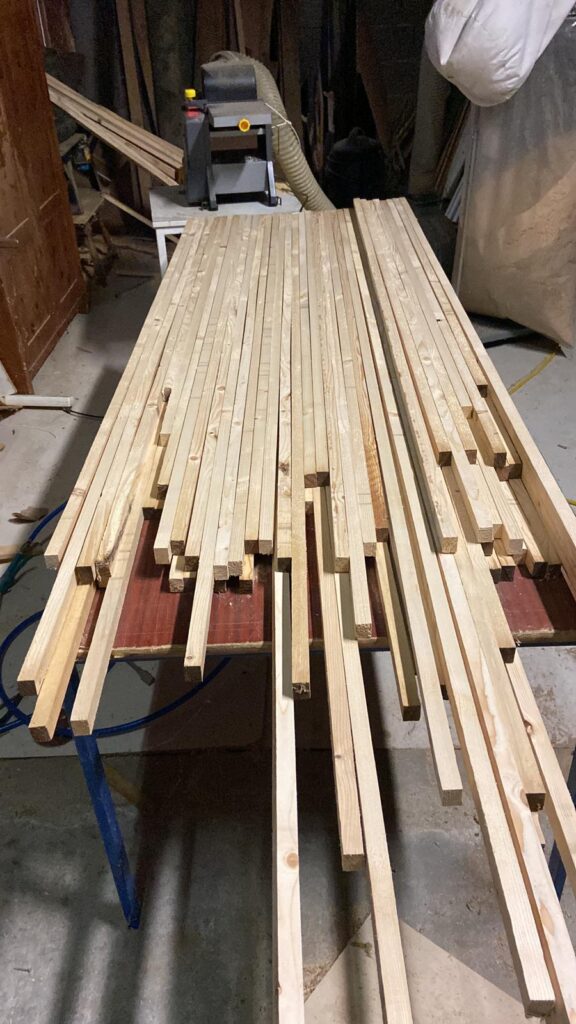
Due to the enormous price of wood, I organized the required wood myself: I was able to cut and then plane boards in a good friend’s wood workshop – it took me a whole day, but the result was great and we saved a lot of money in the process.
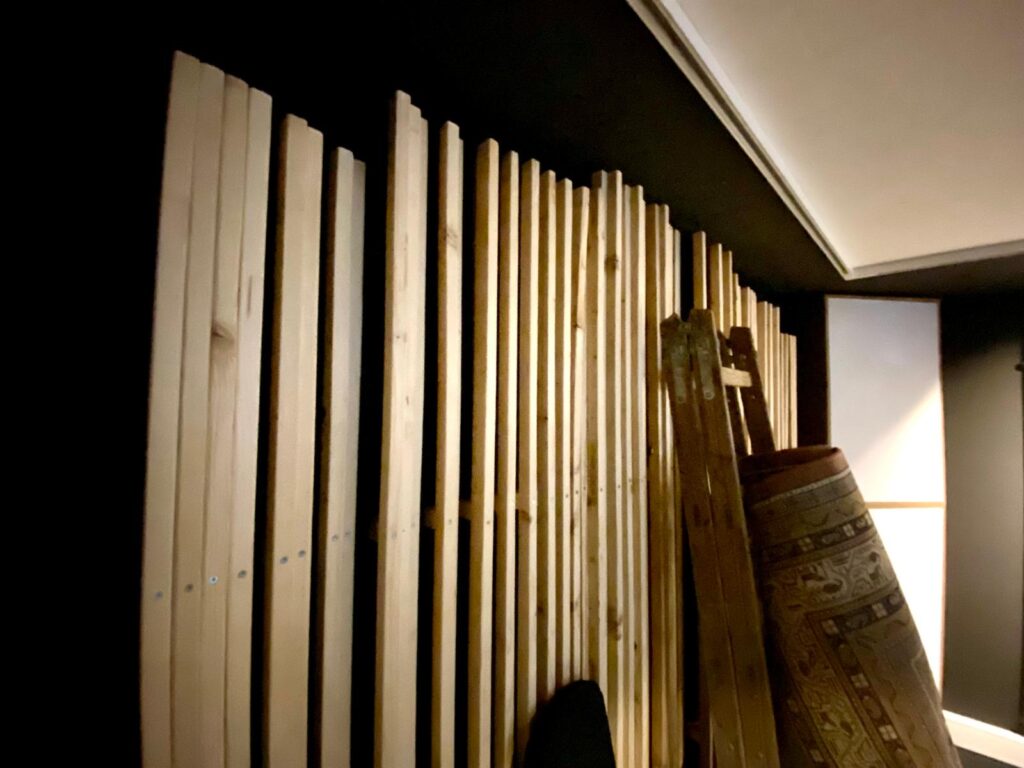
While we were cutting the wood, we also made a drilling template for the holes in the wooden panels. This allowed us to quickly prepare all the panels and make a countersink for the screw heads.
At the same time, we prepared the cutting of the insulation wool. For health reasons, we immediately wrapped the cut insulation wool in foil (painter’s foil, 0.2mm thick). Fortunately, we did this indoors – we had simply cleared out the future control room.
Fortunately, we also got help from my parents and our friends – without this support, the whole thing would have taken much longer.
After everything was cut and prepared, we took a weekend break as we had gigs in Vienna and Brno (Czech Republic) ahead of us. After that we went straight back to work.
Although university had started again, we used every free minute to continue working on our studio. We started by screwing the frames together. After the outer frames came the inner frames – unfortunately, this work was much more time-consuming than expected. Nevertheless, we decided to continue consistently, as we wanted to maintain a uniform construction method.
After building the inner frames, we took care of covering them with fabric. We searched for a long time for a suitable fabric that was sound-permeable and didn’t exceed our budget. In the end, we opted for stage molton (160 g/m²). We bought a total of almost 60 m² – the cutting alone took two of us a whole 12 hours.
The molton was then stapled onto the inner frames and carefully stretched. We screwed these inner frames to the outer frames, inserted the insulating wool and attached two struts at the back.
At the same time, we took care of the large room absorbers – these were only partially covered with fabric (not at all in the control room and over a large area in the recording room), as they are not visible anyway.
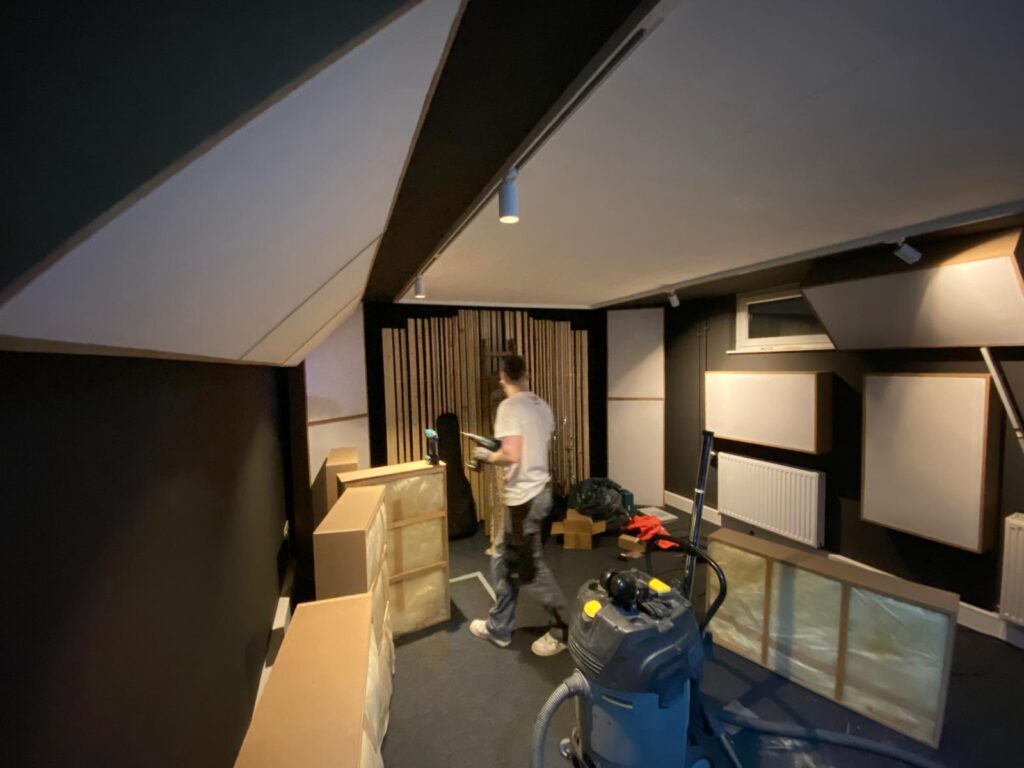
Once the absorbers were finished, we got straight down to installing them. We attached them with screw hooks, chains or normal screws (via the rear struts of the absorbers).
There were also numerous other tasks to complete, the scope of which I don’t want to describe in detail here. In addition, some unexpected problems arose during the installation. The main challenges of the entire project were
Installation: In some places, installation was much more difficult than expected. Individual and creative solutions were required.
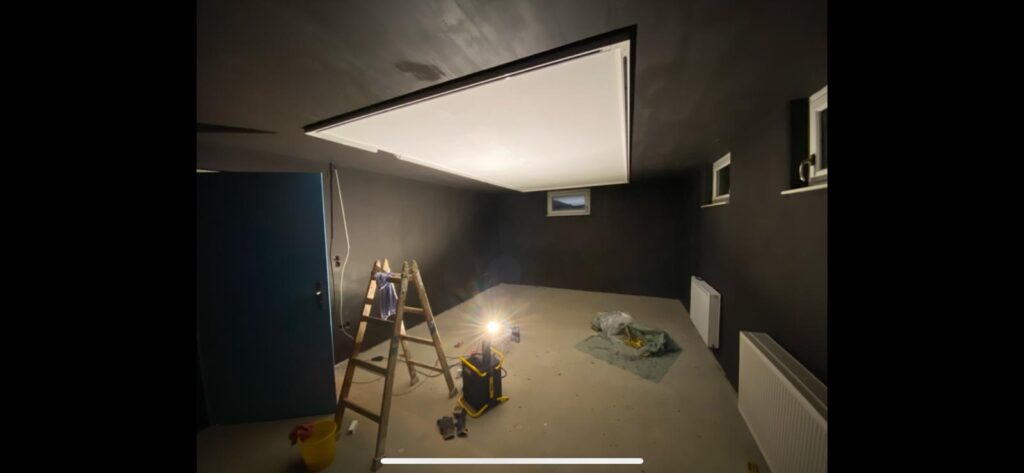
Door in the corner of the control room (blue door you can see in the first pictures) (= missing absorber in the corner of the room; we bought an old sliding door from an elderly lady via Willhaben – rebuilt it, covered it with plasterboard and finally installed it). We have built four additional ‘mobile’ absorber what we can use for this purpose (or for drum recording e.g.).
Cutting to size (we’d rather not talk about the working conditions, times and weather…) – the boards were extremely unwieldy and almost impossible to transport even with the van. They bent a lot and were very difficult to carry.
Simultaneous use of the premises: The longer the fit-out dragged on, the longer we were unable to use the space for rehearsals. In addition, the entire entrance was blocked with absorbers – this also had to be resolved as quickly as possible.
Despite everything, we are really very satisfied with the end result – precise acoustic measurements of the rooms will follow in the near future.
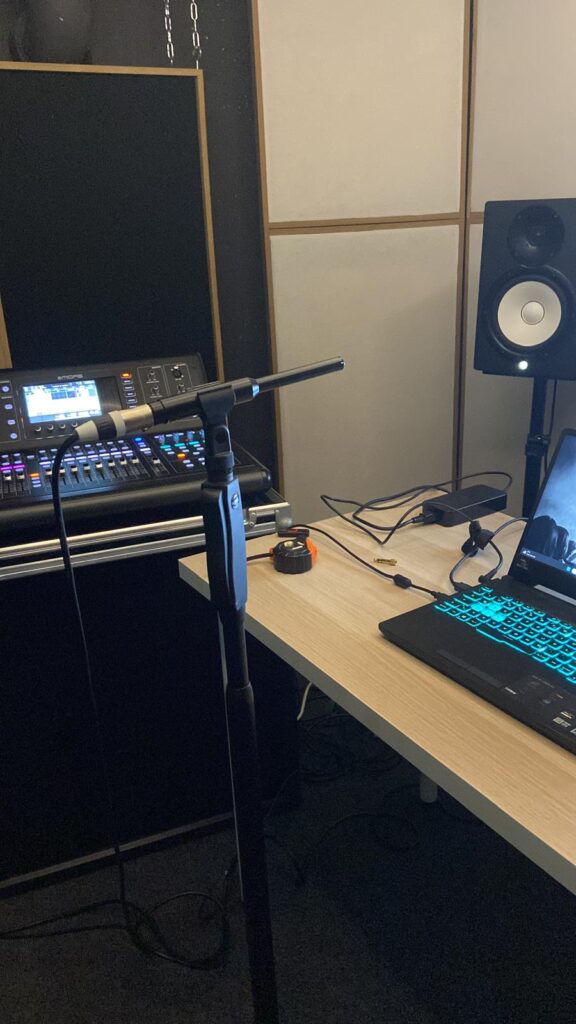
I have already carried out a first provisional measurement of the control room with my measuring microphone (Superlux ECM999) – here are a few screenshots.
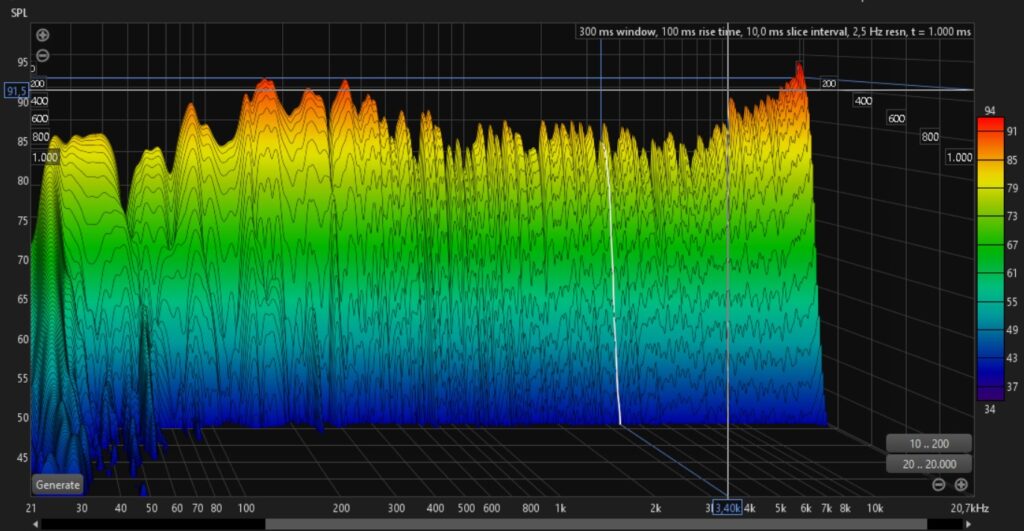
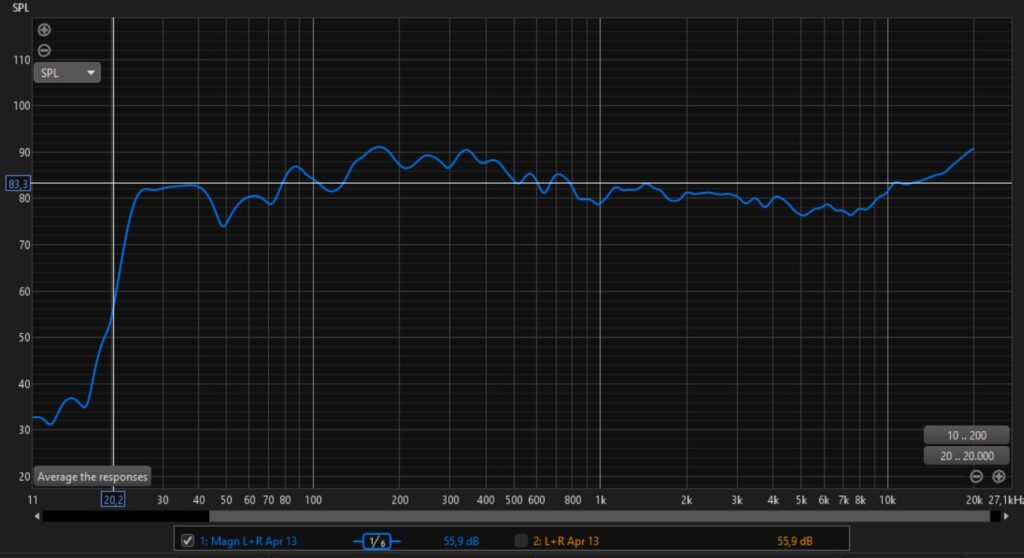
The results are – measured against our do-it-yourself approach – outstanding. The room simply sounds fantastic. I am 100% happy with the results we achieved.
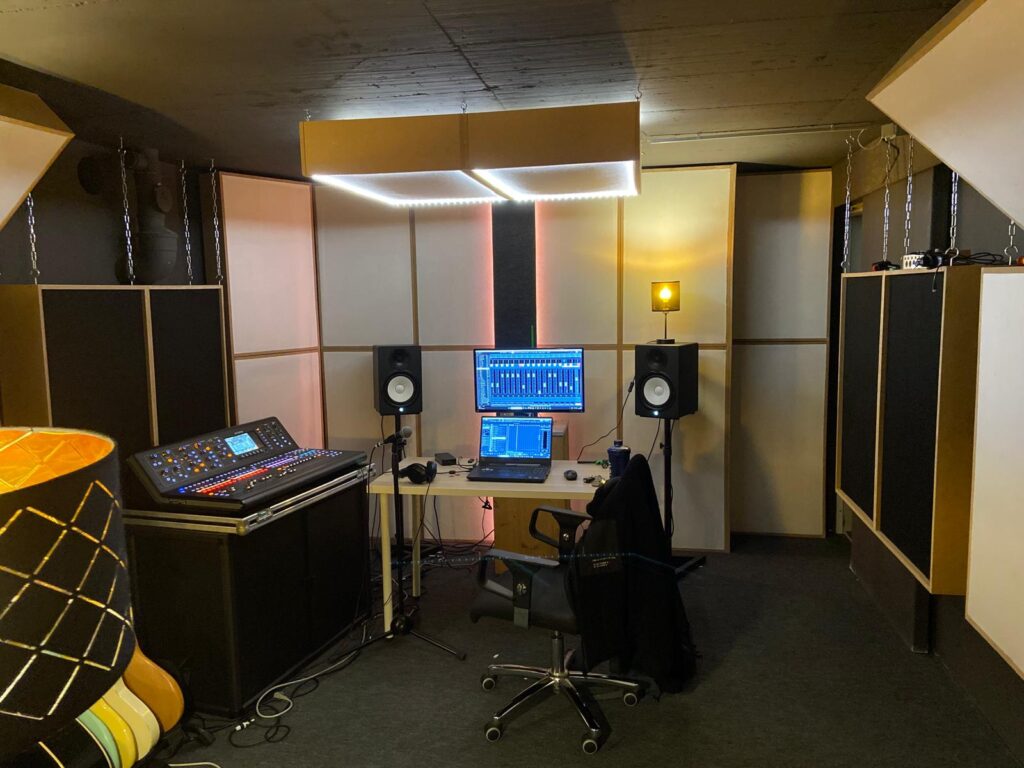
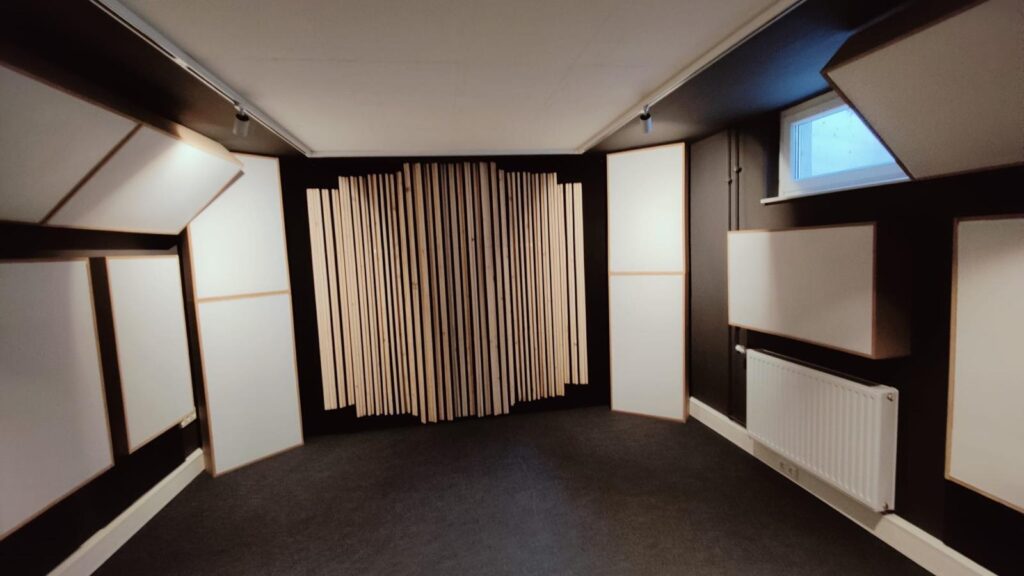
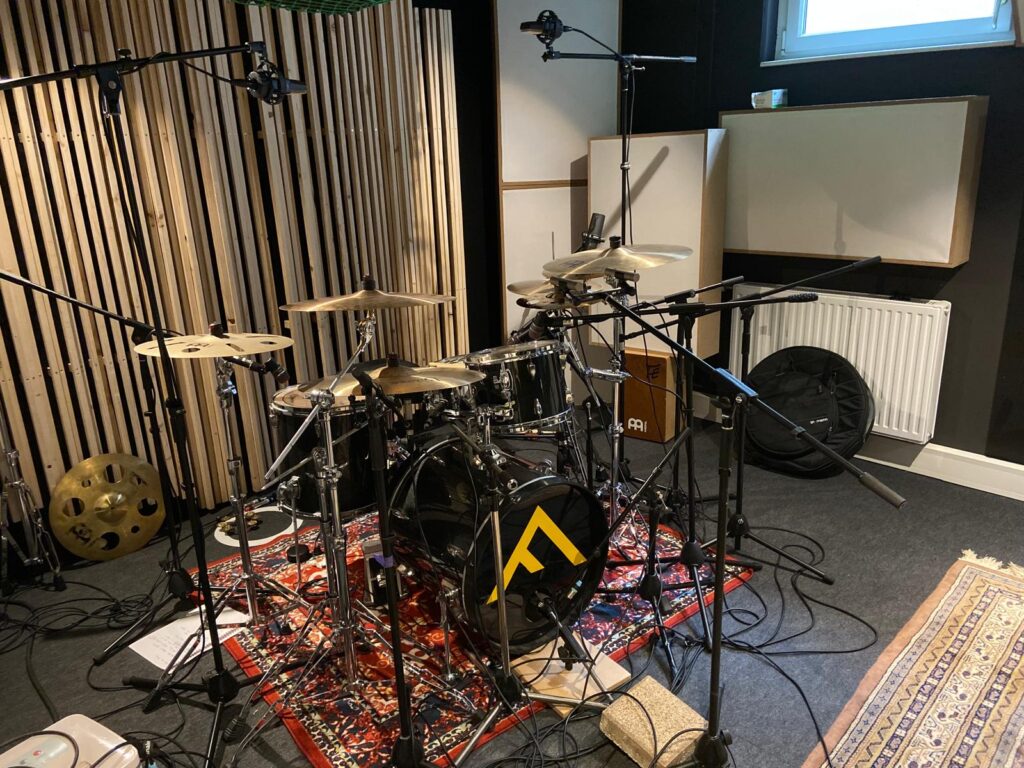

I want to be fully transparent about this project. While part of the studio construction was funded through our band’s shared budget, we also invested a significant amount of our own private money.
Considering the results we achieved, the overall costs were remarkably low—this was undoubtedly due to our detailed and lengthy planning, our strong motivation and perseverance, and some incredible second-hand bargains we found along the way.
Below, you’ll find a breakdown of the costs specifically related to the acoustic treatment:

One important point to mention is that from the mid of February to the beginning of April, we invested around 25 full workdays as a team of two—not including the additional help we received from other band members and friends—into the acoustic construction alone.
Looking back on it objectively, it’s clear that we pushed ourselves well beyond our limits with this project. It was definitly too much. We often worked more than 12 hours straight to get everything done within such a short timeframe. But in the end – we think, that it`s worth the price.
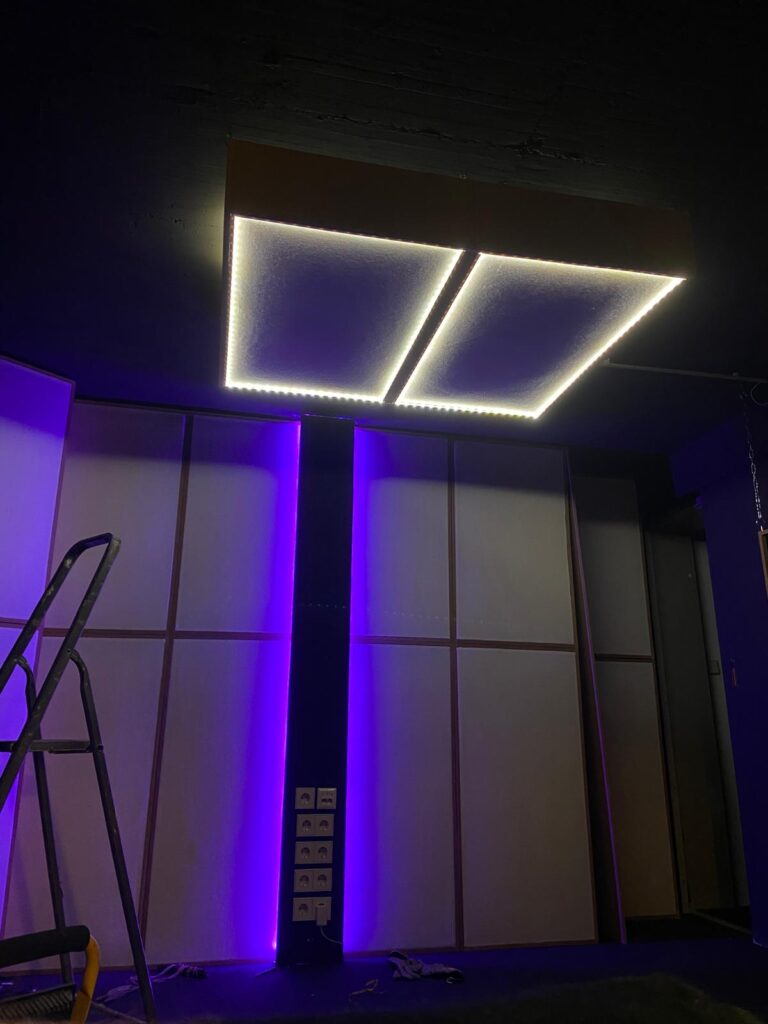
But we are not 100% finished yet. That said, the diffusers in the control room and the ceiling treatments are still unfinished (on some pictures you can see it: we packed leftover pieces of acoustic foam into a cargo net (of a car-trailer) and strapped it to the ceiling above the drums. It’s definitely a temporary fix, but it helped to reduce some reflections from the ceiling). We’re still discussing how best to tackle these elements, and haven’t fully decided on the final approach yet.
