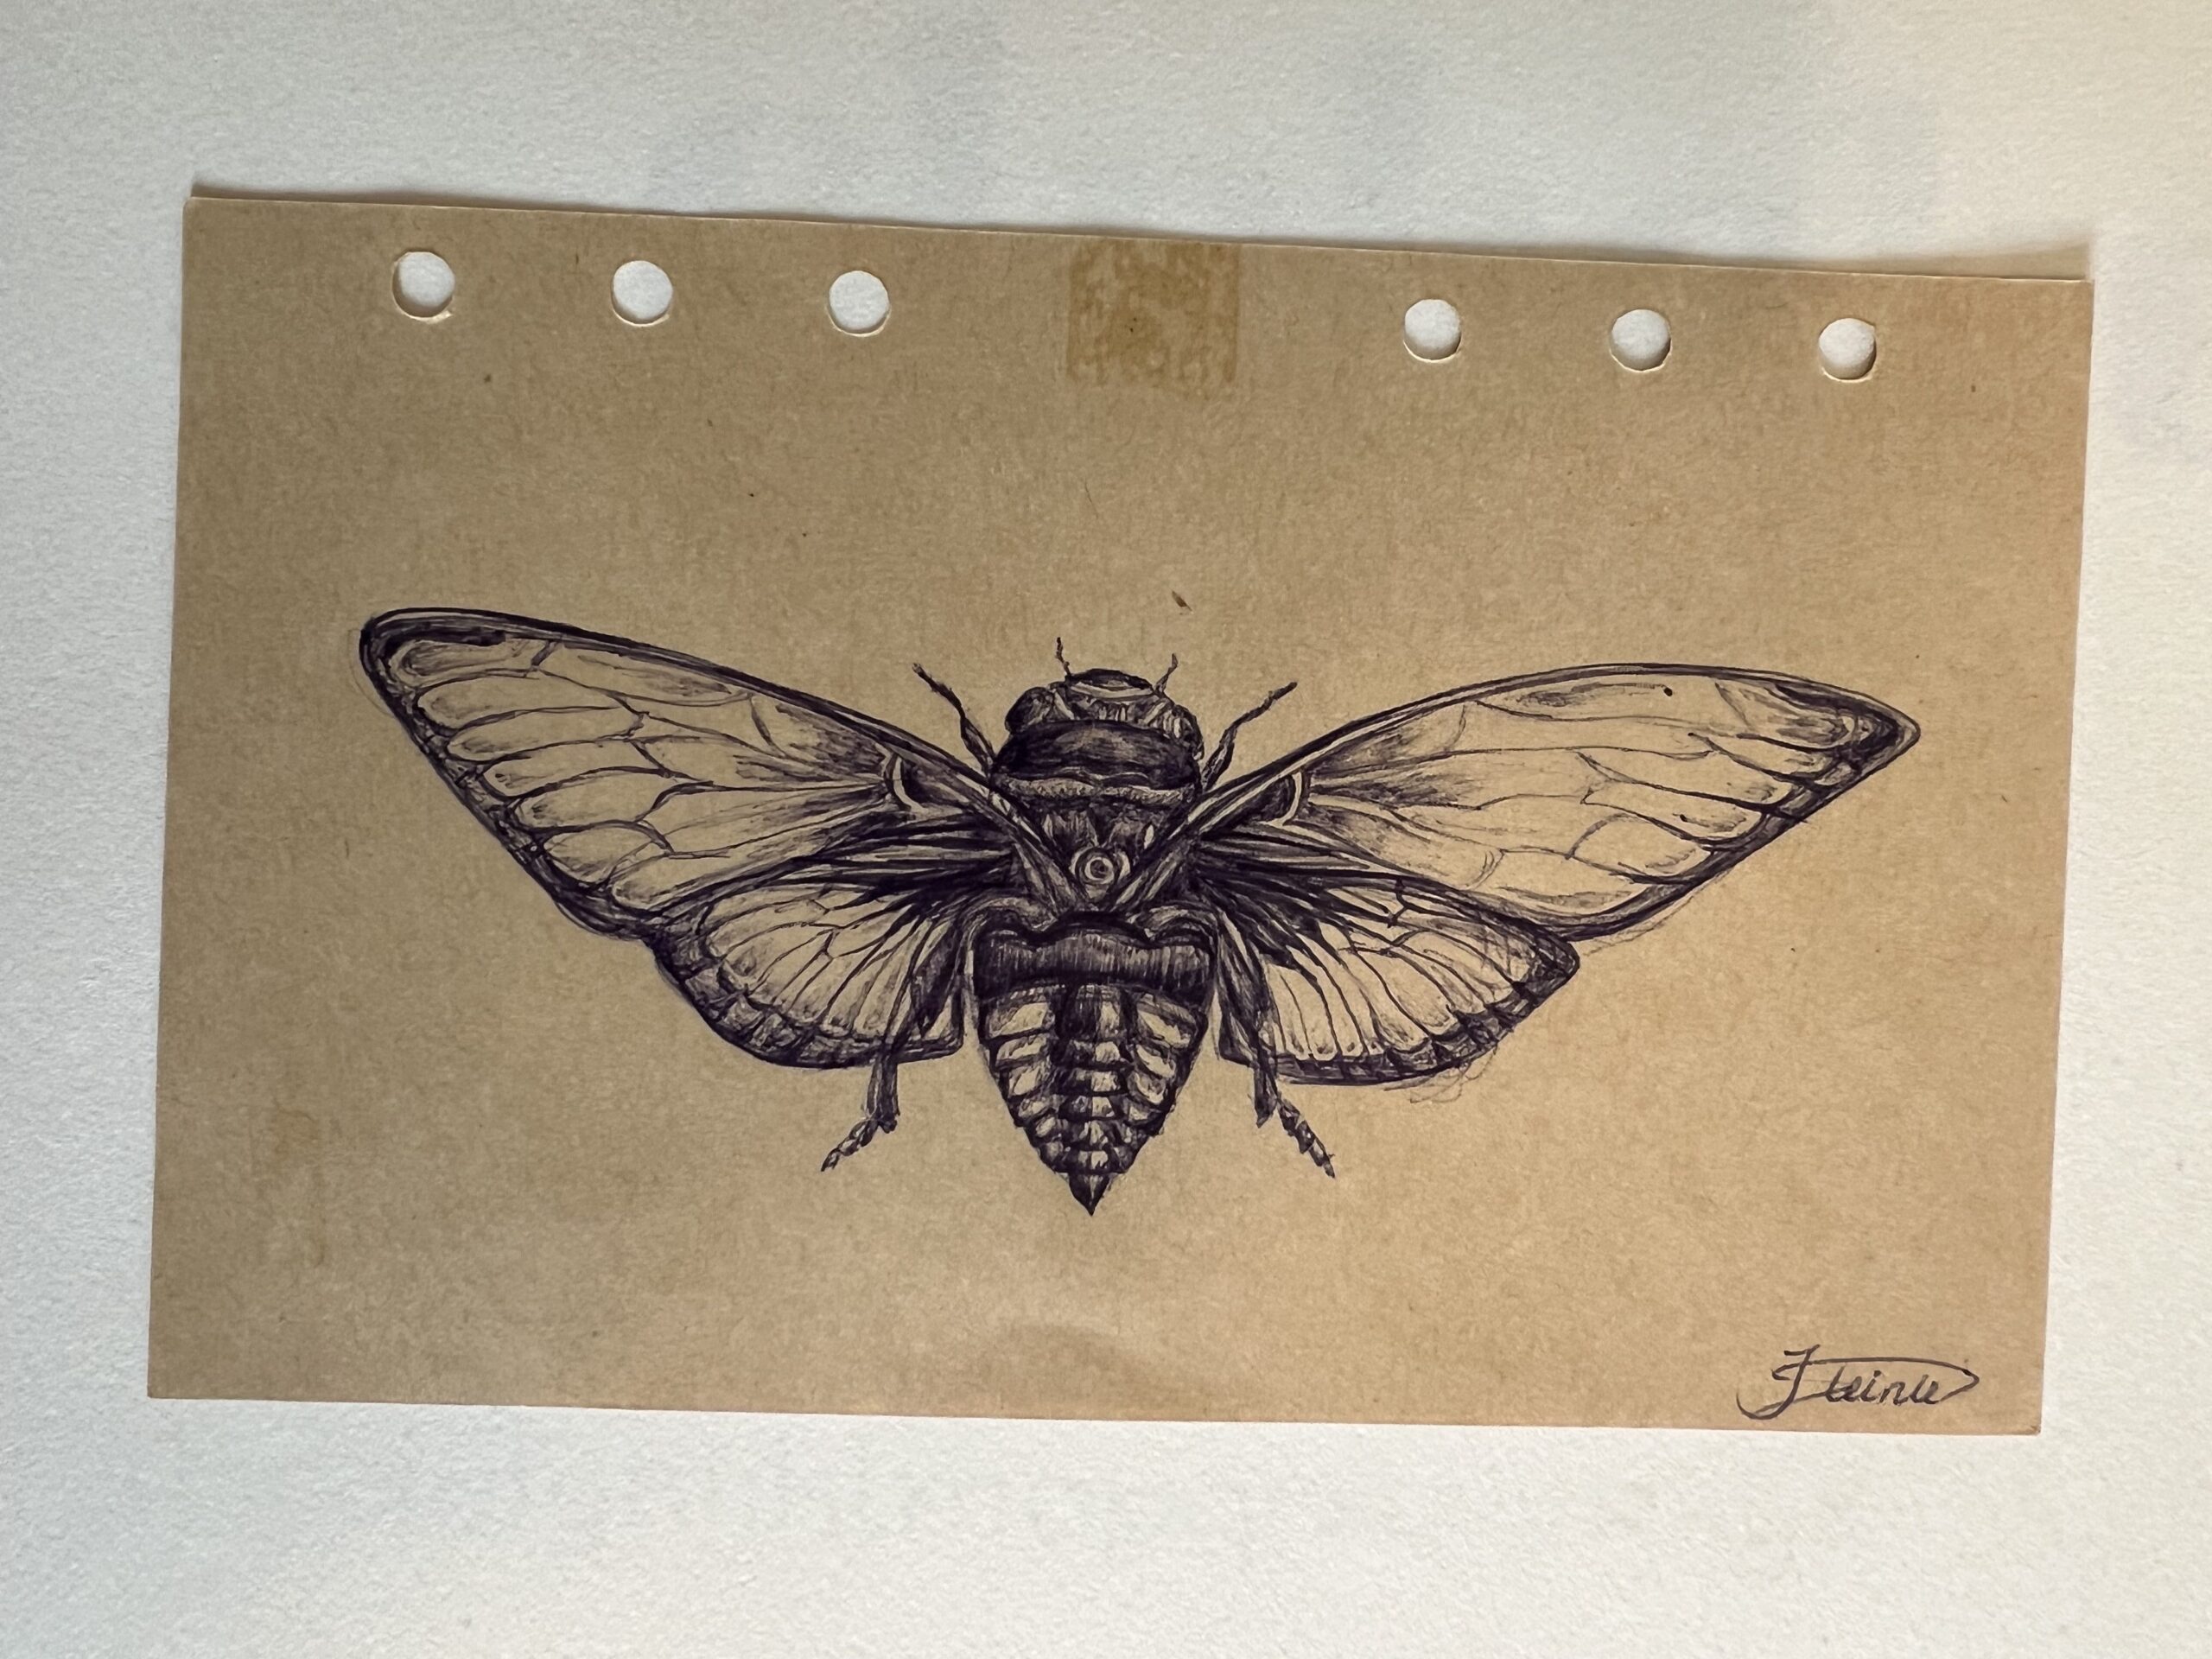
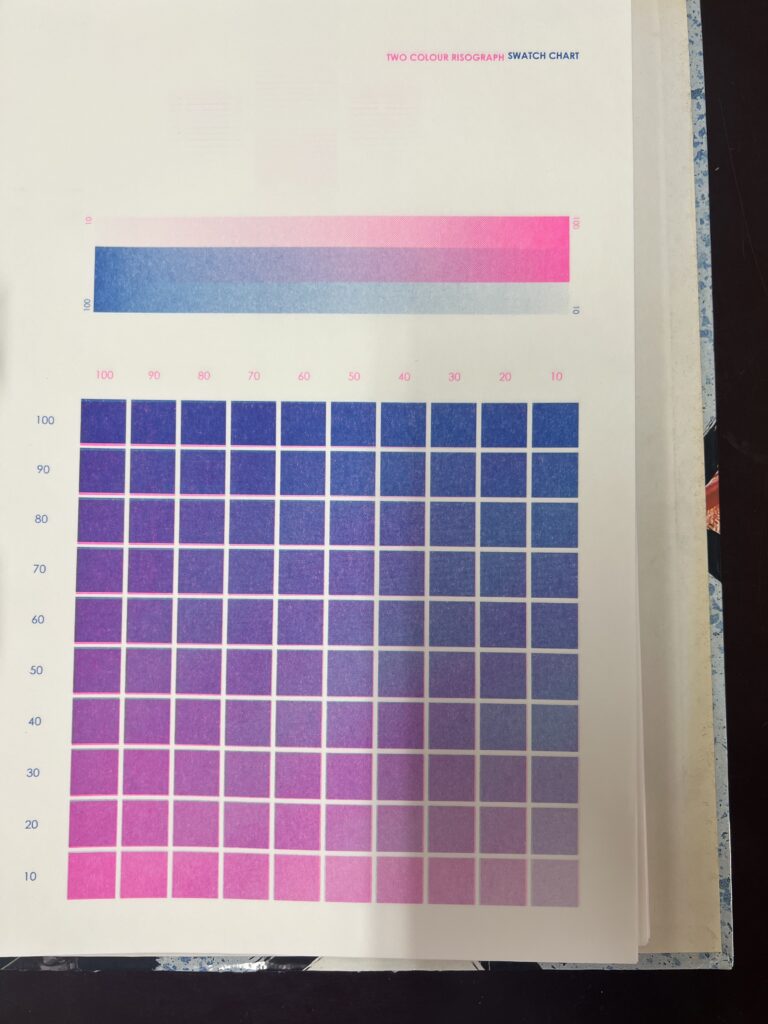
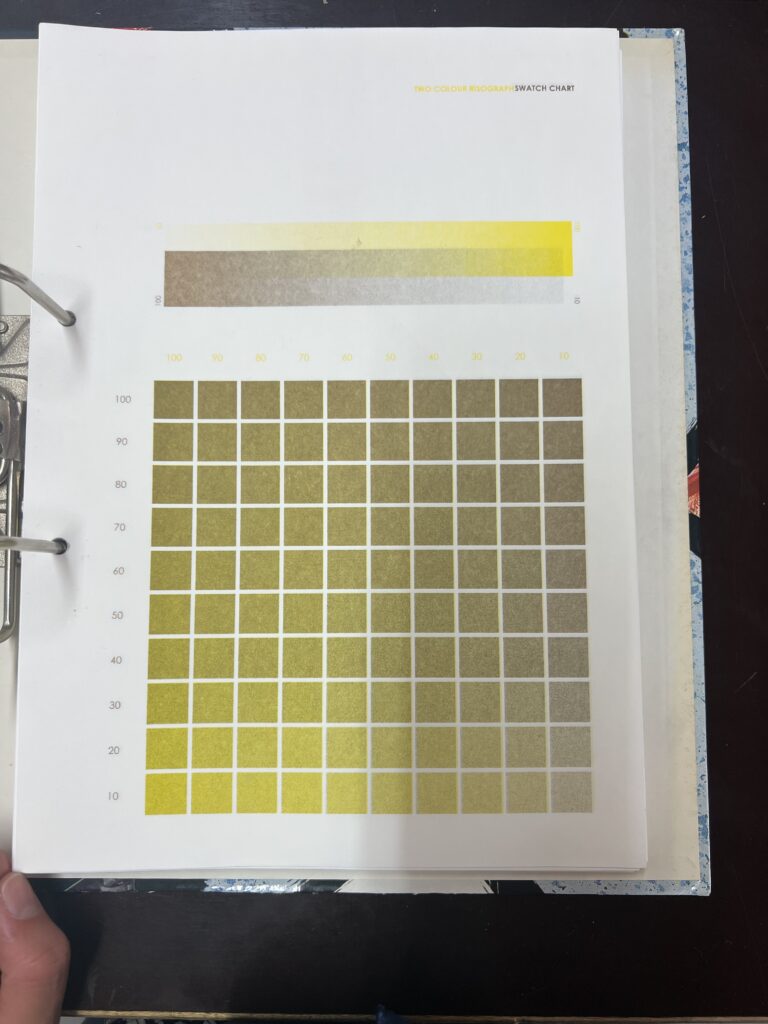
Mixing colors is for the advanced riso designs, so I challenged myself to try it out. 🙂

Useful links & resources:
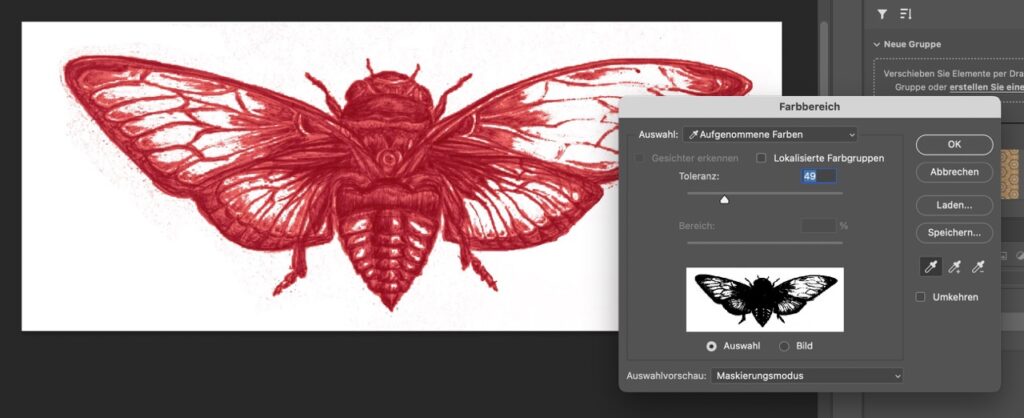
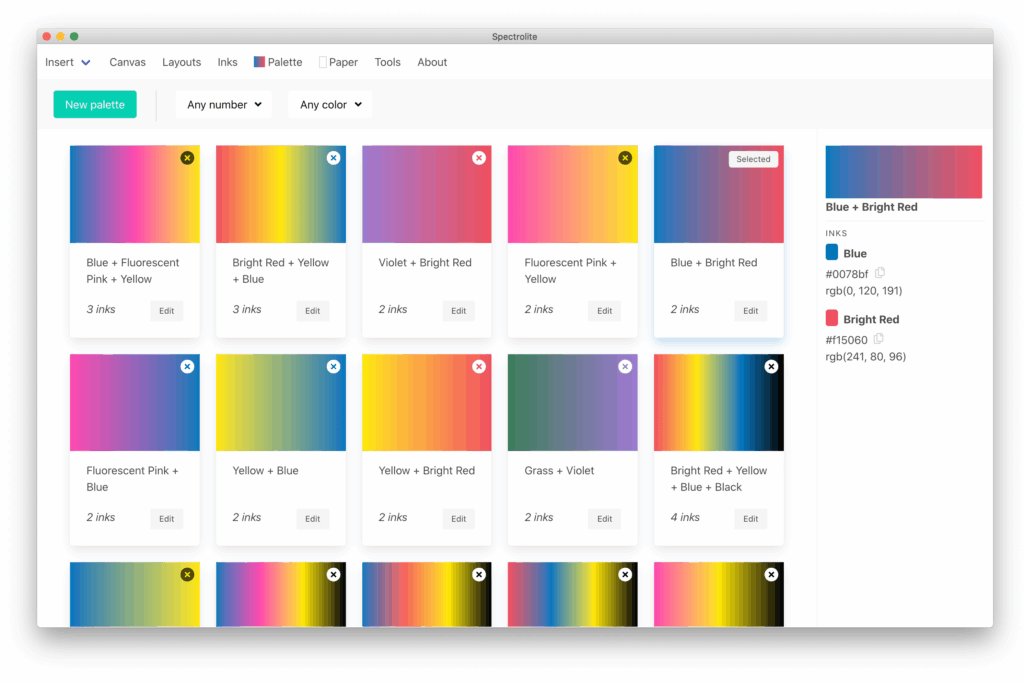
- FREE App for color separation: https://spectrolite.app

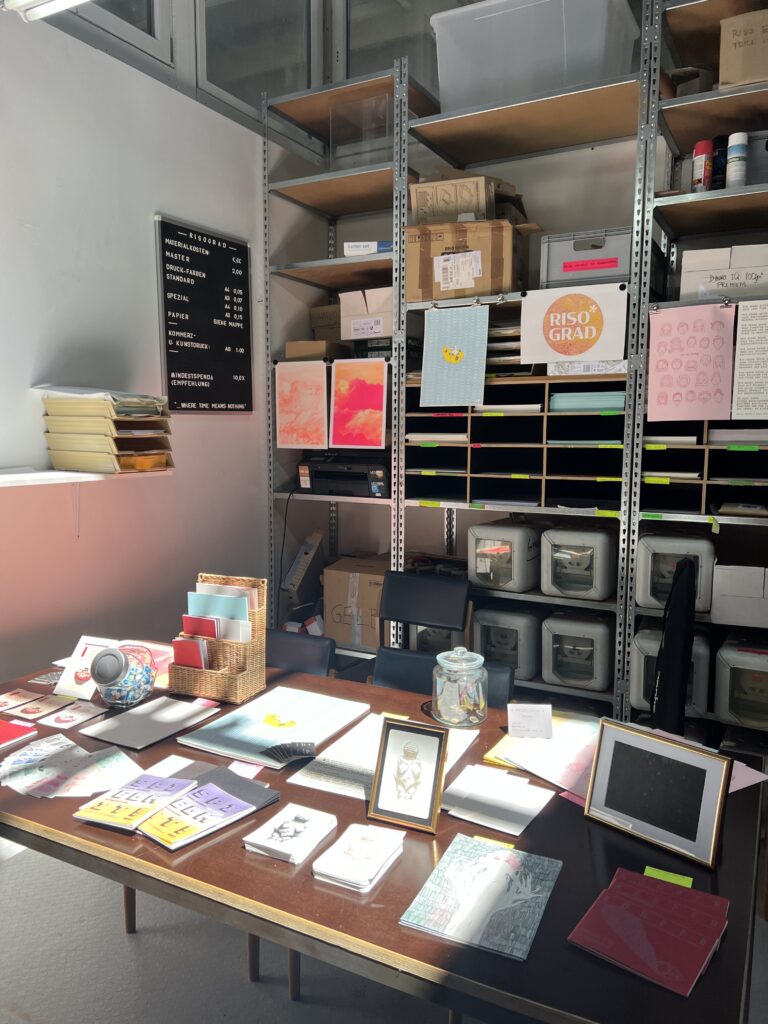
If you are looking for more colors than the ones available in the FH FabLab, check out Risograd Graz located at Schaumbad. They have a nice collection of colors and art pieces to get inspired by.
In the following two pictures you can see a pink mountain scape and a duck floating in a swimming pool, which I created with the following tools: draw a vector illustration first in Adobe Fresco (iPad), import layers into Adobe Illustrator on your computer and safe it as a pdf. You can then adjust colors and have a preview in Spectrolite.

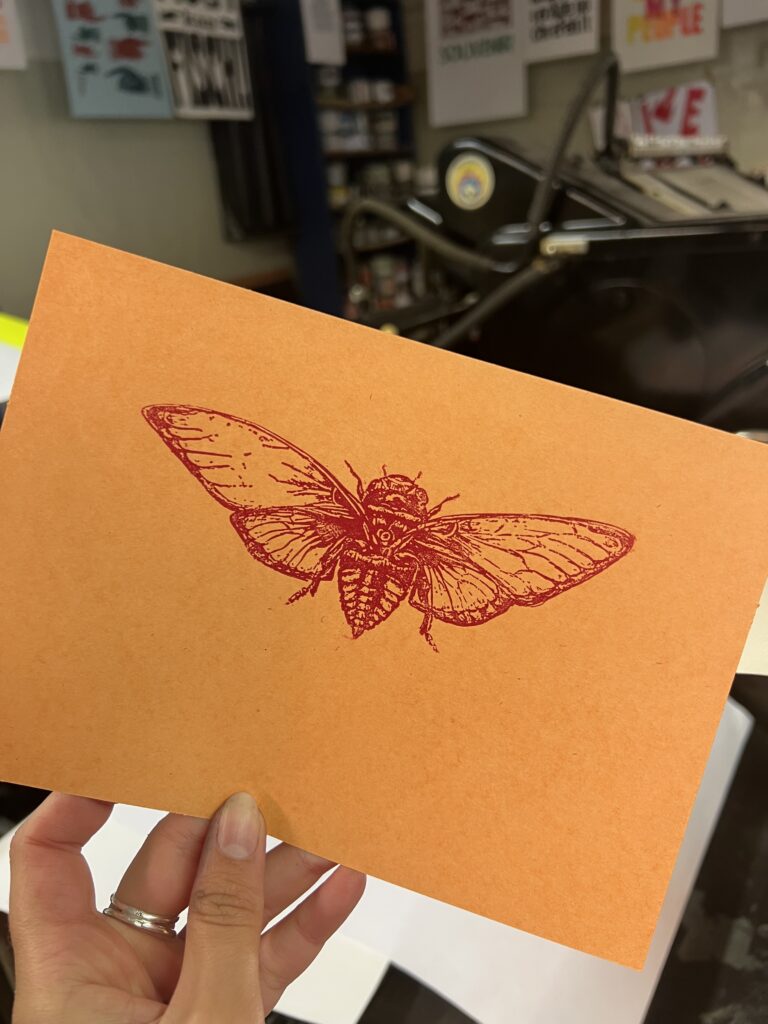
RISO GOLD
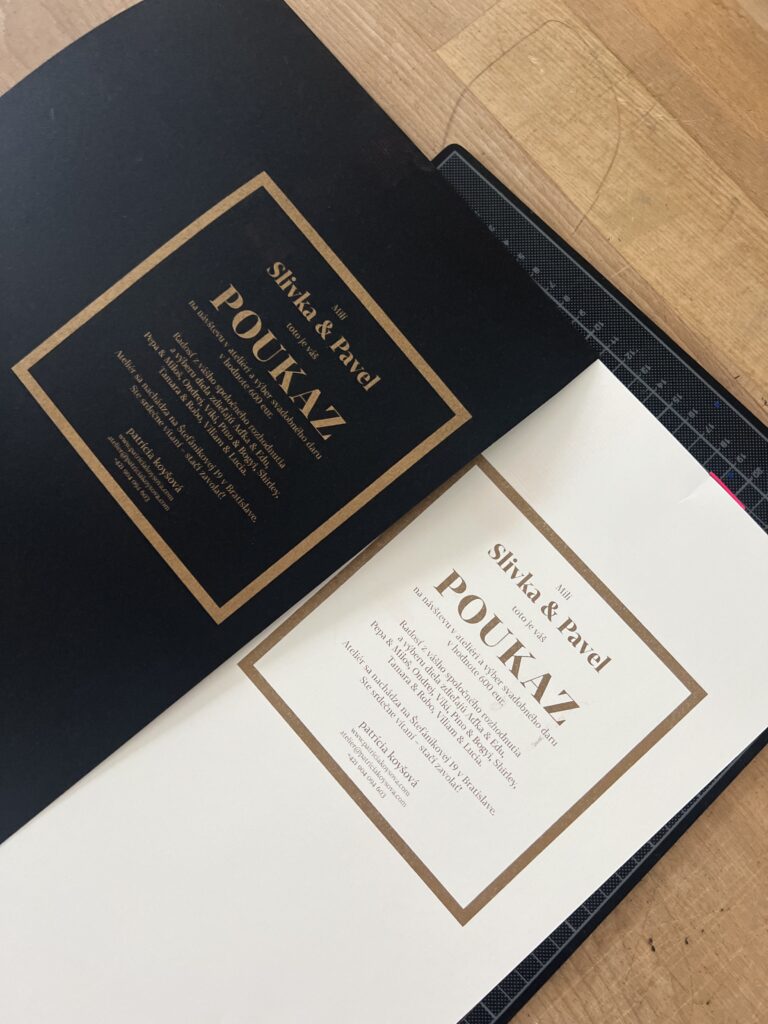
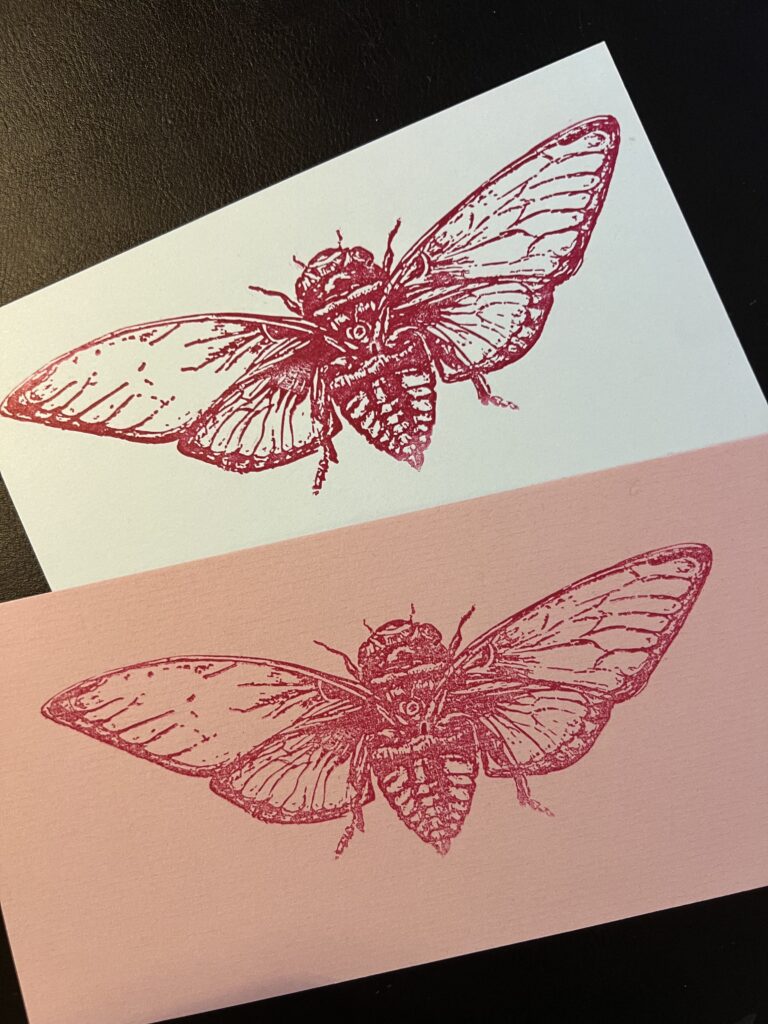
Also I tried the RISO color gold on different types of paper, because on white it looked dull and bownish. I did not want to give up on this special printing color and here are the beautiful results.
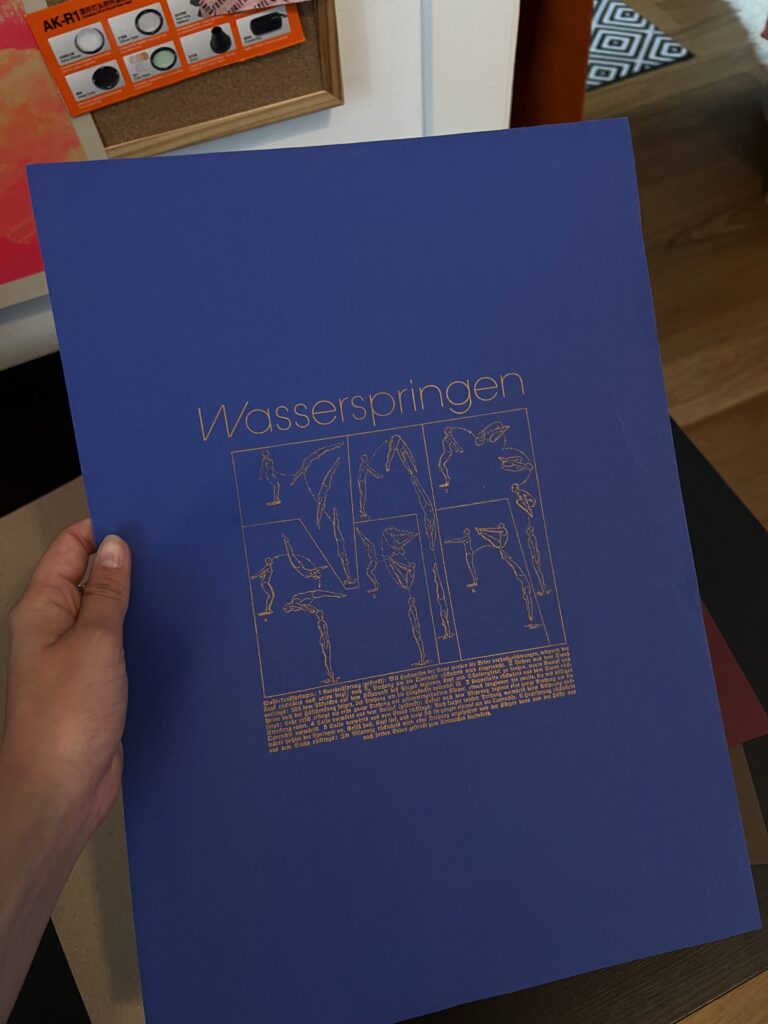

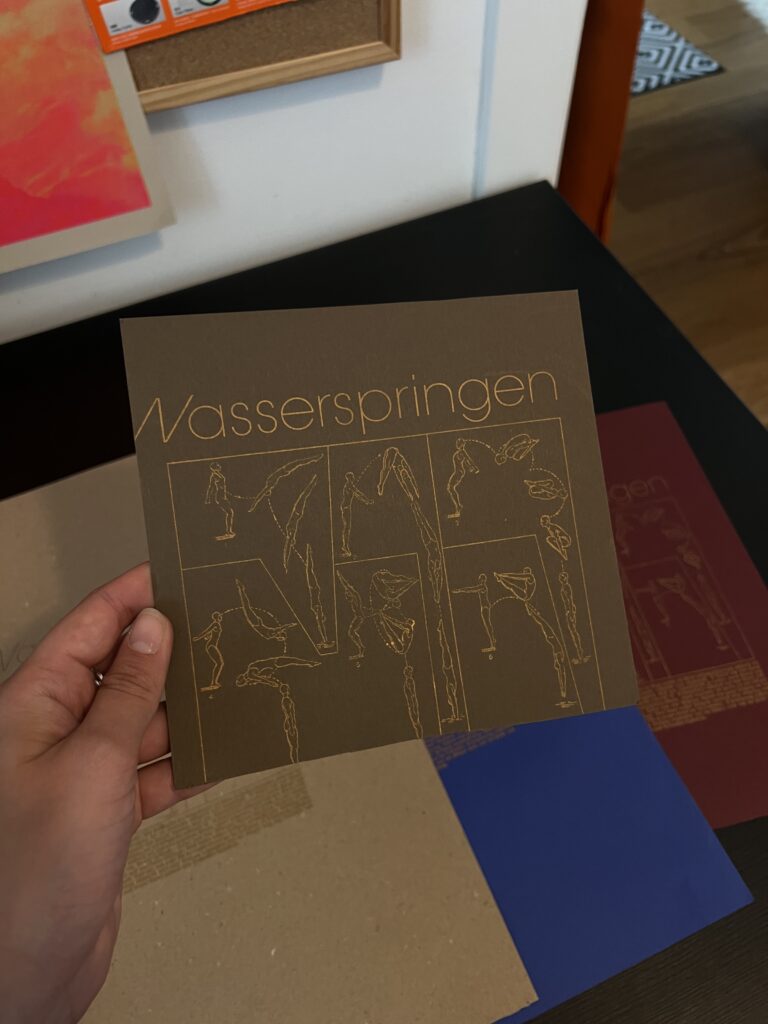
I think black, blue, red and brown paper turned out the best for printing with gold. 🙂
Resources
- Risomania (best inspo book): https://amzn.to/3ZdybsB
- https://de.exploriso.info/exploriso/
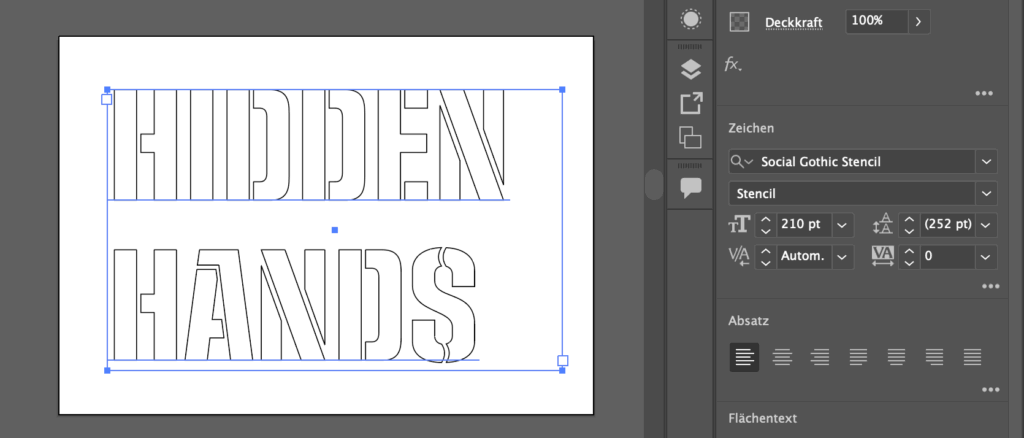
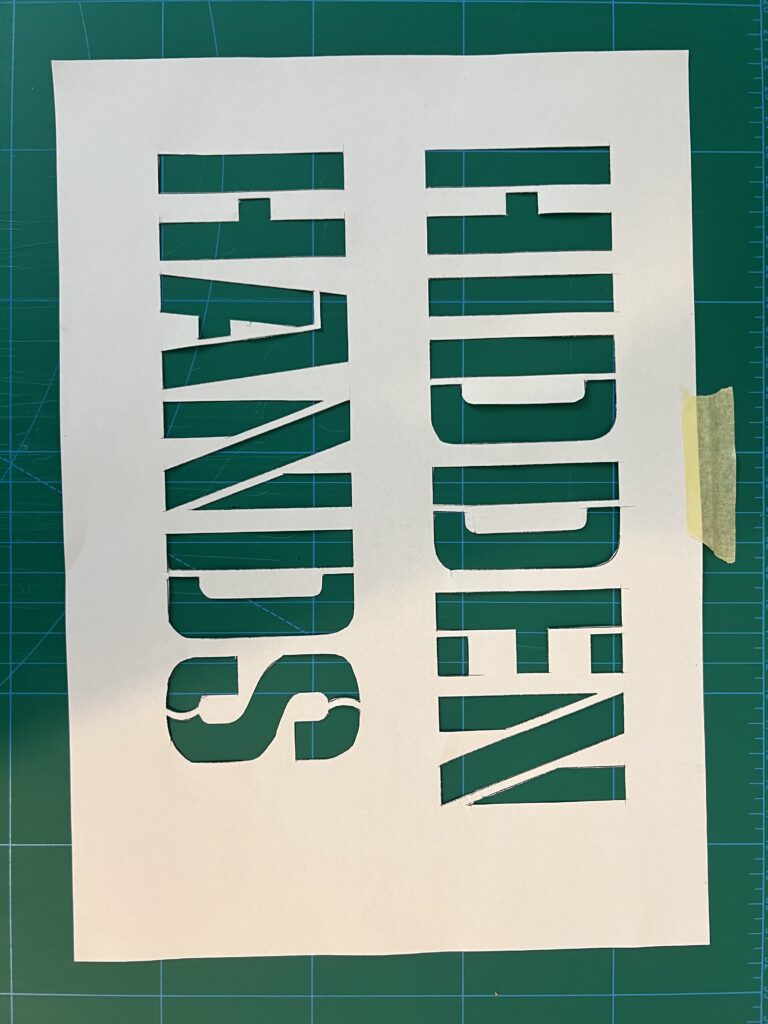
- https://www.stencil.wiki/