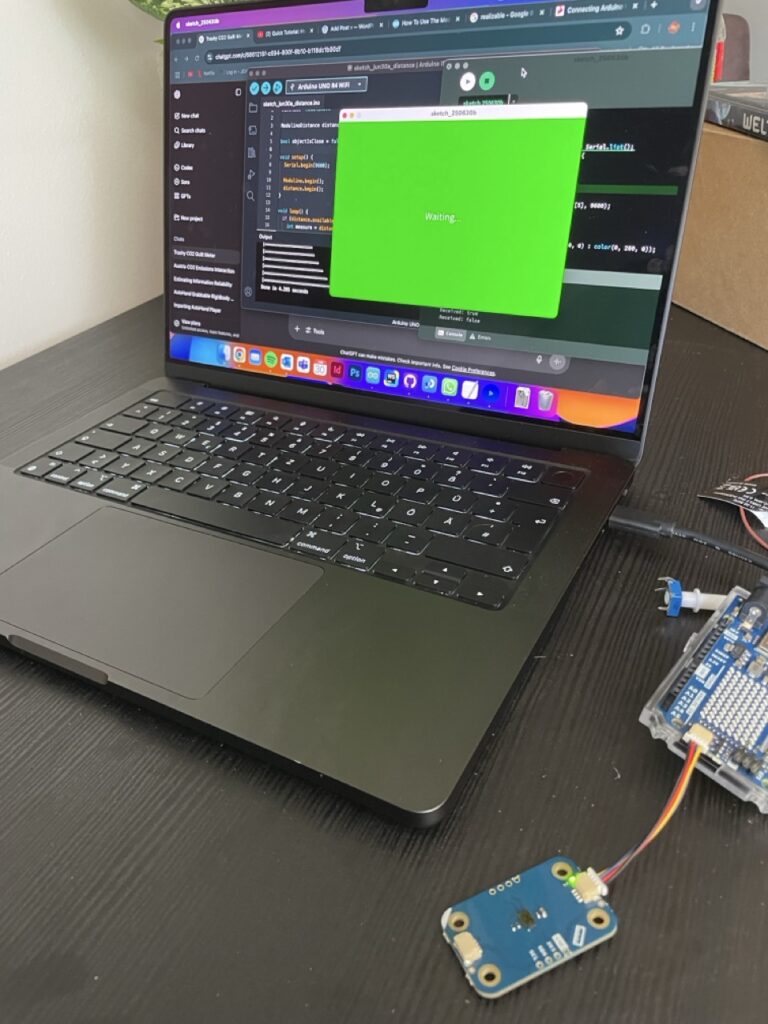
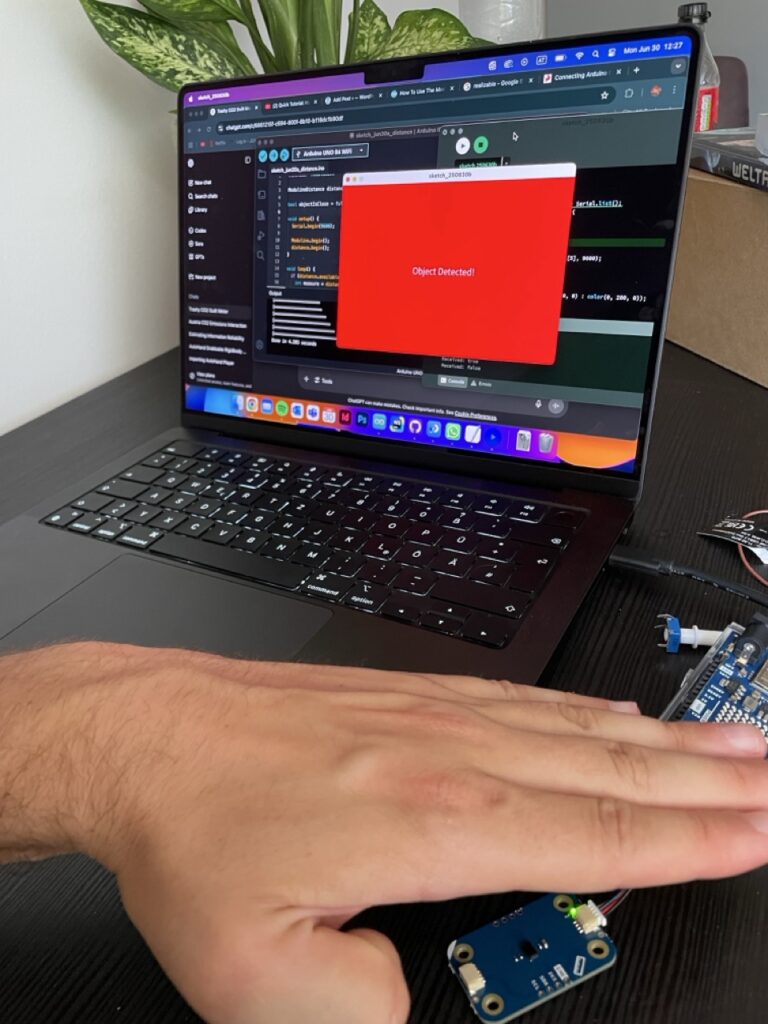
By this point, I had some sensors hooked up and was starting to imagine how my prototype might interact with Processing. But getting data from the physical world into my visuals? That’s where serial communication came in! On the Arduino side, I used “Serial.begin(9600)” to start the connection, and “Serial.println()” to send sensor values. In my case, it was messages like “true” when a hand moved close to the distance sensor, and “false” when it moved away. On the Processing side, I used the Serial library to open the port and listen for data. Every time a new message came in, I could check if it was “true” or “false”, and change what was being shown on screen — red background, green background, whatever. So I was prototyping the prototype, you could say.
Why this is so fascinating and helpful 🤯
I wanted to build something quick, easy to use and reactive—and serial communication made it possible to prototype fast without diving into WiFi, Bluetooth, or custom protocols. It lets me test ideas in minutes: turn a knob, wave a hand, watch the screen respond. And for something as conceptual and messy as visualizing CO2 history with simple and fast coding, that immediacy is everything.
Imagine you’re at an interactive museum exhibit about climate change. As a visitor approaches a screen, a hidden distance sensor detects their presence. The Arduino sends “true” to Processing, which triggers a cinematic fade-in of historical CO2 data and a narration starts playing. When the visitor steps away, the system fades back into a passive state, waiting for the next interaction. That whole experience? Driven by serial communication. One cable. A few lines of code. Huge impact.
Some helpful links for those who are interested in serial communication:
https://learn.sparkfun.com/tutorials/connecting-arduino-to-processing/all