Extending the System from Image Interpretation to Image Synthesis
This update marked a conceptual shift in the system’s scope: until now, images functioned purely as inputs, sources of visual information to be analyzed, interpreted, and mapped onto sound. With this iteration, I expanded the system to also support image generation, enabling users not only to upload visual material but to synthesize it directly within the same creative loop.
The goal was not to bolt on image generation as a novelty feature, but to integrate it in a way that respects the system’s broader design philosophy: user intent first, semantic coherence second, and automation as a supportive, not dominant, layer.
Architectural Separation: Reasoning vs. Rendering
A key early decision was to separate prompt reasoning from image rendering. Rather than sending raw user input directly to the image model, I introduced a two-stage pipeline:
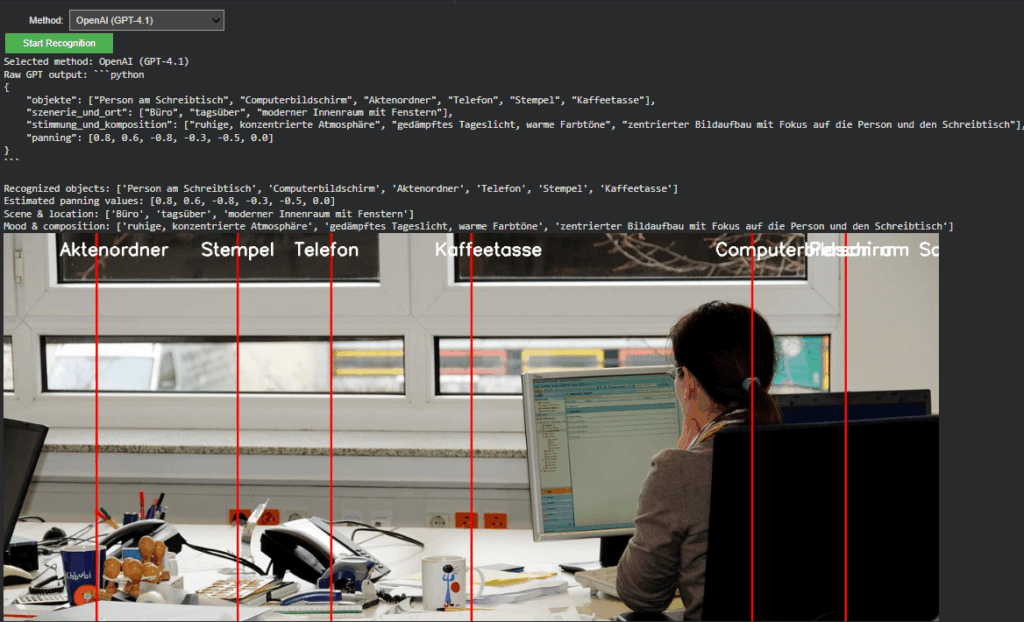
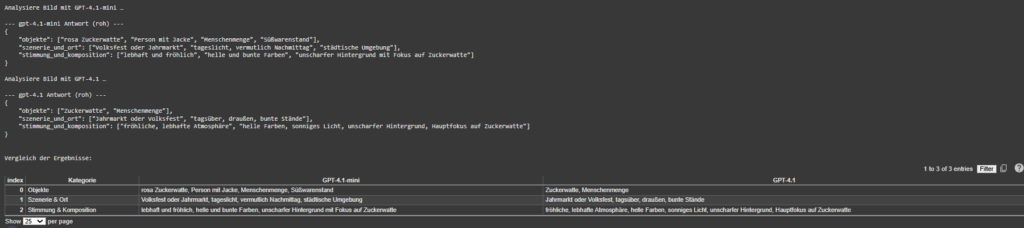
- Prompt Interpretation & Enrichment (GPT-4.1)
Responsible for understanding vague or underspecified user prompts and rewriting them into a semantically complete, realistic scene description. - Image Synthesis (gpt-image-1 → DALL-E 2/3)
Dedicated purely to rendering the final image from the enriched prompt. Through implementation, I discovered that while the original spec referenced gpt-image-1, OpenAI’s actual models are DALL-E 2 (60% cheaper, faster, but less detailed) and DALL-E 3 (higher quality but more expensive).
This separation mirrors the system’s audio architecture, where semantic interpretation and signal processing are deliberately decoupled. GPT-4.1 acts as a semantic mediator, while the image model remains a deterministic renderer.
The Response Format Learning Curve
During implementation, I encountered a subtle but important API nuance that forced a deeper understanding of the system’s data flow: DALL-E models return URLs by default, not base64 data. The initial implementation failed with a confusing “NoneType” error because I was trying to decode a base64 field that didn’t exist.
The fix was elegantly simple, adding response_format=”b64_json” to the API call—but the debugging process revealed something more fundamental about API design: different services have different default behaviors, and understanding those defaults is crucial for robust system integration.
This also led to implementing proper fallback logic: if base64 isn’t available, the system gracefully falls back to downloading from the image URL, ensuring reliability across different OpenAI model versions and configurations.
Interactive Workflow Integration with Toggle Architecture
To maintain consistency with the existing interactive toolset while adding flexibility, I implemented a mode-toggle architecture:
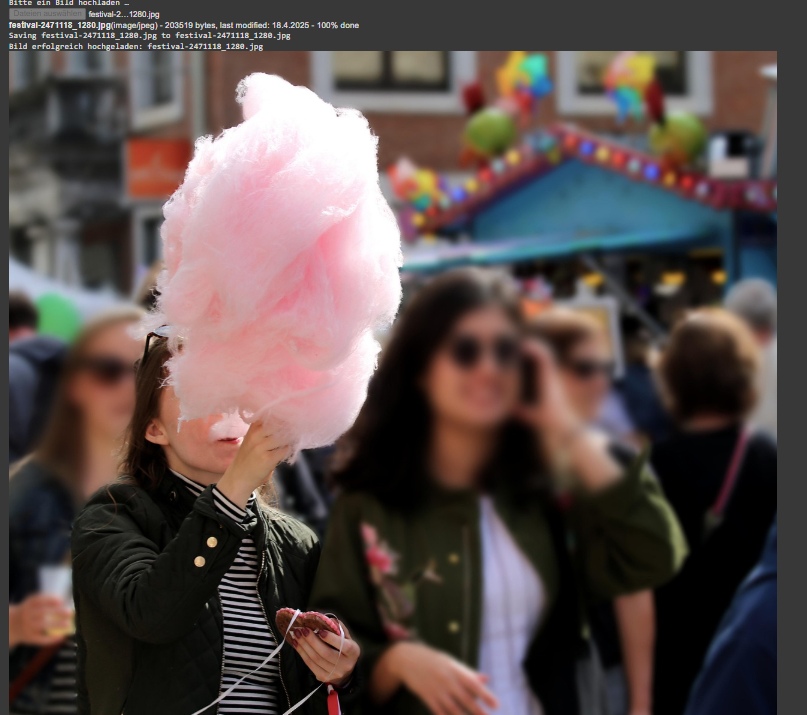
- Upload Mode: Traditional file upload with drag-and-drop support
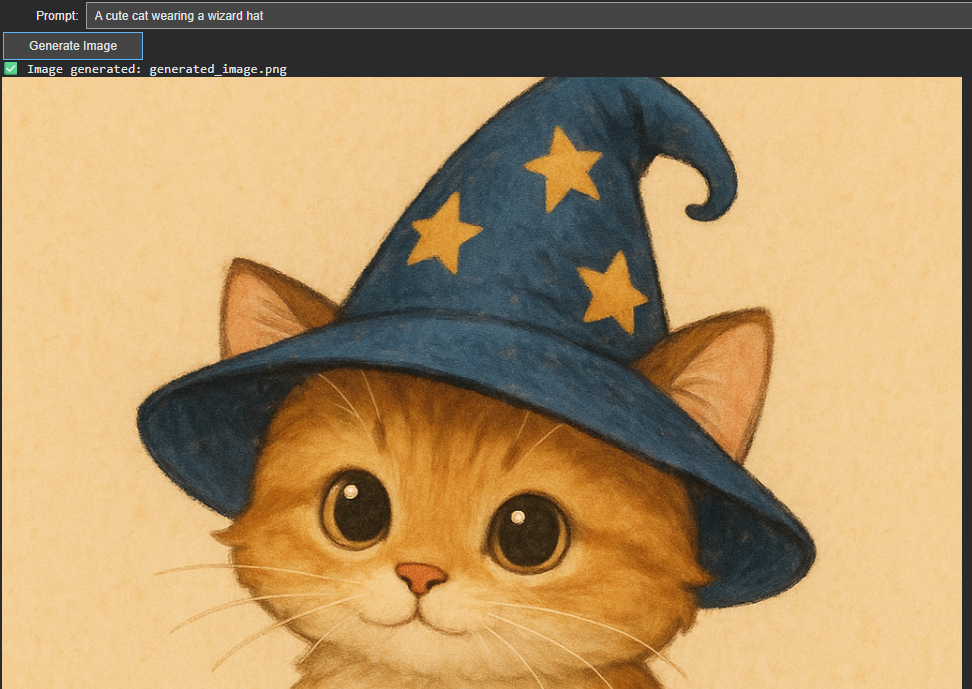
- Generate Mode: Text-to-image synthesis with prompt enrichment
- State Preservation: The system maintains a single IMAGE_FILE variable that can be overwritten by either mode, ensuring seamless transitions between workflows
The interface exposes this through clean toggle buttons, showing only the relevant UI for each mode. This reduces cognitive load while preserving full functionality, a principle I’ve maintained throughout the system’s evolution.
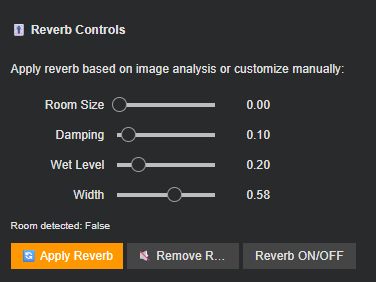
Cost-Aware Design with Caching and Model Selection
Image synthesis presents unique cost challenges compared to text generation or audio processing. I implemented several cost-mitigation strategies learned through experimentation:
- Resolution Control: Defaulting to 1024×1024 or 512×512 (for DALL-E 2)
- Quality Parameter Awareness: Only DALL-E 3 supports quality=”standard” vs “hd”—using the wrong parameter with DALL-E 2 causes API errors
The cost considerations weren’t just about saving money—they were about enabling iteration. When artists can generate dozens of variations without financial anxiety, they explore more freely. The system defaults to the cheapest viable path, with quality controls available but not forced.
Prompt Realism as a Soft Constraint
Rather than enforcing hard validation rules (e.g., predefined lists of places or objects), I chose to treat realism as a soft constraint enforced by language, not logic.
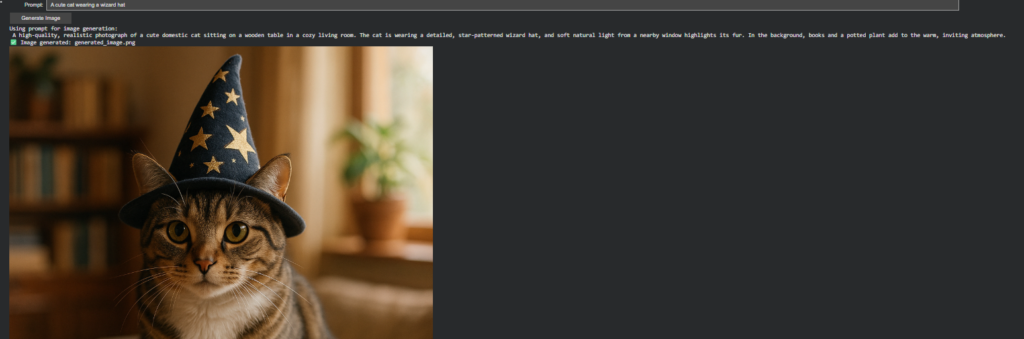
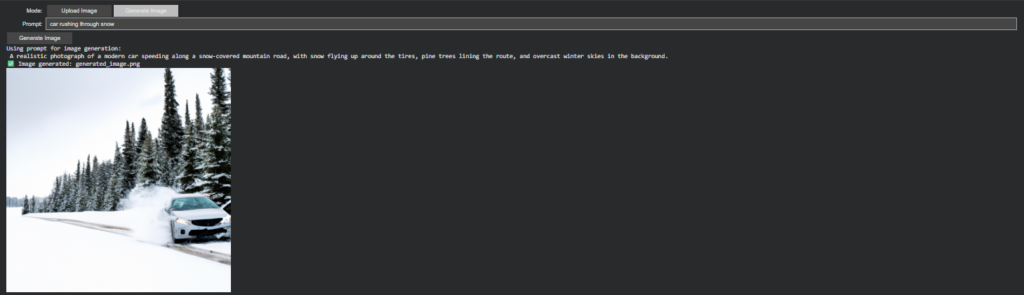
User prompts are passed through a prompt-enrichment step where GPT-4.1 is instructed to:
- Reframe the input as a photographic scene
- Ensure the presence of spatial context (location, environment)
- Ground the description in physical objects and lighting
- Explicitly avoid illustrated, cartoon, or painterly styles
This approach preserves creative freedom while ensuring that the downstream image generation remains visually coherent and photo-realistic. Importantly, the system does not reject user input—it interprets it.
Design Philosophy: Generation as a First-Class Input
What this update ultimately enabled is a shift in how the system can be used:
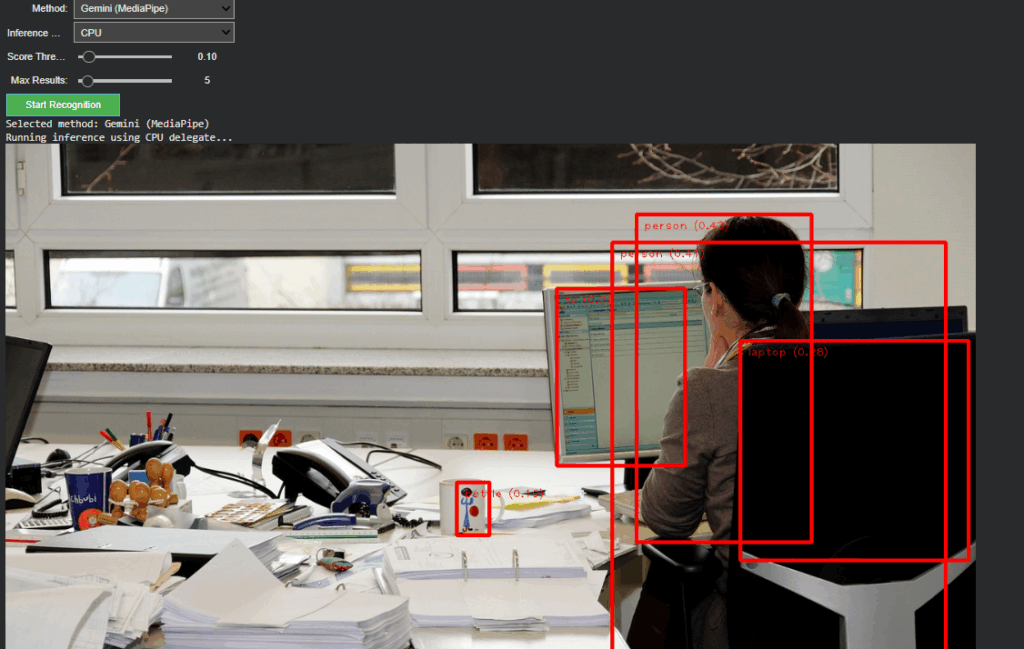
- Images are no longer just analyzed artifacts
- They can now be constructed, refined, and immediately fed into downstream processes (visual analysis, audio mapping, spatial inference)
This closes a loop that previously required external tools. The system now supports a full cycle: imagine → generate → interpret → sonify.
Crucially, the same principle that guided earlier updates still applies: automation should amplify intent, not replace it. Image generation here is not about producing spectacle, but about giving users a controlled, semantically grounded way to define the visual worlds their soundscapes respond to.
The implementation journeyfrom API quirks to cost optimization to user experience design, reinforced that even “simple” features require deep consideration when integrating into a complex creative system. Each new capability should feel like it was always there, waiting to be discovered.