With my designs and architecture complete, I dived into Unity, eager to bring my vision to life. The first step was to implement the core QR code scanning feature. My initial research led me to Meta’s developer documentation and some promising open-source projects on GitHub, like the QuestCameraKit, which gave me a solid conceptual starting point. I found a QR scanning script that seemed perfect and began integrating it.
What followed wasn’t a straight line to success. It was a multi-week battle against a ghost in the machine—a frustrating cycle of failures that taught me a crucial lesson about AR development.
Things never work out your way
My initial prototype worked flawlessly within the Unity editor on my laptop. I could scan QR codes, trigger events—everything seemed perfect. But the moment I deployed it to the actual AR device, the Quest headset, it fell apart.
This is where I hit the wall. The symptoms were maddening: controller tracking was erratic and unpredictable, user input would get lost entirely, and the UI was completely unresponsive. After weeks of frustrating trials, debugging scripts line-by-line, and questioning my own code, I finally diagnosed the root cause. It wasn’t a simple bug; it was a foundational incompatibility.
The QR scanning asset I had chosen was built on the legacy Oculus XR Plugin. However, my project was built using the modern XR Interaction Toolkit (XRI), which is designed from the ground up to work with Unity’s new, standardized OpenXR backend. I was trying to force two different eras of XR development to communicate, and they simply refused to speak the same language.
The Turning Point: A Foundational Pivot
The “aha!” moment came with a tough realization: no amount of clever scripting or patchwork could fix a broken foundation. I had to make a difficult but necessary decision: stop trying to patch the old system and re-architect the project onto the modern standard.
This architectural pivot was the most significant step in the entire development process. It involved three major updates:
- Embracing the Modern Standard: OpenXR My first move was to completely migrate the project’s foundation from the legacy Oculus plugin to OpenXR. This involved enabling the Meta Quest Feature Group within Unity’s XR Plug-in Management settings. This single, critical step ensures all of Meta’s specific hardware features (like the Passthrough camera) are accessed through the modern, standardized API that the rest of my project was using.
- Rebuilding the Eyes: The OVRCameraRig With the OpenXR foundation in place, the old camera rig that the QR scanner depended on immediately broke. I replaced it entirely with the modern
OVRCameraRigprefab. This new rig is designed specifically for the OpenXR pipeline. It correctly handles the passthrough camera feed, and a key component of my project—the QR scanner—instantly came back to life. - Restoring the Hands: The XRI Controller Prefab Finally, to solve the erratic tracking and broken input, I replaced my manually configured controllers with the official
Controller Prefabfrom the XR Interaction Toolkit’s starter assets. This prefab is guaranteed to work with the XRI and OpenXR systems, which immediately restored precise, stable hand tracking.
The Result: A Seamless Prototype
With the new foundation firmly in place, the chaos subsided. The final pieces fell into place with a central UIManager to manage the UI pages and a persistent DataManager to carry scanned information between scenes. The application was no longer a broken, unusable mess on the headset; it was stable, responsive, and worked perfectly.
This journey was a powerful reminder that in the fast-moving world of XR development, sometimes the most important skill is knowing when to stop patching a problem and instead take a brave step back to rebuild the foundation correctly. Here is few images from me trying to make it work.


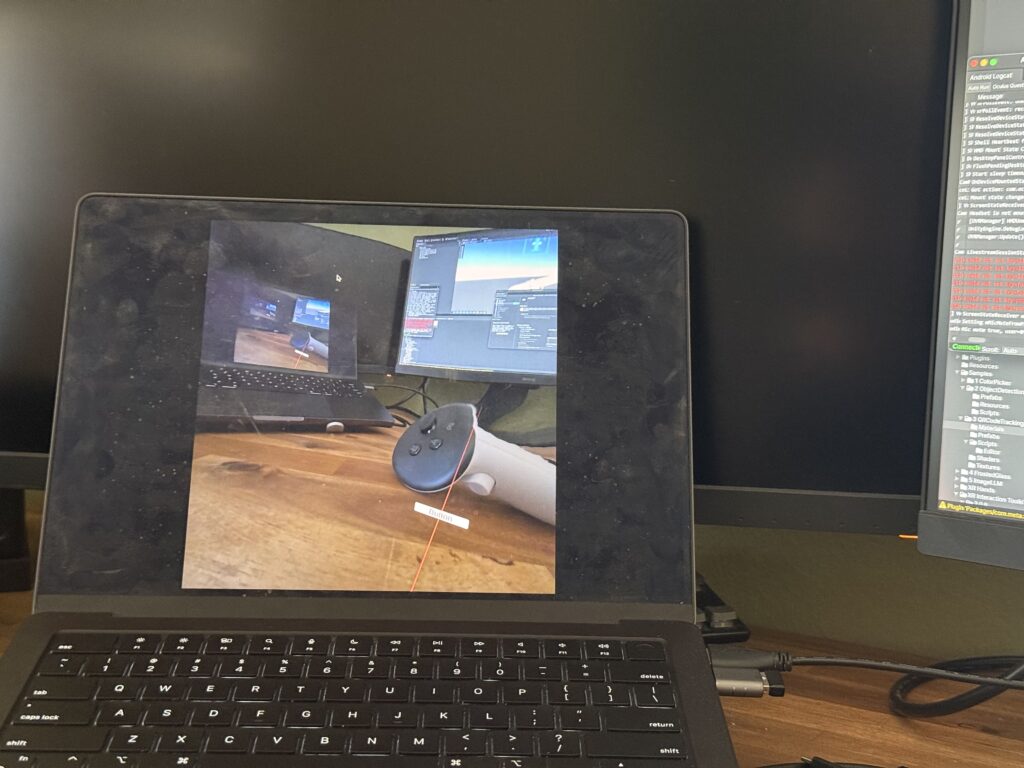
This stable, working prototype is the culmination of that effort. In addition, I realize how these concepts can be complex and not make sense but I hope may be in can help someone in the future. In my final post, I’ll stop telling you about it and finally show you. Get ready for the full video demonstration.