Developing a LUT tailored specifically to the needs of a project may initially seem complex, but the process is more straightforward than it appears. In essence, one builds a specific look within DaVinci Resolve and subsequently renders this look into a LUT file. The technical steps for generating and exporting the LUT will be discussed in detail later in this series of posts, as they are relatively direct once the foundational elements are established.
In order to approach the creation of a true Show LUT, we must move beyond subjective grading and work systematically by profiling real analog film stocks. Specifically, we will be extracting data from ColorChecker charts photographed on film and generating a modified version aligned with our own creative preferences.
It is important to note that film profiling itself is an expansive discipline, comprising numerous methodologies and technical variations. A full exploration of these methods would require not merely additional blog entries, but likely an entire master’s thesis in its own right. To streamline the process for practical application, this discussion will focus exclusively on the automated film profiling workflow presented by Nico Fink in his Film Profiling Course.
Extraction of ColorChecker Values
The first essential step is the acquisition of RGB data from both the reference charts and the film-exposed charts. To facilitate this process efficiently, we use the command-line tool “Get ColorChecker Values”.
This tool automates what would otherwise be an extremely laborious manual task: sampling and recording the 24 patches of a ColorChecker chart across multiple exposures. Rather than hovering over each patch, sampling color values individually, and manually entering data, the tool extracts and compiles the colorimetric information automatically into a structured CSV file.
The script and relevant resources can be found here:
Dataset Preparation
Prior to running the script, the film scans and the reference (digital) captures must be organized carefully:
- Create a new directory and place the respective color chart images inside.
- Ensure that each corresponding film and Alexa (digital reference) image shares the exact same filename and appears in the same sequence within the directory. This is crucial for proper alignment of datasets.

Before exporting the images to the directory, additional preprocessing in Adobe Photoshop is required:
- Straighten the charts to correct any perspective distortion.
- Crop the charts tightly around the patches.
- Apply a slight Gaussian blur to reduce fine-grain noise or scanning artifacts.
The resulting images should resemble standardized color chart references suitable for automated analysis.

Running the Script
After preparing the datasets, the next step involves executing the script through the Terminal application on the computer:

- Open Terminal.
- Navigate to the directory containing your charts using the ls (list directories) and cd (change directory) commands.
Example: - Execute the script using the appropriate command-line syntax. You will specify the input images and define an output name for the resulting CSV file. (Detailed command examples will be provided later in this series.)

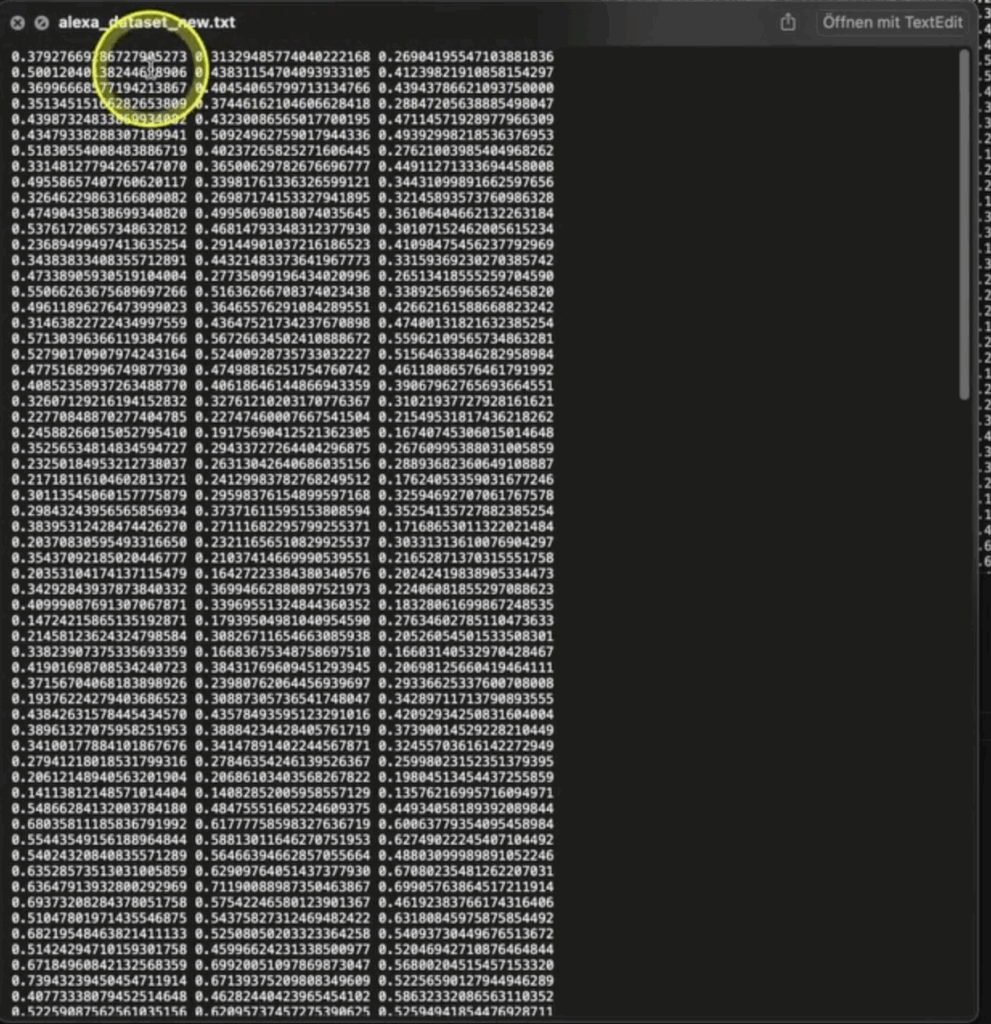
Upon successful execution, the script generates a comprehensive sheet of numerical RGB values for each chart. This replaces what would otherwise be a time-consuming manual process.

It is essential to repeat this process separately for both your film-based charts and your digital reference charts, thereby creating two distinct datasets. These datasets form the empirical basis for the subsequent LUT construction, wherein the desired film look will be derived and mathematically mapped.
Summary
By automating the extraction of ColorChecker values, we establish a foundation of objective data that can be used to model the film response curve. This not only accelerates the LUT creation workflow but also enhances accuracy and repeatability, which are critical for professional color pipelines.
The next phase will involve analyzing and comparing these datasets in order to generate a transform that authentically replicates the desired film look while allowing for tailored creative adjustments.
Reference
DeMystify Colorgrading. (n.d.). Film Profile Journey: 20 – More Automation, Less Tedious Manual Work. Retrieved April 28, 2025, from https://www.demystify-color.com/post/film-profile-journey-20-more-automation-less-tedious-manual-work